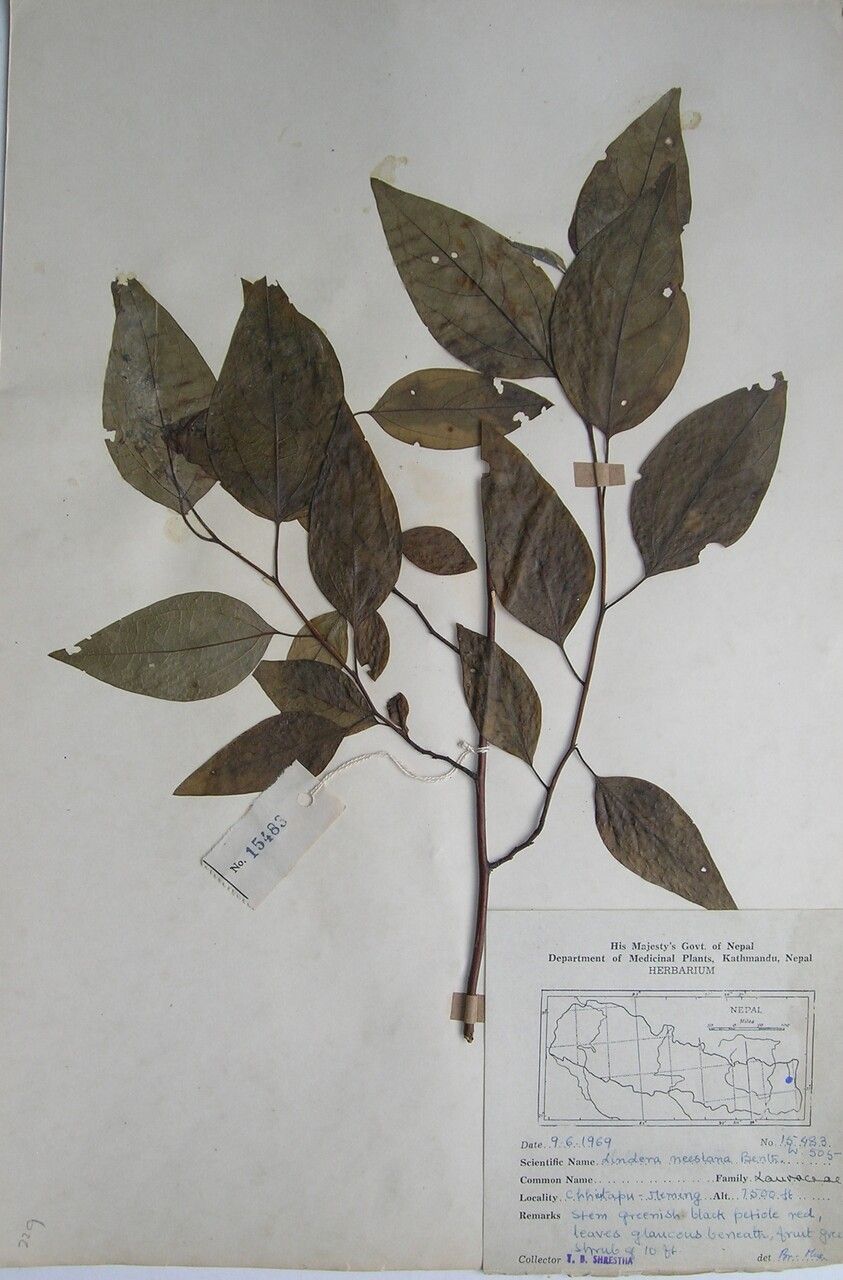
Oh, hello there! Pull up a chair and let’s chat about one of my favorite woodland treasures: Lindera neesiana. If you’re drawn to plants that offer a touch of wild beauty and a subtle, spicy fragrance when you brush past their leaves, you’re going to love this one. Growing them from scratch is a deeply satisfying journey, and while Lindera neesiana isn’t necessarily a plant you’d hand to an absolute beginner for their very first propagation attempt, it’s certainly within reach with a little patience and the right approach. Think of it as a rewarding step up!
The Best Time to Start
For the best shot at success with Lindera neesiana, I always find that late spring to early summer is the sweet spot. This is when the plant is actively growing, and you’ll be able to take cuttings that have a good amount of energy stored up. You’re looking for growth that is semi-hardwood – not the brand new, super-soft, floppy tips, but also not the old, woody stems from last year.
Supplies You’ll Need
Here’s what I always have on hand when I’m ready to get propagating:
- Sharp, clean pruning shears or a grafting knife: You want to make clean cuts to minimize damage and disease.
- Rooting hormone: A powder or gel works well. It’s not strictly essential for all plants, but for Lindera neesiana, it can really give your cuttings a helpful boost.
- A well-draining potting mix: I like to use a blend of equal parts peat moss (or coco coir), perlite, and a little bit of compost. Good aeration is key!
- Small pots or propagation trays: Clean ones, of course!
- A plastic bag or humidity dome: To keep the humidity high around your cuttings.
- Water: For misting.
- Labels and a marker: To keep track of what you’ve planted and when.
Propagation Methods
The most reliable way I’ve found to propagate Lindera neesiana is through stem cuttings. It’s a method that works well with its growth habit.
- Take the Cuttings: Using your sharp shears, snip off pieces of stem that are about 4-6 inches long. Make the cut just below a leaf node (where a leaf attaches to the stem). Choose stems that are currently growing but have started to firm up slightly – you can gently bend them, and they’ll break cleanly rather than flop over.
- Prepare the Cuttings: Carefully remove the lower leaves from your cuttings. You want to leave just a few leaves at the very top to help with photosynthesis. If the remaining leaves are very large, you can even snip them in half horizontally to reduce water loss.
- Apply Rooting Hormone: Dip the cut end of each prepared cutting into your rooting hormone, tapping off any excess. Make sure the hormone coats the area where roots will form.
- Plant the Cuttings: Make a small hole in your potting mix with your finger or a pencil, and gently insert the cutting so that the leaves at the top are just above the soil surface. Firm the soil gently around the base of the cutting.
- Create a Humid Environment: Water the potting mix lightly, just enough to moisten it. Then, cover the pot or tray with a clear plastic bag or a humidity dome. This keeps the moisture in and prevents the cuttings from drying out while they’re trying to root.
The “Secret Sauce” (Pro Tips)
Now, for a couple of little tricks that have made all the difference for me:
- Don’t rush to remove the humidity: Seriously, resist the urge to lift that bag or dome every five minutes. Those cuttings need that consistently humid environment. Only lift it briefly to mist if you see condensation disappearing, or to check for new growth.
- Use bottom heat: If you have a seedling heat mat, placing your propagation tray on it can work wonders. Lindera neesiana loves a bit of warmth from below to encourage root development. It’s like giving them a cozy little spa day!
- Be patient with leaf drop: Sometimes, cuttings will drop all their leaves. Don’t automatically discard them! As long as the stem hasn’t gone mushy, it might still be working on its roots. Keep them in their humid environment and see what happens in a few weeks.
Aftercare & Troubleshooting
Once you start to see new leaf growth or feel a gentle tug when you lightly pull on a cutting, you know you’ve got roots! At this point, you can gradually start to acclimate your new little plants to lower humidity. Poke a few holes in your plastic bag, or lift the dome for increasingly longer periods each day.
Keep them in bright, indirect light and continue to water when the top inch of soil feels dry. Don’t let them entirely dry out, but also avoid soggy conditions, as this is a common cause of rot. If you notice any stems turning mushy and black, that’s a sign of rot. It’s usually caused by too much moisture and poor air circulation. Sadly, these are often unsalvageable, so discard them to prevent the rot from spreading.
A Encouraging Closing
Propagation is all about the journey, isn’t it? Be patient with your Lindera neesiana cuttings. Not every single one will make it, and that’s perfectly okay. Just enjoy the process of nurturing these new lives and celebrating the ones that do thrive. Happy propagating!
Resource: