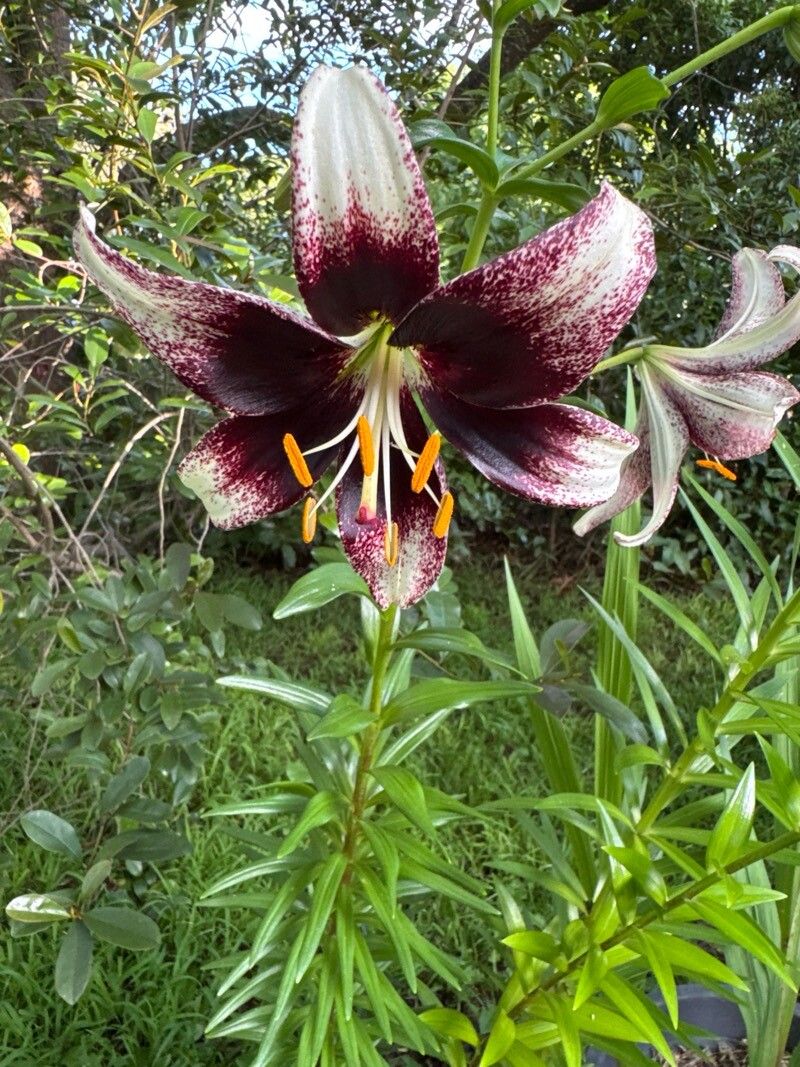
Hello fellow garden enthusiasts! I’m so excited to chat with you today about a truly special lily: Lilium nepalense. If you’re looking for a dramatic splash of color and a touch of the exotic in your garden, this is your plant. Its unique, pendulous flowers, often in shades of lime green, yellow, or apricot with rich maroon throats, are simply captivating. Propagating it yourself? That’s a whole other level of garden joy, creating more of these beauties from just one. Now, I won’t lie, Lilium nepalense can be a bit more particular than your average daylily, so it might be a touch challenging for absolute beginners, but with a little patience and these tips, you’ll be well on your way.
The Best Time to Start
For Lilium nepalense, timing is everything. The absolute sweet spot for propagation is after the plant has finished flowering and the foliage has begun to yellow and die back naturally. This signals that the bulb is actively storing energy, and it’s the perfect moment to try your hand at division. If you’re looking at stem cuttings, the tender new shoots that emerge in late spring to early summer are your best bet. They’re full of life and hormones ready to get things growing.
Supplies You’ll Need
Gathering your tools before you begin will make the process so much smoother. Here’s what I usually have on hand:
- Sharp pruning shears or a clean knife: For making clean cuts.
- A well-draining potting mix: I like a blend of peat moss, perlite, and a bit of compost. About a 1:1:1 ratio works well for me.
- Small pots or trays: For housing your new propagations. Make sure they have drainage holes!
- Rooting hormone (optional, but helpful): Especially for stem cuttings.
- A spray bottle: For misting.
- Labels: So you don’t forget what you planted where!
- A tray or shallow pan: For bottom watering.
- A warm, bright location: Out of direct, scorching sun.
Propagation Methods
Let’s get our hands dirty! Here are the most successful ways I’ve found to propagate Lilium nepalense.
Division (The Most Reliable for Lilies)
This is my go-to method for working with lilies, and it’s usually the most successful.
- Wait for the fade: As mentioned, wait until the green is gone from the leaves.
- Gently excavate: Carefully dig around the base of the plant, loosening the soil. You want to pull the entire bulb clump out of the ground, being as gentle as possible to avoid damaging the bulbs or their roots.
- Separate the bulbs: Look for smaller bulbs that have developed attached to the main bulb. They might have a few tiny roots already. Gently twist or cut them away from the parent bulb. If they have their own roots, that’s a bonus!
- Plant them up: Pot each new bulb or small clump into its own pot filled with your well-draining mix. Bury them so the top of the bulb is just covered by soil.
- Water and wait: Water them in gently, and then place the pots in a bright spot, out of the harsh sun.
Stem Cuttings (A Bit More Advanced)
This method takes a bit more finessing, but it can yield great results if you’re successful.
- Take your cuttings: In late spring or early summer, look for strong, healthy shoots that are about 4-6 inches long. Using your clean pruning shears, make a cut just below a leaf node (where a leaf attaches to the stem).
- Prepare the cutting: Remove the lower leaves, leaving just a few at the top. If you have rooting hormone, dip the cut end into it.
- Planting: Insert the cut end into a pot filled with your prepared potting mix. Make a small hole with a pencil or your finger first to avoid rubbing off the hormone.
- Provide humidity: Gently water the mix and then cover the pot with a clear plastic bag or dome. This creates a mini-greenhouse effect, which is crucial for cuttings to root.
- Provide warmth and light: Place the pot in a warm, bright location, but out of direct sunlight.
The “Secret Sauce” (Pro Tips)
Here are a few things I’ve learned over the years that truly make a difference:
- When dividing bulbs, try to keep a bit of the older root system attached to the new bulb if possible. This gives them a head start. Also, don’t be afraid to remove any damaged or rot-spotted parts of the bulb. A clean cut heals better!
- For stem cuttings, patience is key! Don’t pull them out to check for roots too early. It can take several weeks, and disturbing them can set them back. Consider adding a thin layer of horticultural charcoal to the bottom of your pots before adding soil. It helps to keep things fresh and prevent fungal issues, which lilies are prone to.
- Bottom heat can be a game-changer for stem cuttings. If you have a propagation mat or can place the pots on top of a gently warming surface, it encourages root development much faster.
Aftercare & Troubleshooting
Once you see signs of life – new shoots emerging from the soil or sturdy roots peeking through the drainage holes – you’re on your way!
For divided bulbs, continue to keep them consistently moist but not waterlogged. As they grow stronger, you can gradually introduce them to more light.
For stem cuttings, once they have a good root system, you can carefully remove the plastic covering. Continue to mist them regularly and keep them in bright, indirect light. Eventually, you’ll want to pot them up into slightly larger containers as they develop.
The most common culprit for failure is rot. This usually happens when the propagations are kept too wet and don’t have good drainage. If you see your cutting or bulb turning black and mushy, it’s likely a lost cause. Ensure good air circulation – don’t cram pots too close together – and always err on the side of slightly drier rather than soggy.
A Little Patience Goes a Long Way
Propagating Lilium nepalense is a journey, not a race. There will be times when things don’t work out exactly as planned, and that’s perfectly okay. Every gardener experiences it! Celebrate the successes, learn from the setbacks, and most importantly, enjoy the process of nurturing new life. Happy gardening!
Resource:
https://identify.plantnet.org/k-world-flora/species/Lilium%20nepalense%20D.Don/data