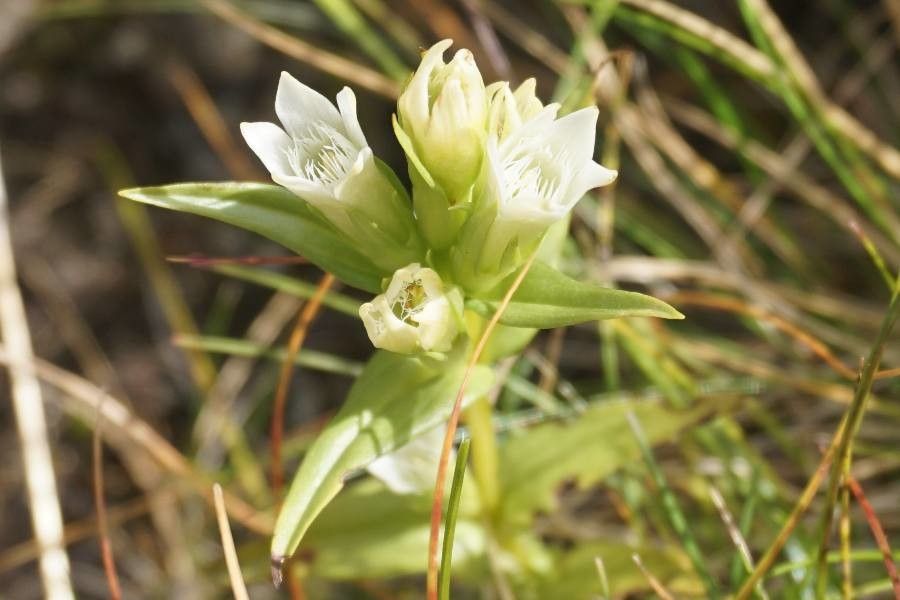
Hello there, fellow garden enthusiasts! It’s me, your resident garden guru, ready to chat about a truly special plant: Gentianella lutescens, or as I affectionately call it, the little sun-kissed gentian. Its delicate, cheerful yellow blooms are like tiny rays of sunshine in the late summer and autumn garden. There’s something incredibly satisfying about coaxing new life from an existing plant, and with Gentianella lutescens, it’s a rewarding journey, though I’ll be honest, it can be a tad fiddly for absolute beginners. But don’t let that deter you!
The Best Time to Start
For a good shot at success, I find the late spring or early summer to be the sweet spot for propagating Gentianella lutescens. This is when the plant is actively growing, producing lovely new shoots that are perfect for taking cuttings. Aim to work with stems that are not yet flowering.
Supplies You’ll Need
Before we get our hands dirty, let’s gather our tools:
- Sharp pruning shears or a clean craft knife: For making clean cuts.
- Sterile propagation mix: A blend of equal parts peat moss or coco coir and perlite or coarse sand works wonders. You want something that drains well.
- Small pots or seed trays: Clean, with drainage holes, of course!
- Rooting hormone (optional but recommended): A powder or gel can give cuttings a helpful boost.
- Watering can with a fine rose: To water gently.
- Clear plastic bag or a propagator lid: To maintain humidity.
Propagation Methods: Taking Cuttings
I’ve found that stem cuttings are the most reliable method for Gentianella lutescens. Here’s how I do it:
- Choose your cutting: Look for healthy, non-flowering stems that are about 3-4 inches long. They should be somewhat firm but still flexible, not woody.
- Make the cut: Using your sharp shears or knife, make a clean cut just below a leaf node (where a leaf meets the stem). Remove the leaves from the bottom half of the cutting.
- Apply rooting hormone (if using): Dip the cut end into the rooting hormone, tapping off any excess.
- Prepare your pots: Fill your small pots or trays with the sterile propagation mix. Moisten it thoroughly but make sure it isn’t soggy.
- Plant your cuttings: Make a small hole in the soil with a pencil or your finger and gently insert the cutting, ensuring the nodes are buried. Firm the soil around it.
- Create humidity: Water gently and then cover the pots with a plastic bag or propagator lid to create a mini-greenhouse. This is crucial for preventing the cuttings from drying out.
- Placement: Place the pots in a bright spot, but out of direct sunlight. A shaded windowsill is perfect.
The “Secret Sauce”
Here are a couple of my hard-won tips that often make all the difference:
- Bottom Heat is Your Friend: For Gentianella lutescens, providing a little bit of bottom heat can really encourage root development. A gentle heating mat placed underneath your propagation tray can speed things up significantly. Keep it at a temperature that feels pleasantly warm to the touch.
- Watch, Don’t Fuss: Resist the urge to constantly check for roots by pulling on the cuttings. This can disturb delicate new growth. Instead, look for signs of new leaf development or a slight resistance when you very gently tug.
Aftercare & Troubleshooting
Once you see signs of rooting – usually new green shoots emerging or a gentle tug indicating resistance – it’s time for a little more attention.
- Acclimatize: Gradually remove the plastic bag or propagator lid over a few days to help the baby plants get used to normal humidity levels.
- Watering: Water when the top inch of soil feels dry. Avoid overwatering; this is the most common culprit for rot. Always ensure good drainage.
- Potting Up: Once the cuttings have developed a good root system, you can carefully pot them into individual, slightly larger pots with a good quality potting mix.
If you see wilting that doesn’t perk up after watering, or mushy stems, it’s a sign of rot, likely due to too much moisture or poor air circulation. Don’t be discouraged if some cuttings don’t make it; it’s part of the learning process!
A Little Patience Goes a Long Way
Propagating Gentianella lutescens is a journey that requires a good dose of patience, a watchful eye, and a bit of love. Don’t be disheartened by setbacks; each attempt teaches you something new. Enjoy the process of nurturing these tiny plants, and soon you’ll be rewarded with more of those delightful yellow blooms to brighten your garden. Happy propagating!
Resource:
https://identify.plantnet.org/k-world-flora/species/Gentianella%20lutescens%20(Velen.)%20Holub/data