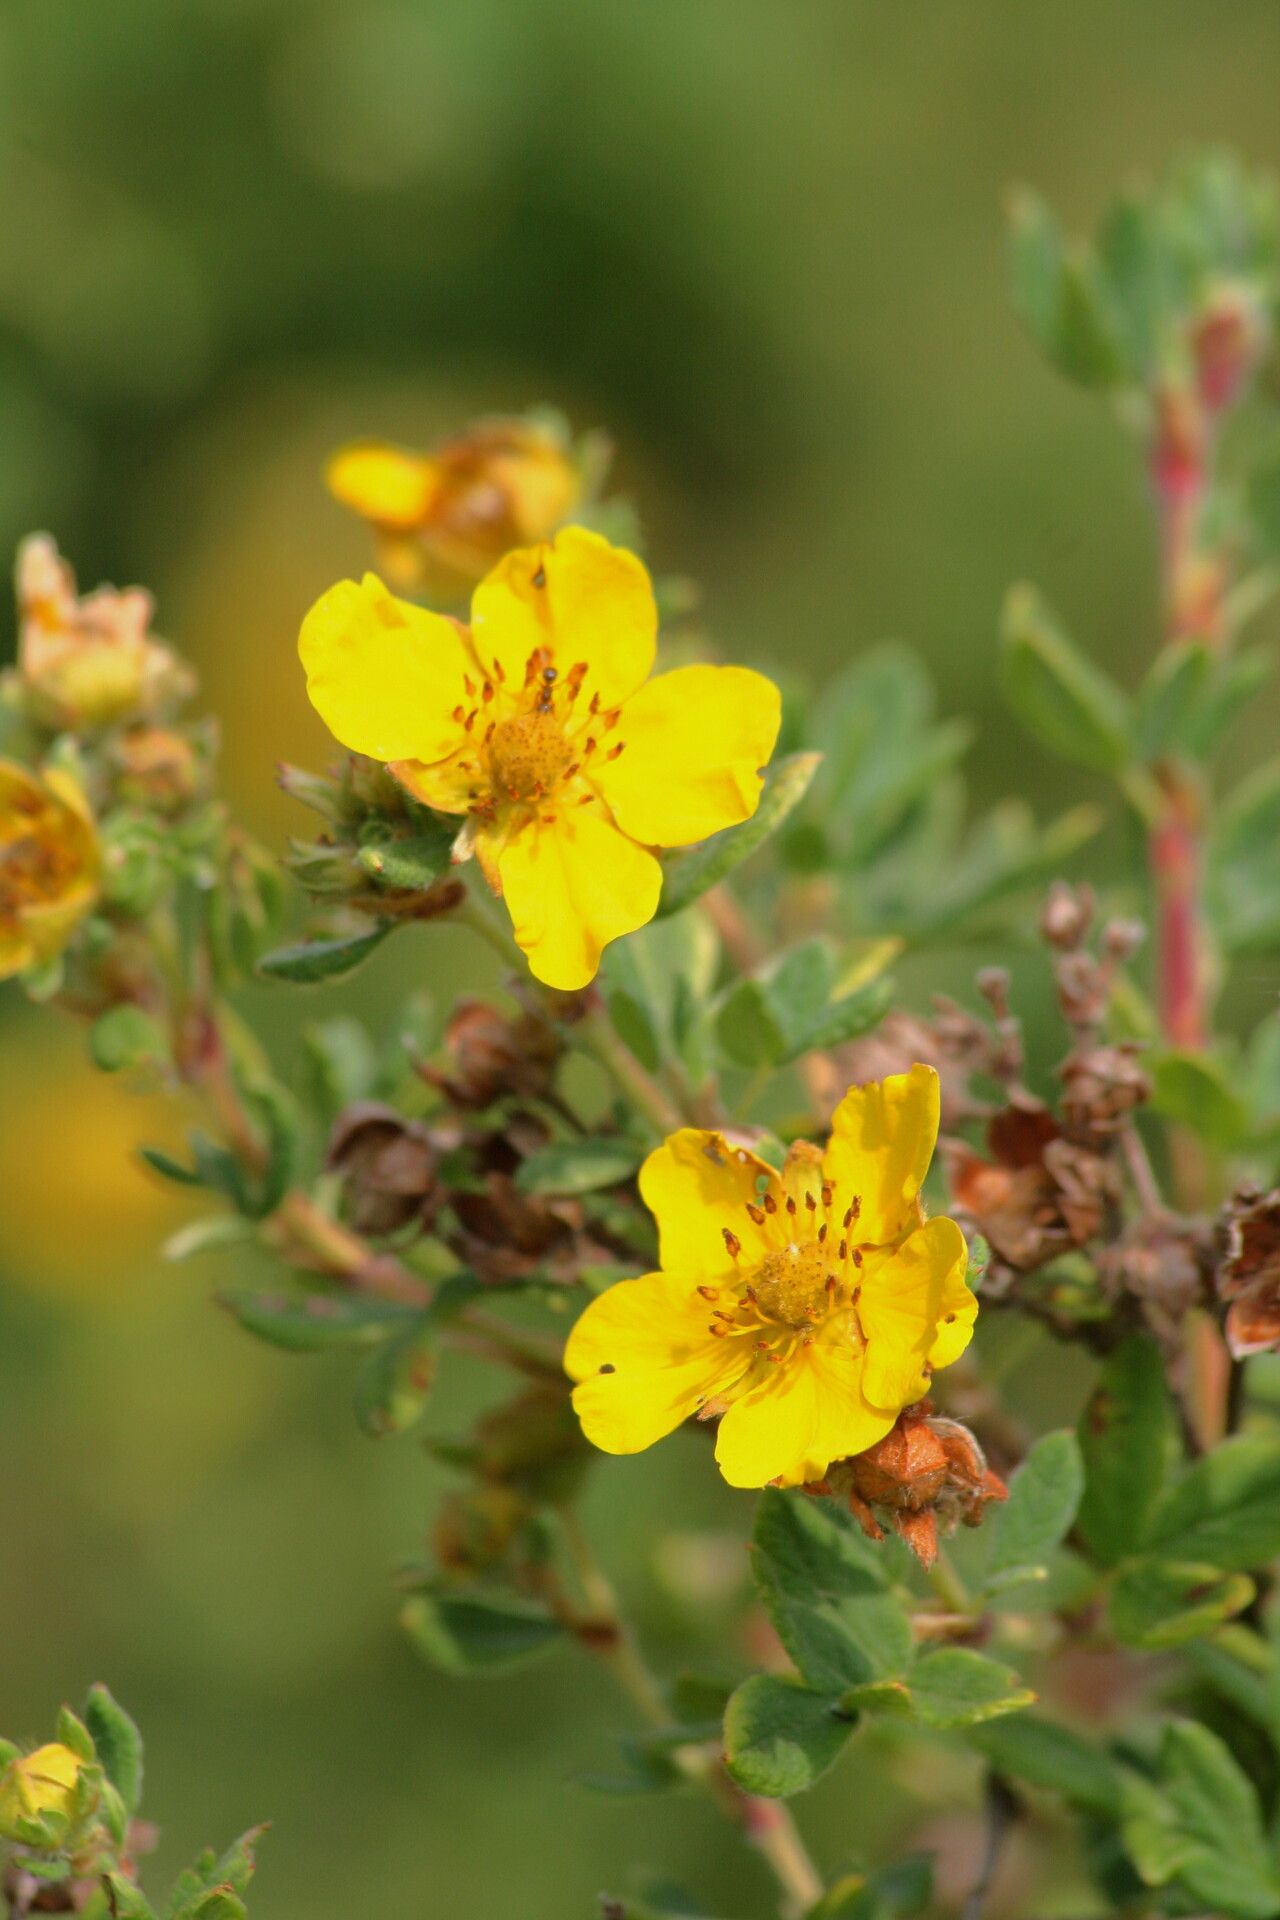
Oh, hello there! Come on in, grab a mug. Today, we’re diving into the delightful world of propagating Dasiphora parvifolia, also known as dwarf shrubby potentilla. This little shrub is just a gem, isn’t it? Its cheerful, usually yellow, flowers bring so much sunshine to the garden from early summer right through to fall. And the best part? Sharing that sunshine with friends or just expanding your own garden is incredibly rewarding. You might be wondering if it’s a tricky plant to get started with. I’ve found it to be quite obliging, even for those just dipping their toes into propagation.
The Best Time to Start
Timing is everything when it comes to giving our baby plants the best shot at success. For Dasiphora parvifolia, I always recommend working with semi-hardwood cuttings. This means we’re looking for stems that have started to firm up but are still somewhat flexible – not the brand new, floppy growth of spring, and definitely not the old, woody growth of last year. Late spring to early summer is usually your sweet spot. You’ll be able to confidently tell your stems are at that perfect stage when they snap cleanly rather than bend.
Supplies You’ll Need
Gathering your tools before you start makes the whole process much smoother. Think of it like preparing your ingredients before you bake! Here’s what I like to have on hand:
- Sharp Pruning Shears or a Knife: Clean cuts are crucial for preventing disease.
- Rooting Hormone: This isn’t strictly necessary for potentilla, but it really gives your cuttings an extra boost. I prefer a powder form.
- Well-Draining Potting Mix: A good blend for me is equal parts peat moss, perlite, and coarse sand. Or, you can find specialized seed-starting or propagation mixes at your garden center.
- Small Pots or a Propagation Tray: Make sure they have drainage holes!
- Plastic Bag or Clear Dome: To keep humidity high around your cuttings.
- Watering Can or Spray Bottle: For gentle watering.
- Labels and a Pen: To keep track of what you planted and when.
Propagation Methods
Dasiphora parvifolia is wonderfully cooperative when it comes to stem cuttings. It’s my go-to method, and I think you’ll find it quite successful.
Stem Cuttings
- Select Your Stems: On a healthy, established plant, choose stems that are about 4-6 inches long. Look for that semi-hardwood stage we talked about – firm but not woody.
- Make the Cut: Using your clean shears, take cuttings from the tips of the stems. Make your cut just below a leaf node. This is that little bump where a leaf attaches to the stem; it’s where roots love to form.
- Prepare the Cuttings: Gently remove the lower leaves from the bottom half of the cutting. You want to keep a few leaves at the very top to help the cutting photosynthesize. If the remaining leaves are very large, you can even cut them in half to reduce water loss.
- Apply Rooting Hormone: Dip the cut end of each stem into your rooting hormone powder. Tap off any excess – you don’t want a thick clump.
- Plant Your Cuttings: Fill your small pots or trays with your prepared potting mix. Moisten it thoroughly. Then, make a small hole with a pencil or your finger, and insert the end of your cutting. Gently firm the soil around the stem to ensure good contact.
- Provide Humidity: You can either place a clear plastic bag over the pot (making sure it doesn’t touch the leaves!) or cover the tray with a clear dome. This creates a mini-greenhouse environment, which is just what cuttings need. Place them in a spot with bright, indirect light.
The “Secret Sauce” (Pro Tips)
Now, for a couple of little tricks that have helped me get even better results:
- Don’t Let the Leaves Touch Anything Wet: When you’re setting up your cuttings, make sure none of the remaining leaves are touching the soil surface or the sides of the plastic bag. If they sit in moisture, they’re prone to rot before they can even think about rooting.
- Bottom Heat is Your Friend: If you can, place your propagation tray on a heating mat. This gentle warmth from below encourages root development much faster than ambient room temperature alone. It’s like giving those baby roots a cozy little booster seat.
Aftercare & Troubleshooting
Once your cuttings are planted, the wait begins! Keep the soil consistently moist but not waterlogged. You should be able to maintain this humidity with your bag or dome. You’ll know they’re rooting when you start to see new leaf growth appearing at the top. This usually takes anywhere from 4 to 8 weeks, sometimes a little longer.
If you notice leaves turning yellow and mushy, or the stem looks black and soft at the base, it’s a sign of rot. This usually means the cutting is getting too much water and not enough air circulation, or it’s too cold. Don’t be discouraged if a few don’t make it – it happens to all of us! Just remove the failed cutting and let the others keep going.
A Encouraging Closing
Propagating plants is a journey, and like any good journey, it requires a little patience. Enjoy the process of nurturing these tiny new lives. Watch for those first signs of root development, and celebrate each success! Soon enough, you’ll have a whole garden full of beautiful Dasiphora parvifolia to enjoy. Happy propagating!
Resource: