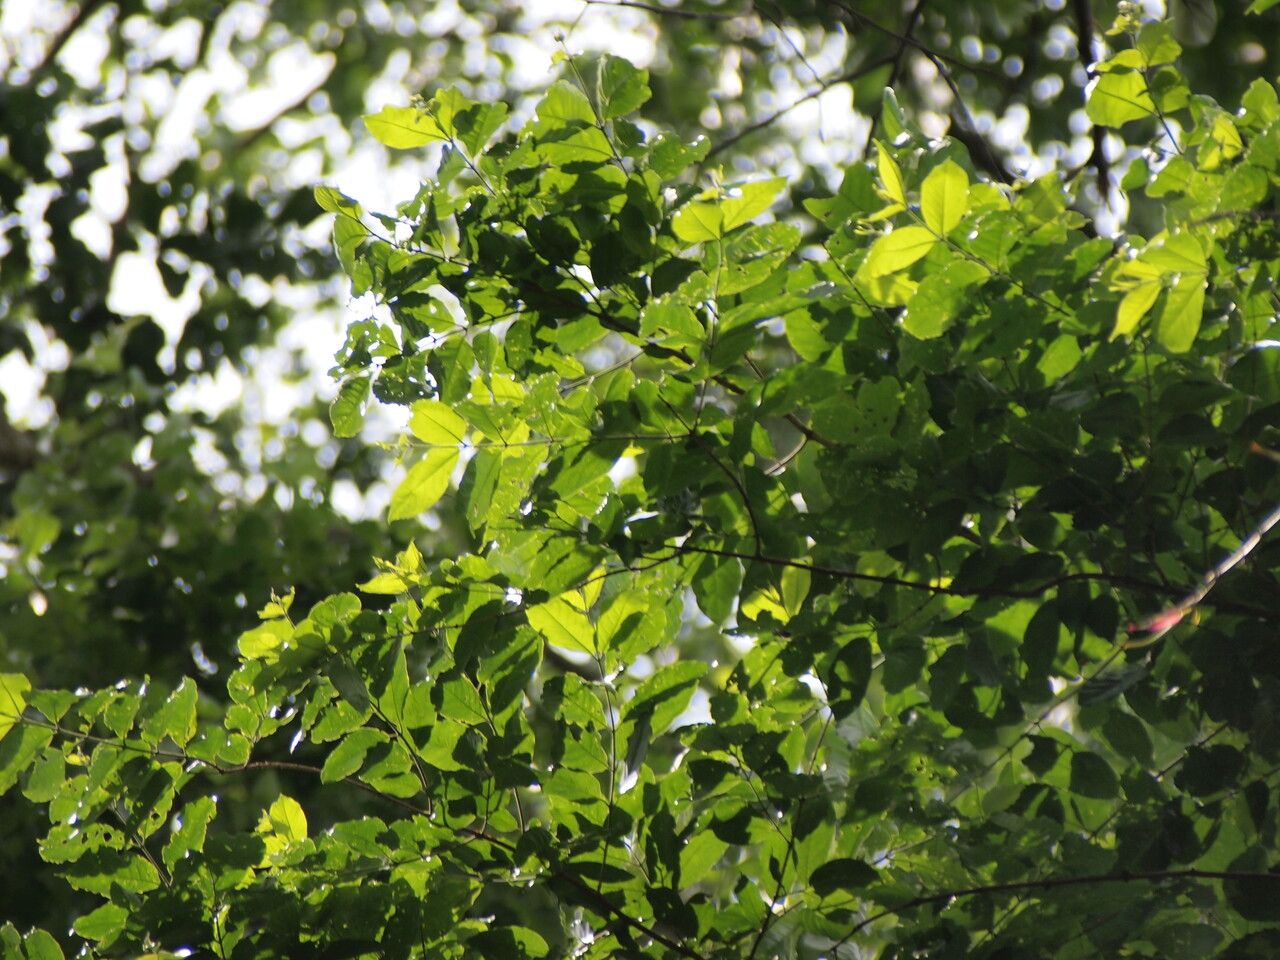
Ah, Combretum lokele! If you’ve ever seen this beauty gracing a garden – with its vibrant blooms and lush foliage – you know why it steals the show. There’s something incredibly satisfying about nurturing a new life from a tiny piece of the parent plant. It’s like magic, but with dirt! And while it might sound a touch intimidating, propagating Combretum lokele is a journey that’s definitely achievable, even for those of you just dipping your toes into the wonderful world of plant propagation. I’ve had plenty of successes (and a few learning moments!) with this one over the years.
The Best Time to Start
For Combretum lokele, I find that late spring to early summer is your golden window. This is when the plant is in its most vigorous growth phase after a chilly winter. You’ll be taking cuttings from new, yet slightly hardened stems – what we horticulturists call “semi-hardwood” cuttings. They have enough maturity to hold their own but are still wonderfully pliable and full of life, eager to sprout roots.
Supplies You’ll Need
Gathering your supplies upfront makes the whole process so much smoother. Here’s what I always have on hand:
- Sharp, clean pruning shears or a keen knife: You want a clean cut to minimize damage and disease.
- A good quality potting mix: I like to use a blend that drains well. A mix of bark chips, perlite, and peat moss is my go-to. If you can’t find that, a standard potting mix with extra perlite added works wonders.
- Small pots or trays with drainage holes: Terra cotta pots are fantastic because they breathe, but plastic works just fine too.
- Rooting hormone (optional but recommended): This little helper significantly boosts your success rate, especially for trickier plants. Powder or gel works.
- A clear plastic bag or a propagation dome: This creates a humid microclimate, which is crucial for cuttings.
- Water spray bottle: For keeping things moist without waterlogging.
- A small trowel or dibber: To make planting your cuttings easier.
Propagation Methods
For Combretum lokele, stem cuttings are my favorite and most reliable method.
- Select your stems: Look for healthy, strong stems on your mature Combretum lokele. Aim for stems that are about pencil-thickness and have a few leaves. You want to avoid the very soft, new growth or the woody old stems.
- Take your cuttings: Using your clean shears, snip off sections of stem about 4-6 inches long. Make sure each cutting has at least two sets of leaves.
- Prepare the cuttings: Gently remove the lower leaves from the cutting, leaving just the top two or three sets. If the leaves are very large, you can even cut them in half horizontally to reduce water loss.
- Apply rooting hormone (if using): Dip the cut end of the stem into the rooting hormone, tapping off any excess.
- Plant your cuttings: Make a hole in your potting mix with your trowel or dibber. Insert the prepared cutting into the hole, ensuring the nodes (where leaves were removed) are buried in the soil. Gently firm the soil around the base of the cutting.
- Water gently: Lightly mist the cuttings and the surrounding soil with your spray bottle.
- Create a humid environment: Cover the pot or tray with a clear plastic bag (propping it up so it doesn’t touch the leaves!) or a propagation dome. This traps moisture.
- Find a warm, bright spot: Place your propagation setup in a location that gets bright, indirect light. Avoid direct sun, as it can scorch the tender cuttings.
The “Secret Sauce” (Pro Tips)
Here are a couple of things I’ve learned over the years that really make a difference:
- Bottom heat is your best friend: If you can, place your propagation tray or pots on a heat mat designed for plants. This gentle bottom warmth encourages root development from below, mimicking the warm soil conditions mother nature provides.
- Don’t overcrowd them: Give your cuttings a little breathing room in their pots. Cramped conditions can lead to fungal issues. If you’re using a propagation tray, make sure the cuttings aren’t touching each other.
- Watch for pests in their cozy home: That plastic dome creates a perfect humid haven, but it can also be a haven for the occasional aphid or mealybug. Give them a quick check every few days. A gentle wipe with a damp cloth or a very dilute neem oil spray can tackle any unwelcome guests.
Aftercare & Troubleshooting
Once you see new growth or feel some gentle resistance when you lightly tug on a cutting (a good sign of roots!), it’s time to slowly introduce your new plants to the outside world.
- Acclimatize them: Gradually remove the plastic bag or dome for longer periods over a week or two. This helps them adjust to lower humidity.
- Water them carefully: Keep the soil consistently moist but not soggy. Overwatering is the quickest way to invite rot, a common culprit when things go wrong. If you see wilting that seems constant, it’s often a sign of rot at the roots.
- Watch for signs of rot: If a cutting turns black and mushy, it’s likely rotted. Remove it immediately to prevent it from spreading to others. Sometimes, if you catch it super early, you can even try to salvage a healthy-looking part of the stem and try again!
A Encouraging Closing
Remember, propagation is a journey of patience and observation. Not every cutting will make it, and that’s perfectly okay. Each attempt is a learning experience that brings you closer to understanding your plants. So, take a deep breath, get your hands a little dirty, and enjoy the process of coaxing new life from your beloved Combretum lokele. Happy propagating!
Resource:
https://identify.plantnet.org/k-world-flora/species/Combretum%20lokele%20Liben/data