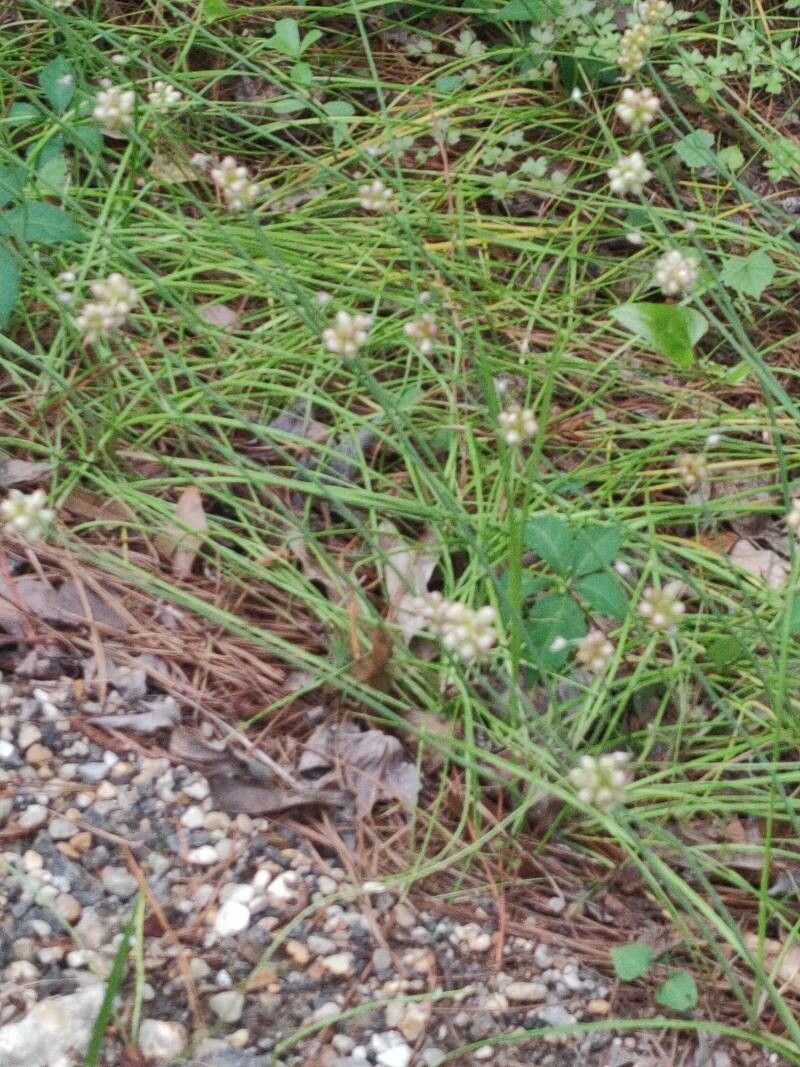
Hello there, fellow plant lovers! I’m so excited to chat with you today about a truly special plant: Asclepias linearis, or narrowleaf milkweed. If you’re looking for a native beauty that benefits our precious pollinators, this is it. Its delicate, starry blooms are a magnet for butterflies, and as a bonus, it’s the host plant for monarch caterpillars. For those of you just starting out on your propagation journey, Asclepias linearis can be a moderate challenge, but with a little patience and these tips, you’ll be well on your way to success. Watching a tiny cutting transform into a thriving plant is one of the most rewarding feelings in gardening, and I can’t wait for you to experience it.
The Best Time to Start
For the highest success rates with Asclepias linearis, I’ve found that late spring through mid-summer is your golden window. This is when the plant is actively growing and has plenty of energy reserves to put into developing roots. Aim to take cuttings from healthy, non-flowering stems. Starting now means your new plants will have a good chance of establishing themselves before the cooler weather sets in.
Supplies You’ll Need
Here’s a little gathering of what you’ll want to have on hand:
- Sharp Pruning Shears or a Clean Knife: For making clean cuts.
- Rooting Hormone (Optional but Recommended): A powder or gel that encourages root development.
- Well-Draining Potting Mix: I love a blend of peat moss, perlite, and a little compost. For milkweeds, good drainage is non-negotiable!
- Small Pots or Seedling Trays: With drainage holes, of course.
- Clear Plastic Bags or a Propagator: To create a humid environment.
- Watering Can or Spray Bottle: For gentle watering.
- Labels and a Marker: To keep track of your cuttings.
Propagation Methods
Let’s get our hands dirty! Here are a couple of ways I like to propagate Asclepias linearis:
1. Stem Cuttings: My Go-To Method
This is my preferred method because it’s generally quite successful if you get the conditions right.
- Take Your Cuttings: In late spring or early summer, select healthy, non-flowering stems. Using your sharp shears or knife, take a cutting that is about 4-6 inches long. Make the cut just below a leaf node (where a leaf joins the stem).
- Prepare the Cutting: Gently remove the lower leaves from the cutting, leaving just a couple of leaves at the top. This helps the cutting conserve energy and prevents leaves from rotting in the soil.
- Apply Rooting Hormone (Optional): Dip the cut end of the stem into the rooting hormone, tapping off any excess.
- Plant Your Cuttings: Fill your small pots with your well-draining potting mix. Make a small hole in the center with your finger or a pencil.
- Insert and Water: Place the cut end of the stem into the hole and gently firm the soil around it. Water thoroughly but gently, ensuring the soil is moist but not waterlogged.
- Create Humidity: Cover the pot loosely with a clear plastic bag or place it in a propagator. This will create a mini-greenhouse effect. Place the pots in a bright location, but out of direct, harsh sunlight.
2. Water Propagation: A Visual Treat
This method allows you to watch the roots grow, which is always exciting!
- Take and Prepare Cuttings: Follow the same steps as for stem cuttings above, but you don’t need to prepare for planting yet.
- Place in Water: Place the prepared cuttings in a clean jar or glass of water. Ensure that the leaves are NOT submerged in the water, as this can lead to rot. Only the submerged stem should be in contact with the water.
- Change Water Regularly: Change the water every 2-3 days to keep it fresh and prevent bacterial growth.
- Locate Wisely: Place the jar in a bright spot, away from direct sun.
- Transplant When Ready: Once you see small, healthy roots developing (usually an inch or two long), it’s time to carefully transplant them into pots filled with your well-draining potting mix. Handle the delicate new roots with care!
The “Secret Sauce” (Pro Tips)
Here are a few things I’ve learned over the years that can really boost your success:
- Milkweed’s Sticky Secret: If you notice a sticky, milky sap oozing from your cut stems, that’s normal for milkweeds! Sometimes, it’s extra sticky. A quick rinse under cool water can help remove excess sap before applying rooting hormone and planting. This isn’t always necessary, but it can sometimes prevent issues with the hormone not adhering properly.
- Bottom Heat is Your Friend: For stem cuttings, especially, consistent warmth from below can significantly speed up root development. A seed starting mat placed under your pots creates ideal conditions. Aim for temperatures around 70-75°F (21-24°C).
- Don’t Rush the Transplant: For water propagation, wait until you have a decent root system developed, at least an inch or two long, before moving to soil. Trying to transplant too early can stress the fragile roots.
Aftercare & Troubleshooting
Once your cuttings have taken root (you can gently tug on a stem – if there’s resistance, you likely have roots!), it’s time for a bit of tender loving care.
- Gradually Acclimate: If you used a plastic bag or propagator, slowly introduce your new plants to drier air by gradually opening the cover over a few days. This prevents shock.
- Watering: Water your new plants when the top inch of soil feels dry. Milkweeds prefer to dry out a bit between waterings.
- Light: Continue to provide bright, indirect light. As they grow stronger, you can slowly introduce them to more direct sunlight.
- Troubleshooting: The most common issue you’ll face is rot. This usually happens with overwatering or poor drainage. If you see mushy stems or wilting that doesn’t improve with watering, it’s likely rot. Sadly, there’s usually no coming back from severe rot, so prevention is key! Yellowing leaves on a cutting that hasn’t rooted yet might indicate too much moisture or not enough light.
A Encouraging Closing
So there you have it – a guide to bringing more Asclepias linearis into your garden. Remember, propagation is as much about the journey as it is about the destination. Some cuttings will thrive, and some might not make it, and that’s perfectly okay! The key is to be patient, observe your plants, and learn from each attempt. Happy propagating, and I hope you enjoy the company of many happy pollinators in your garden soon!
Resource:
https://identify.plantnet.org/k-world-flora/species/Asclepias%20linearis%20Scheele/data