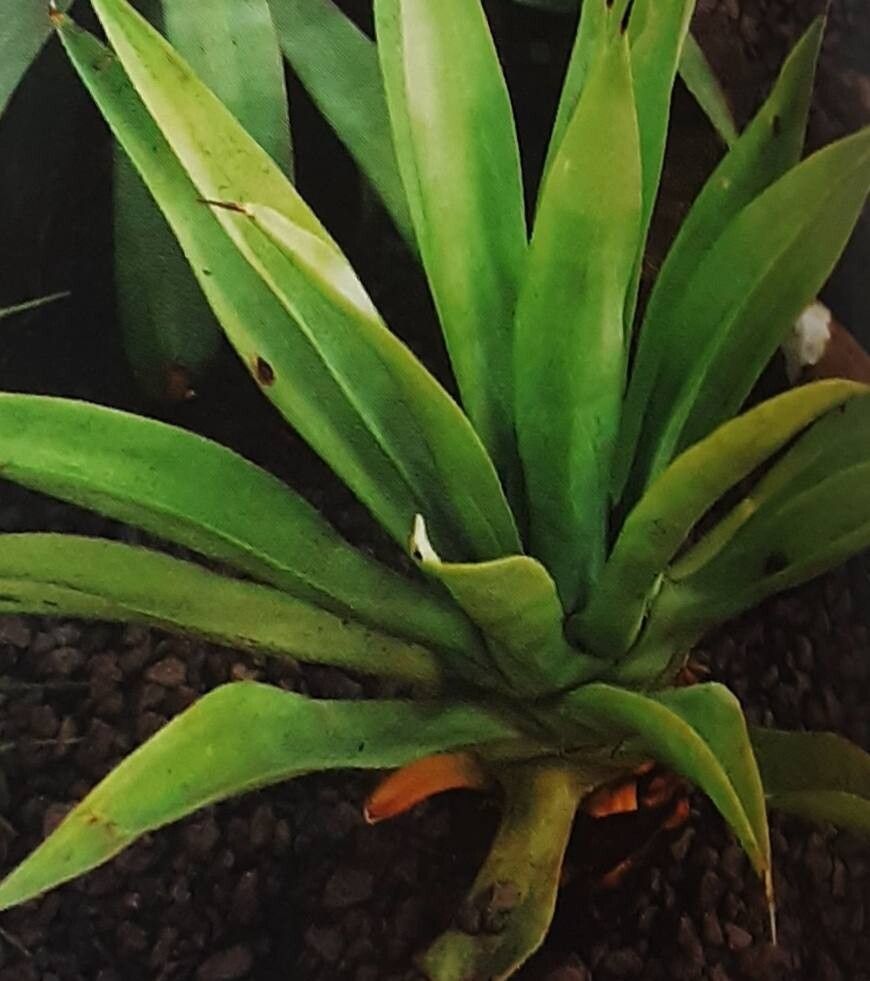
Oh, hello there! Come on in, pull up a chair. I’ve been just itching to chat with you about one of my absolute favorite plants: Agave anomala. If you’ve ever seen one of these beauties, you know exactly what I mean. Those striking, architectural rosettes just bring a touch of the desert Southwest right into our gardens. And the best part? You can easily multiply them! Propagating Agave anomala is wonderfully rewarding. It’s not an overly fussy plant, so while it requires a little care, I think even beginners will find it quite manageable and a real joy to succeed with.
The Best Time to Start
For the absolute best success rate, I always recommend starting during the peak growing season. For succulents like Agave anomala, that’s generally late spring through mid-summer. You want them to have plenty of natural light and warmth to encourage robust root development. Trying to propagate when things are winding down for the winter can be a recipe for disappointment.
Supplies You’ll Need
Gathering your supplies beforehand makes the whole process so much smoother. Here’s what I usually have on hand:
- Sharp, clean pruning shears or a sharp knife: Sterilize them with rubbing alcohol to prevent introducing any nasties.
- A well-draining potting mix: I love a blend of cactus/succulent mix with added perlite or pumice for extra aeration.
- Rooting hormone powder (optional but helpful): This gives cuttings a little extra encouragement.
- Small pots or trays: Make sure they have drainage holes!
- Gloves: Agave spines can be no joke!
- A shallow tray or saucer: For bottom watering later on.
Propagation Methods
Agave anomala is most commonly propagated by its offsets, also known as “pups.” These are baby plants that grow from the base of the mother plant.
Method: Offset Division
This is by far the easiest and most successful way to propagate Agave anomala.
- Identify the offsets: Look for small agaves growing around the base of your mature plant. They should have their own developing leaves.
- Gently loosen the soil: Around the base of the mother plant and the offset you want to remove. This will give you better access.
- Carefully detach the offset: Using your sharp knife or pruning shears, cut the offset away from the mother plant. Try to get a good portion of its base, where roots will eventually emerge. If the offset already has some visible roots, that’s a bonus!
- Allow to callus: This is crucial! Place the detached offset in a dry, well-ventilated spot away from direct sunlight for several days to a week. You want the cut end to dry out and form a protective callus. This prevents rot when you eventually plant it.
- Plant the offset: Once callused, plant the offset in your well-draining potting mix. You can use a small pot or a tray. Don’t bury it too deeply – just enough to keep it upright.
- Wait to water: Resist the urge to water immediately! Wait another week or so after planting before giving it its first light watering. This gives any tiny cuts a bit more time to heal.
The “Secret Sauce” (Pro Tips)
Sometimes, it’s the little things that make a big difference, right? Here are a couple of tricks I’ve picked up over the years:
- Patience with roots: Don’t be tempted to pull up your new offset to check for roots too soon. It can take weeks, even months, for them to establish. Trust the process! If the leaves remain firm and plump, that’s usually a good sign.
- Bottom heat is your friend: If you’re propagating in a cooler environment or during a slightly cooler time, placing your pots on a seedling heat mat can significantly speed up root formation. It mimics that lovely warmth agaves crave.
- Less is more with water: When you do start watering, water sparingly. Overwatering is the most common killer of newly propagated succulents. Let the soil dry out completely between waterings.
Aftercare & Troubleshooting
Once your Agave anomala begins to show signs of rooting (usually a slight plumpness in the leaves and, if you’re lucky, a gentle tug revealing some resistance), you can gradually increase watering. Continue to water deeply but infrequently, allowing the soil to dry out completely between waterings. Keep it in bright, indirect light initially, then slowly introduce it to more direct sun as it gets stronger.
The biggest issue you’ll likely encounter is rot. If the leaves start to look mushy, discolored, or droop dramatically, it’s a strong indicator of too much moisture. Sadly, if rot sets in deeply, it’s often irreversible. This is why proper drainage and allowing the cutting to callus are so vital.
A Little Encouragement
Don’t be discouraged if your first attempt isn’t a showstopper. Gardening is a journey, and propagation is an art that takes practice. Be patient, observe your plant, and celebrate every little success. Watching a new life emerge from your own efforts is one of the most satisfying aspects of this hobby. Happy propagating!
Resource:
https://identify.plantnet.org/k-world-flora/species/Agave%20anomala%20Trel./data