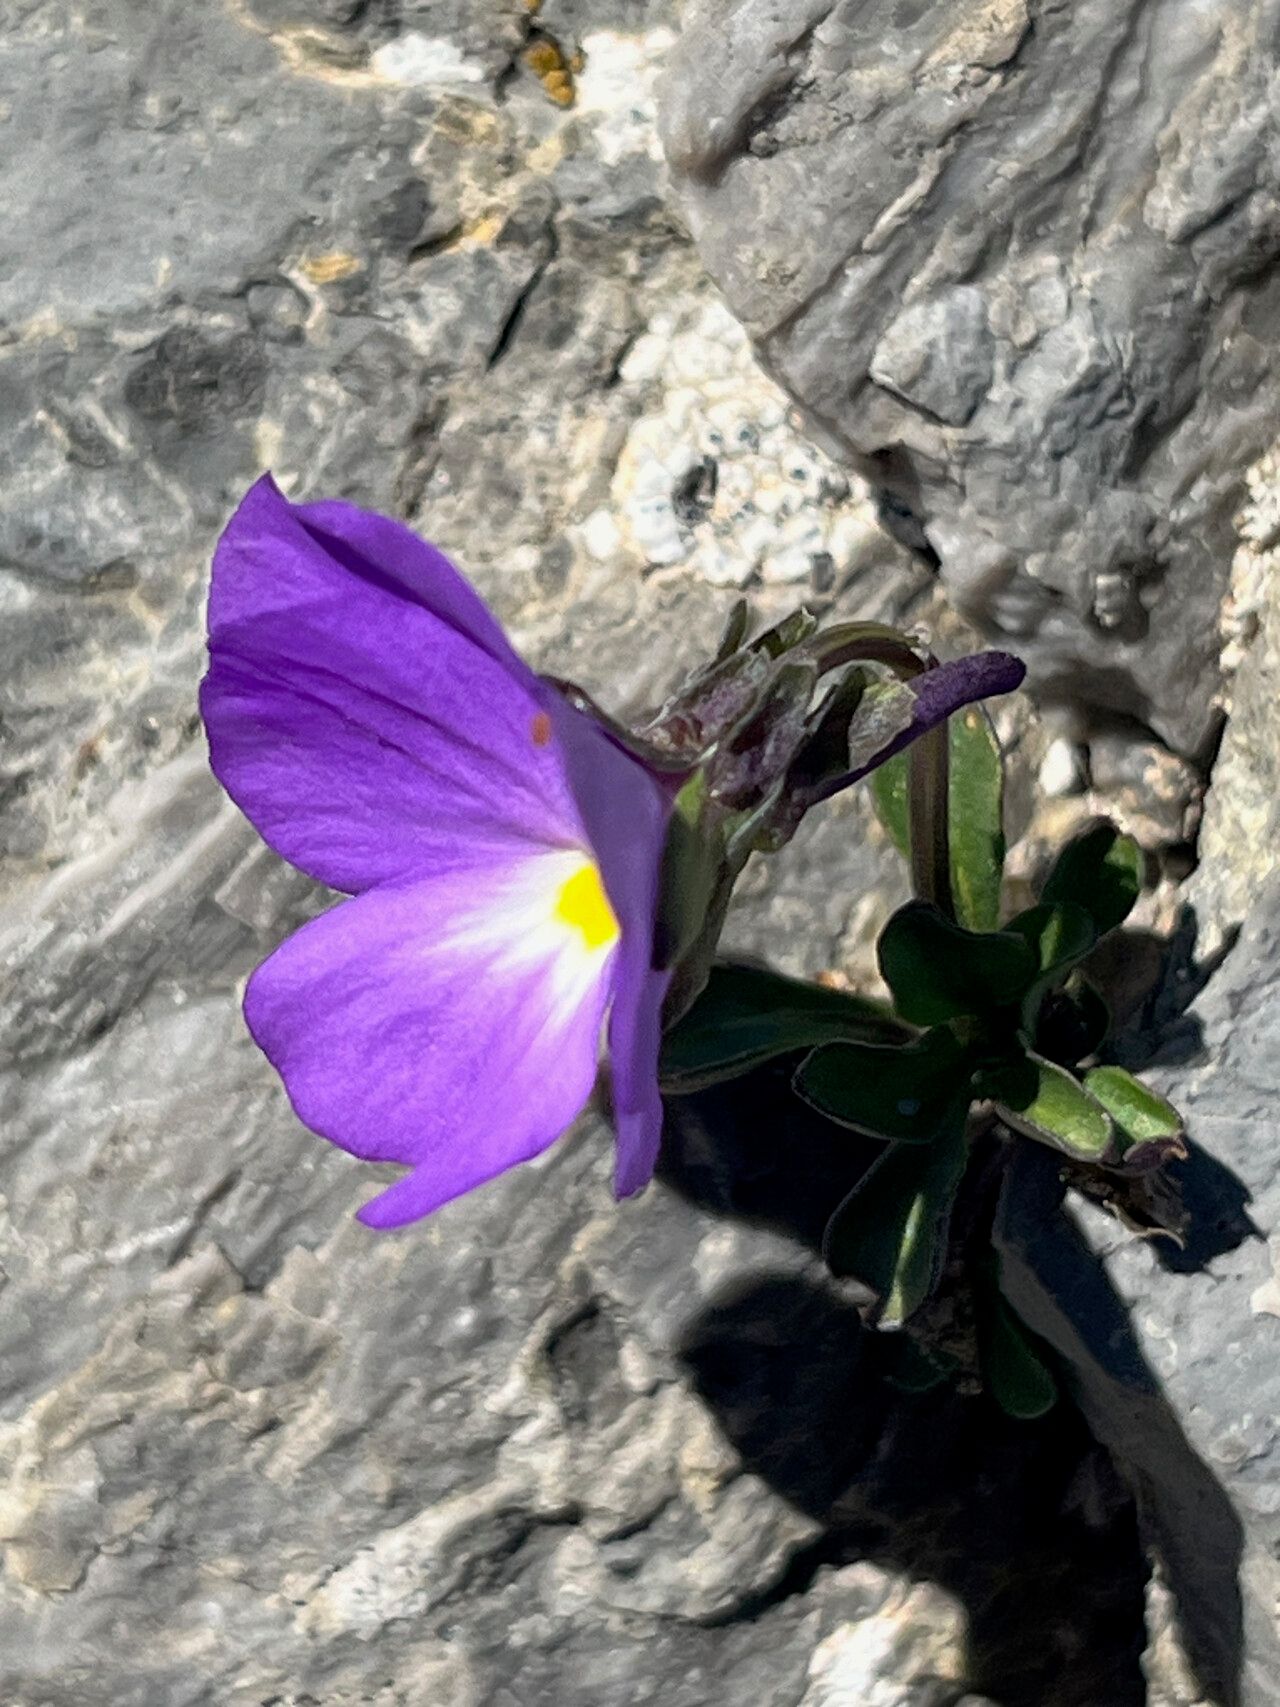
Hello there, fellow garden enthusiasts! It’s wonderful to have you join me today. If you’re a fan of delicate beauty and a splash of color, then you’re going to fall in love with Viola cenisia. This charming little viol, often found gracing alpine meadows, brings a touch of wild elegance to any garden. Its dainty, often uniquely colored flowers are a joy to behold, and the thought of coaxing more of these beauties from existing plants is incredibly rewarding. Now, I won’t lie, Viola cenisia can be a little more particular than your average bedding plant, but with a bit of know-how, it’s wonderfully achievable.
The Best Time to Start
For the happiest Viola cenisia cuttings, I’ve found that late spring or early summer is your golden window. This is when the plant is actively growing, full of vigor, and has plenty of young, pliable stems to work with. Starting a little later in the season can also work, but aim for a time when your days are still long and warm, but the intense heat of midsummer hasn’t quite set in.
Supplies You’ll Need
Gathering your tools beforehand makes the whole process so much smoother. Here’s what I always have on hand:
- Sharp pruning shears or a clean, sharp knife: For making precise cuts.
- Potting mix: A well-draining mix is crucial. I often use a blend of peat moss, perlite, and a bit of coarse sand – about 2:1:1 ratio.
- Small pots or propagation trays: Ensure they have drainage holes.
- Rooting hormone (optional but recommended): A good-quality rooting powder or gel can give your cuttings a significant boost.
- Plastic bags or a propagator: To maintain humidity, which is vital for cuttings.
- Water: For misting and watering.
- Labels: Don’t forget to label your precious little ones!
Propagation Methods
I find that stem cuttings are the most reliable way for me to propagate Viola cenisia. It’s straightforward and yields great results.
- Select your stems: Look for healthy, non-flowering shoots that are about 3-4 inches long. The stem should be slightly firm but still somewhat flexible – think of a pencil, not a twig.
- Make the cut: Using your sharp shears or knife, make a clean cut just below a leaf node. A leaf node is that little bump where a leaf emerges from the stem; this is where roots are most likely to form.
- Prepare the cuttings: Gently remove the lower leaves from the bottom half of the stem. This prevents leaves from being submerged in water or soil, which can lead to rot. You can leave the top one or two sets of leaves intact. If the remaining leaves are very large, you can even cut them in half to reduce water loss.
- Apply rooting hormone (if using): Dip the cut end of the stem into the rooting hormone, tapping off any excess.
- Pot them up: Fill your small pots or trays with your well-draining potting mix. Make a small hole in the center of the soil with a pencil or your finger. Gently insert the cutting into the hole, ensuring the leaf nodes are buried. Firm the soil gently around the base of the cutting.
- Water gently: Water the soil thoroughly but carefully, ensuring it’s moist but not waterlogged.
- Create a humid environment: Either cover the pots with a clear plastic bag (propping it up with sticks so it doesn’t touch the leaves) or place them in a propagator. This high humidity is key for preventing the cuttings from drying out before they can root.
- Placement: Place your pots in a bright spot out of direct sunlight. A warm windowsill is usually perfect.
The “Secret Sauce” (Pro Tips)
Here are a couple of things I’ve learned over the years that make a real difference:
- Bottom warmth is a game-changer! If you can place your propagation tray on a gentle heat mat, it encourages root development far quicker. Just a little bit of warmth from beneath makes your viola cuttings incredibly happy.
- Don’t be impatient with misting. Cuttings need consistent moisture, but not soggy feet. I like to mist the leaves and the surface of the soil every other day, especially if they are covered. This keeps the humidity up without drowning them.
Aftercare & Troubleshooting
Once your cuttings have developed little roots – you’ll often see them peeking out of the drainage holes or feel a gentle tug when you very lightly pull on the stem – it’s time for a little more attention.
Start by gradually acclimatizing them to less humid conditions. Remove the plastic bag or open the propagator lid for longer periods each day over a week. Continue to water them regularly, allowing the soil surface to dry out slightly between waterings. Once they’ve established a good root system, you can transplant them into slightly larger pots.
Now, let’s talk about what might go wrong. Rot is the enemy! If your cuttings turn black and mushy, it’s usually a sign of too much moisture and not enough air circulation. Ensure your soil drains well and that you’re not overwatering. Yellowing leaves can also indicate a few things – sometimes it’s just the lower leaves dying off as the plant puts energy into roots, or it could be a sign of too much or too little water. Observe your plants closely; they’ll tell you what they need.
A Encouraging Closing
Propagating plants is a wonderful way to deepen your connection with the gardening world. It’s a little act of faith, a whisper of hope as you nurture a tiny piece of potential. Be patient with your Viola cenisia cuttings. Some may take hold quickly, while others might take their time. Every success, no matter how small, is a triumph. So go ahead, get your hands dirty, and enjoy the magical process of making more beauty bloom! Happy gardening!
Resource:
https://identify.plantnet.org/k-world-flora/species/Viola%20cenisia%20L./data