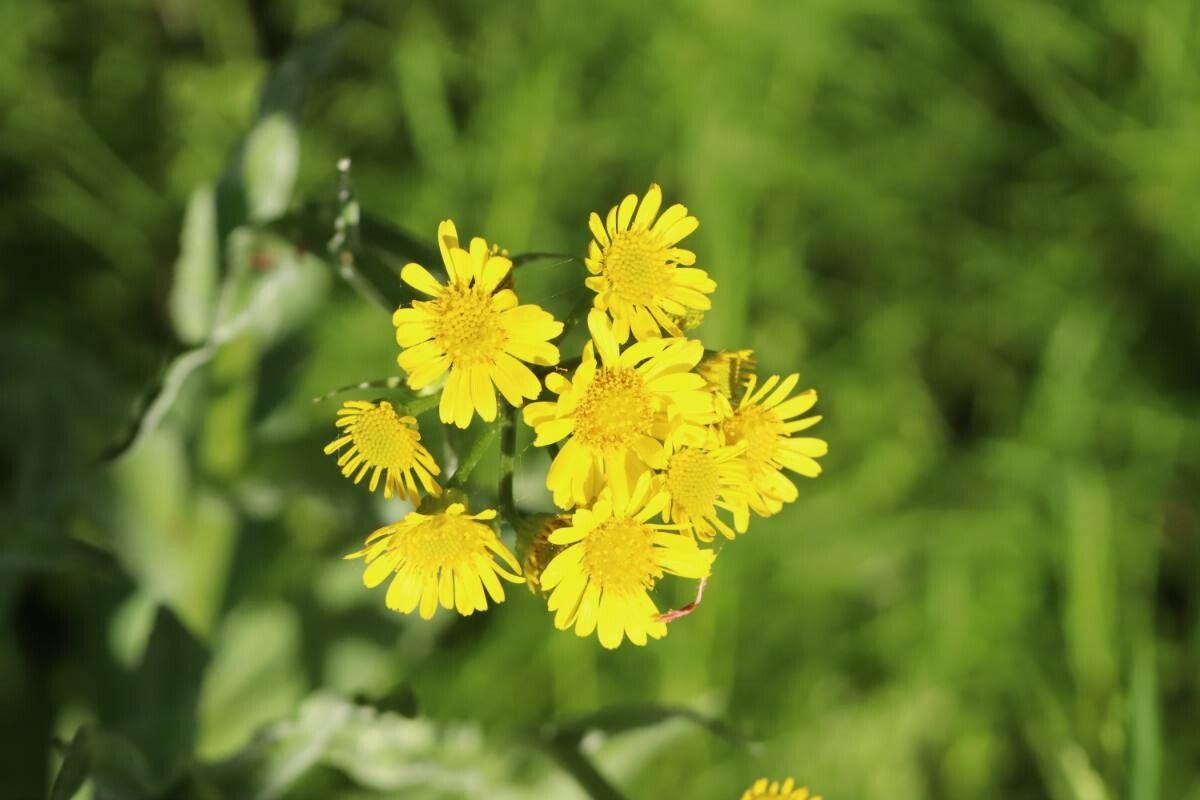
Ah, Tephroseris pierotii! What a delightful plant to bring into your garden. If you’re drawn to its unique charm – those vibrant, daisy-like blooms and the way it softens a landscape – you’re in for a treat. Propagating it is a wonderful way to fill your space with more of this beauty, and I’m happy to say, it’s a pretty rewarding endeavor, even for those just starting out.
The Best Time to Start
For Tephroseris pierotii, late spring or early summer, right as the plant is in its active growing phase, is usually your sweet spot. This is when it has lots of energy to put into developing new roots. You’re looking for healthy, new growth.
Supplies You’ll Need
Gathering your tools beforehand makes the whole process much smoother. Here’s what I keep handy:
- Sharp pruning shears or a clean knife: For making neat, decisive cuts.
- Potting mix: A well-draining blend is key. I often use a mix of equal parts potting soil and perlite, or even better, a succulent/cactus mix.
- Small pots or trays: Clean ones are a must to prevent disease.
- Rooting hormone (optional but helpful): Especially for stem cuttings.
- Watering can or spray bottle: For gently moistening the soil.
- Labels: So you don’t forget what you’ve planted!
- Plastic bags or a clear propagating lid: To create a humid environment.
Propagation Methods
Let’s get our hands dirty! Tephroseris pierotii is quite obliging and can be propagated in a couple of ways.
Stem Cuttings: My Go-To
This is my personal favorite. It’s remarkably effective.
- Take the cut: Using your clean shears, snip off a healthy stem that’s about 4-6 inches long. Look for a piece that’s not flowering heavily, as this will channel its energy better into rooting.
- Prepare the cutting: Gently remove the lower leaves from the stem. You want a clean section for inserting into the soil.
- Apply rooting hormone (optional): If you’re using it, dip the cut end into the rooting hormone powder, tapping off any excess.
- Planting: Fill your small pots with your chosen potting mix. Make a small hole with your finger or a pencil and gently insert the cut end of the stem about 1-2 inches deep. Firm the soil around it.
- Water gently: Water the soil well, but avoid making it soggy. A light misting is often best initially.
- Create humidity: Cover the pot with a clear plastic bag or a propagating lid. This helps keep the humidity high, which is crucial for cuttings. Place it in a bright spot, but out of direct, harsh sunlight.
Division: For Established Plants
If you have a larger, mature plant and want to increase your stock quickly, division is a good option. This is best done in early spring before serious growth kicks off.
- Gently remove the plant: Carefully lift the entire plant from its pot or from the ground.
- Locate natural divisions: Look for sections of the root ball that have their own stems and roots.
- Separate carefully: Using your hands or a clean trowel, gently pull or cut the plant into smaller clumps. Try to ensure each division has a good portion of roots.
- Replant: Pot up the divisions into their own containers with fresh potting mix, or replant them directly into the garden. Water them in well.
The “Secret Sauce” (Pro Tips)
Over the years, I’ve learned a few tricks that seem to make all the difference.
- Cleanliness is paramount: This can’t be stressed enough. Use sterilized tools and clean pots. A little mold or fungus can quickly ruin your efforts. Wiping down your shears with rubbing alcohol between cuts is a good habit.
- Don’t let leaves touch the soil: When making stem cuttings, try to keep the remaining leaves above the soil line. If they’re buried, they are more prone to rot and can invite disease.
- Bottom heat is your friend: If you have a heating mat for seedlings, Tephroseris pierotii cuttings love it. A gentle, consistent warmth from below really encourages root development. Just be sure the soil isn’t drying out excessively from the extra heat.
Aftercare & Troubleshooting
Once your cuttings have set up home, consistent care is needed.
- Watering: Keep the soil consistently moist but not waterlogged. Check the moisture level by poking your finger into the soil. When the top inch feels dry, it’s time to water again. Reduce watering once the plant is established.
- Light: Provide bright, indirect light. Too much direct sun can scorch young cuttings.
- Patience: Rooting can take anywhere from 2 to 6 weeks, sometimes longer. Don’t be disheartened if you don’t see immediate results.
- Signs of failure: The most common issue is rot. If you see leaves wilting dramatically, turning yellow and mushy, or the stem becoming dark and soft, rot is likely the culprit. This usually means too much moisture and not enough air circulation. You might need to discard the affected piece and try again, ensuring better drainage and less water.
A Encouraging Closing
Growing new plants is such a magical part of gardening. It’s a lesson in patience and observation. Don’t be afraid to experiment, and remember that every gardener has had a few failed attempts – it’s all part of the learning curve! Enjoy the process, watch those tiny roots emerge, and soon you’ll have a whole new collection of Tephroseris pierotii to admire. Happy propagating!
Resource:
https://identify.plantnet.org/k-world-flora/species/Tephroseris%20pierotii%20(Miq.)%20Holub/data