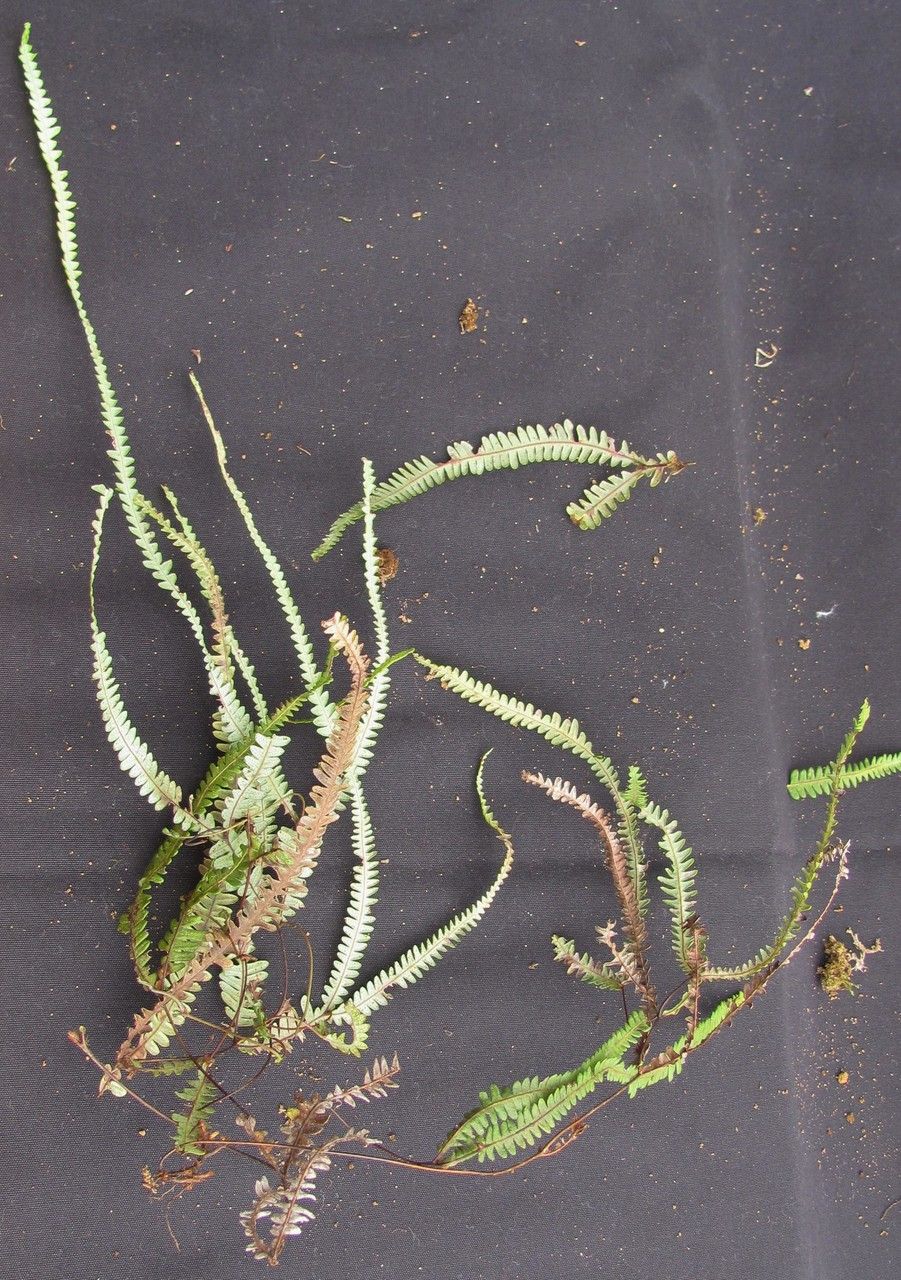
Oh, the joy of creating new life from a plant you already adore! Today, let’s talk about one of my personal favorites: Sticherus hypoleucus. If you’ve ever admired its elegant fronds, with their subtle undersides shimmering like secrets, you’re in for a treat. Propagating this beauty is a wonderfully rewarding endeavor, and while it requires a little patience, I’d say it’s achievable for most gardeners willing to learn. Think of it as a delightful horticultural adventure!
The Best Time to Start
I’ve found the sweet spot for propagating Sticherus hypoleucus is in late spring or early summer. This is when the plant is actively growing and has plenty of energy to put into developing new roots. You’ll want to look for healthy, actively growing stems – not the old, woody ones.
Supplies You’ll Need
Gathering your supplies upfront makes the whole process smoother. Here’s what I typically have on hand:
- Sharp pruning shears or a clean knife: For making clean cuts.
- Rooting hormone (optional but recommended): A little boost can really help. Look for one specifically for cuttings.
- Well-draining potting mix: A mix of peat moss, perlite, and a bit of coco coir works wonders. You want it to retain some moisture but not get soggy.
- Small pots or trays: Clean ones are essential to prevent disease.
- Plastic bags or a propagator: To create a humid environment.
- Watering can with a fine rose: For gentle watering.
- A warm spot: Ideally with indirect light.
Propagation Methods
Let’s get our hands dirty! For Sticherus hypoleucus, the most reliable method is stem cuttings.
Stem Cuttings:
- Select your cutting: Look for a healthy, new stem. It should be at least 4-6 inches long and have a few sets of leaves. Don’t be tempted to take cuttings from anything that looks weak or stressed.
- Make the cut: Using your sterilized pruners or knife, make a clean cut just below a leaf node (where a leaf attaches to the stem). This is where the magic of root development often begins.
- Prepare the cutting: Gently remove the lower leaves from the stem, leaving just a few at the top. This prevents them from rotting in the soil and encourages the plant to focus its energy on rooting.
- Apply rooting hormone (optional): If you’re using rooting hormone, dip the cut end into the powder, tapping off any excess.
- Plant the cutting: Fill your cleaned pots with your well-draining potting mix. Make a small hole in the center of the soil with your finger or a pencil. Gently insert the cut end of the stem into the hole, ensuring the leaf nodes are below the soil surface.
- Firm the soil: Gently pat down the soil around the cutting to secure it.
- Water gently: Give the pot a light watering with your fine-rose watering can to settle the soil.
- Create humidity: This is crucial! Place the pot inside a plastic bag, loosely tied, or into a propagator lid. You want to trap that moisture.
The “Secret Sauce” (Pro Tips)
Here are a couple of things I’ve learned over the years that really make a difference:
- Avoid direct contact between leaves and water: If you’re doing water propagation (which I find a bit trickier for this fern), don’t let the leaves touch the water. They’ll quickly rot and take your cutting with them. For stem cuttings in soil, ensure no leaves are buried below the soil line.
- Bottom heat is your friend: If you have a heat mat designed for seedlings, place your pots on it. This gentle warmth from below encourages root development much faster than ambient room temperature. It’s like giving your little cuttings a cozy, heated spa treatment!
Aftercare & Troubleshooting
Once your cuttings are planted, the waiting game begins! Keep them in a warm spot with bright, indirect light. Resist the urge to peek too often.
- Check moisture: The soil should feel consistently moist, but not waterlogged. If the plastic bag feels dry, give it a light mist.
- Signs of rooting: You’ll know they’re starting to root when you see new growth emerging or gently tug on the cutting – if there’s resistance, roots are forming! This can take several weeks, so patience is key.
- Troubleshooting rot: The most common culprit for failure is overwatering and poor drainage, leading to rot. If you see your cutting turning black or mushy, it’s usually a sign of too much moisture. Sadly, rot is often irreversible. My best advice is to start again with a fresh cutting and ensure your soil drains well and you’re not overwatering.
A Encouraging Closing
Watching that tiny new fern unfurl its first fronds is an experience that never gets old for me. Propagating Sticherus hypoleucus is a journey of observation and patience. Don’t be discouraged if your first few attempts aren’t perfect. Each try teaches you something new. So go ahead, embrace the process, enjoy the quiet hum of nature in your home, and soon you’ll have even more of these gorgeous ferns to share! Happy growing!
Resource:
https://identify.plantnet.org/k-world-flora/species/Sticherus%20hypoleucus%20(Sodiro)%20Copel./data