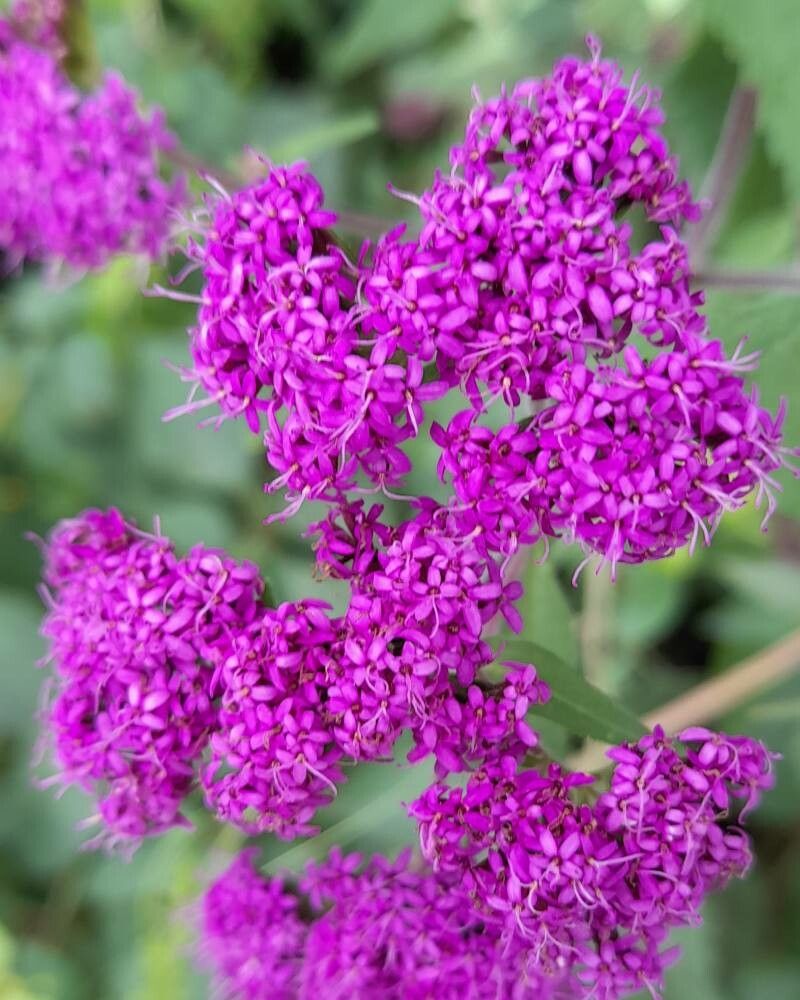
Oh, Stevia sanguinea! What a delightful plant to have in your garden. Its vibrant red stems and sweet leaves are a real treat, and the satisfaction of growing your own supply of natural sweetener is just unmatched. If you’ve been captivated by its charm, you’ll be happy to know that propagating it is quite doable. It’s not the absolute easiest plant for a complete beginner, but with a little care and these tips, you’ll be on your way to a whole patch of sweet goodness.
The Best Time to Start
For the happiest cuttings and the best chance at success, spring and early summer are your golden ticket. This is when your Stevia is actively growing and has plenty of energy to put into developing new roots. Think of it as coaxing a new sprout from a sleepy seedling – it’s far easier when nature is already in full swing.
Supplies You’ll Need
Gathering your tools beforehand makes the whole process much smoother. Here’s what you’ll want to have on hand:
- Sharp pruning shears or a clean, sharp knife: For taking clean cuts.
- A good quality potting mix: Something well-draining is key. A blend of peat moss, perlite, and a bit of coco coir works wonderfully.
- Small pots or trays: To give your new babies a cozy home. Make sure they have drainage holes!
- Rooting hormone (optional but recommended): This helps speed up root development.
- A spray bottle: For misting your cuttings.
- Plastic bags or a propagator: To create a humid environment.
- A sunny, bright spot: For your new plants to grow.
Propagation Methods
We’ll focus on the most reliable way to get more Stevia sanguinea: stem cuttings.
- Select Your Stems: Look for healthy, non-flowering stems on your mature Stevia plant. You want stems that are firm and green, not woody or wilted. Aim for cuttings that are about 4 to 6 inches long.
- Make the Cut: Using your sharp shears or knife, make a clean cut just below a leaf node. A leaf node is where a leaf grows out from the stem. This is where the magic of rooting happens.
- Prepare the Cuttings: Gently remove the lower leaves from your cuttings, leaving just a couple of sets at the top. This prevents the leaves from rotting in the soil or water. If you’re using rooting hormone, dip the cut end into it now, tapping off any excess.
- Planting Time: Fill your small pots with your well-draining potting mix. Make a small hole in the center and insert the prepared cutting, ensuring the nodes where you removed leaves are buried. Gently firm the soil around the base of the cutting.
- Water and Cover: Water the soil lightly until it’s moist but not waterlogged. Then, cover the pot with a clear plastic bag or place it in a propagator. This creates a mini greenhouse, keeping humidity high, which is crucial for cuttings.
- Water Propagation (Alternative): If you prefer, you can also root cuttings directly in water. Simply place the prepared cuttings in a jar of clean water, making sure the leaves aren’t submerged. Change the water every few days to keep it fresh.
The “Secret Sauce” (Pro Tips)
Here are a couple of tricks I’ve learned over the years:
- Bottom Heat is Your Friend: If you have a propagation mat or can place your pots on a warm surface (like near a sunny window that gets a bit of artificial heat), do it! Bottom heat encourages roots to form much faster and can make a huge difference, especially if your room is a bit on the cooler side.
- Don’t Over-Mist: While humidity is key, don’t let those leaves stay constantly drenched. A good misting once or twice a day is usually plenty. Too much moisture on the foliage can lead to fungal issues.
Aftercare & Troubleshooting
Once you’ve planted your cuttings, place them in a bright location that doesn’t get harsh, direct sunlight. The morning sun is usually perfect. Be patient! It can take anywhere from 2 to 4 weeks for roots to establish. You’ll know they’re ready when you gently tug on the cutting and feel resistance, or when you see new leaf growth.
The most common issue you’ll encounter is rot. If a cutting turns black and mushy, or if you see white mold on the soil, it’s usually a sign of too much moisture and poor air circulation. Don’t be discouraged if a few don’t make it; that’s part of the gardening journey! Just remove the failed cutting and check your watering and ventilation for the others.
A Encouraging Closing
Propagating your own Stevia sanguinea is such a rewarding experience. It’s a wonderful way to expand your garden and have plenty of that delightful sweetness to enjoy. Just remember to be patient, keep those cuttings happy with good light and humidity, and don’t be afraid to get your hands dirty. You’ve got this! Happy gardening!
Resource:
https://identify.plantnet.org/k-world-flora/species/Stevia%20sanguinea%20Hieron./data