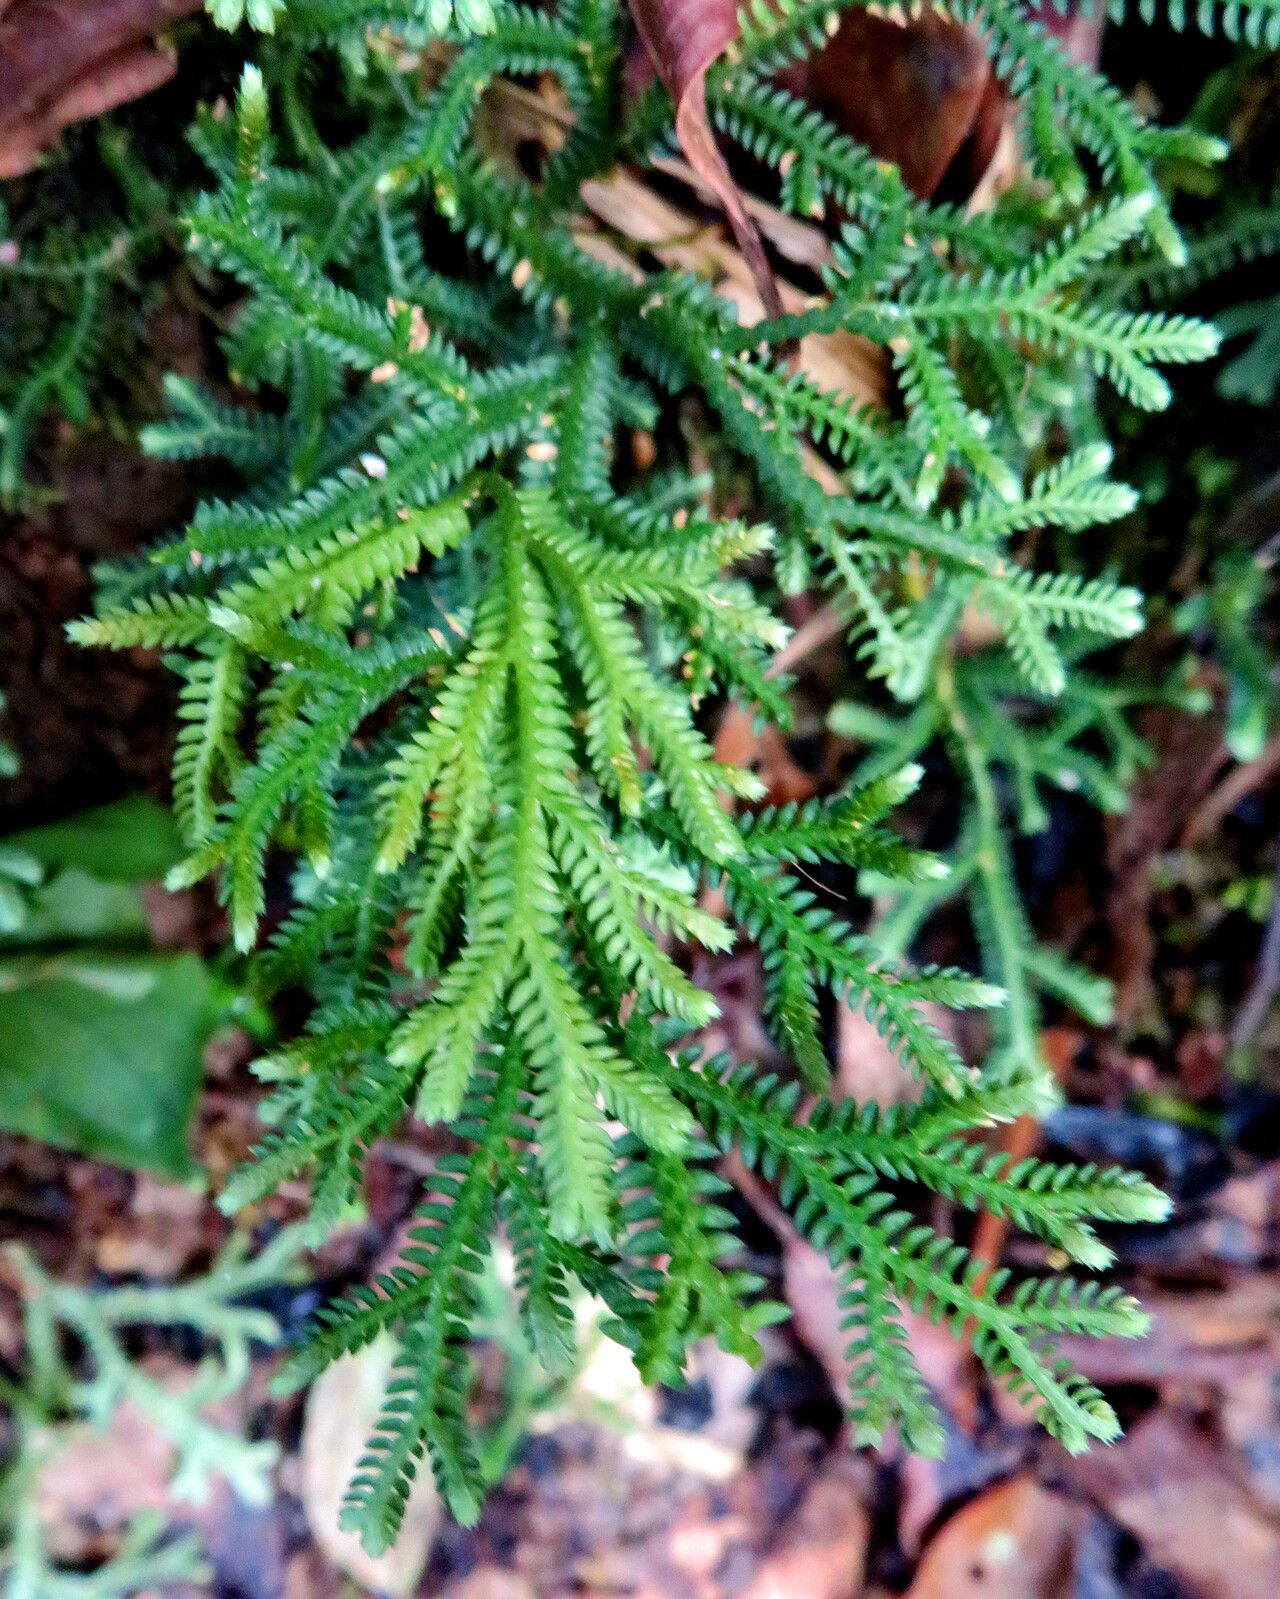
Hello, fellow plant enthusiasts! Today, we’re diving into the wonderful world of a truly captivating plant: Selaginella martensii. You know, the ones with those delicate, fern-like fronds that add such a touch of emerald magic to shady corners. I’ve been growing these beauties for years, and honestly, there’s something incredibly satisfying about taking a small piece of a plant and helping it grow into its own.
If you’ve ever admired the lacy foliage of Selaginella martensii and thought, “I wish I had more of those!” – well, I have great news. Propagating them is surprisingly straightforward, even for those just starting their plant journey. It’s a really rewarding process that lets you expand your collection without spending a fortune.
The Best Time to Start
For Selaginella martensii, the sweet spot for propagation is undeniably spring and early summer. This is when the plant is in its most vigorous growth phase, meaning it has the energy to get new roots established quickly. You’ll find it’s much easier to get cuttings to root when the temperatures are consistently warm and the days are longer.
Supplies You’ll Need
Before we get our hands dirty, let’s gather our essentials. Don’t worry, it’s nothing too fancy!
- Sharp pruning shears or a clean knife: For making clean cuts.
- A well-draining potting mix: I like to use a blend of equal parts peat moss or coco coir, perlite, and a bit of horticultural charcoal. The charcoal helps keep the soil fresh and prevent rot.
- Small pots or trays: Clean ones, of course!
- Rooting hormone (optional but helpful): A good quality rooting powder can give your cuttings a boost.
- A spray bottle: For misting and creating humidity.
- A clear plastic bag or a propagation dome: To create a humid environment.
- Water: Clean, room-temperature water.
Propagation Methods
Selaginella martensii is a generous plant, and it offers a couple of easy ways for us to make more of these charmers.
Stem Cuttings
This is my go-to method for Selaginella martensii as it’s typically very successful.
- Take Your Cuttings: Look for healthy stems on your mature plant. Using your sharp pruning shears or knife, make a clean cut just below a leaf node. Aim for cuttings that are 3-4 inches long.
- Prepare the Cuttings: Gently remove the lower leaves from the cutting, leaving just a few at the top. This prevents them from rotting when they’re in the soil.
- Apply Rooting Hormone (Optional): If you’re using rooting hormone, dip the cut end of each stem into the powder, tapping off any excess.
- Plant Your Cuttings: Fill your small pots with your prepared potting mix. Make a small hole in the center of each pot with your finger or a pencil. Carefully insert the cut end of the stem into the hole, ensuring it’s firm. Gently firm the soil around the stem.
- Water and Cover: Water the soil lightly until it’s moist but not soggy. Then, cover the pot with a clear plastic bag or a propagation dome. You want to create a mini-greenhouse effect to keep the humidity high. If using a bag, you can secure it over the pot with a rubber band.
Division
If your Selaginella martensii plant has become quite full and is starting to look a bit crowded in its pot, division is a wonderful way to propagate.
- Remove from Pot: Gently slide the plant out of its container.
- Loosen the Roots: Carefully use your fingers to tease apart the root ball. You’re looking to separate clumps of the plant that already have their own root system attached. Don’t be afraid to gently break it apart; if you see healthy roots in a section, you can divide it there.
- Repot Separately: Pot each division into its own container with fresh potting mix, just as you would a regular plant. Water lightly.
The “Secret Sauce” (Pro Tips)
Over the years, I’ve picked up a few tricks that seem to make all the difference.
- Bottom Heat is Your Friend: Selaginella martensii absolutely thrives with a little warmth from below. Placing your pots on a heat mat designed for seedlings can significantly speed up root development. It mimics the cozy ground temperature they love.
- Don’t Let Leaves Touch the Water (if water propagating): While I primarily recommend soil propagation for Selaginella, if you choose to root cuttings in water (which is less reliable for this species), it’s crucial to place the cuttings so that only the stem is submerged and not the leaves. Leaves in water are a fast track to rot.
- Humidity is King (and Queen!): These plants originate from tropical understories, so they crave humidity. That plastic bag or dome is non-negotiable. Occasionally open the bag or dome to allow for some air circulation and prevent mold.
Aftercare & Troubleshooting
Once your cuttings have been planted for a few weeks, you can gently check for roots by giving a cutting a very light tug. If you feel resistance, congratulations – you have roots!
Continue to keep the soil consistently moist but not soggy. Mist the foliage regularly, especially if your home is on the dry side. Once the new plants seem well-established and are putting out new growth, you can slowly acclimatize them to normal room conditions by gradually opening the plastic bag or dome over a week or so.
What if things go wrong? The most common culprit is rot. Overwatering is the usual suspect. If you see stems turning mushy and black, it’s likely rot. You might be able to save a cutting if you catch it early by trimming away the rotted parts with a clean tool and repotting in fresh, slightly drier soil. Just remember, a little damp is good; a swamp is bad.
A Encouraging Closing
Propagating Selaginella martensii is a journey, and like any good journey, it’s important to be patient. Some take a little longer than others, but the reward of seeing a new plant thrive makes it all worthwhile. So, grab your tools, get your hands a little dirty, and enjoy the magic of creation in your own home. Happy propagating!
Resource:
https://identify.plantnet.org/k-world-flora/species/Selaginella%20martensii%20Spring/data