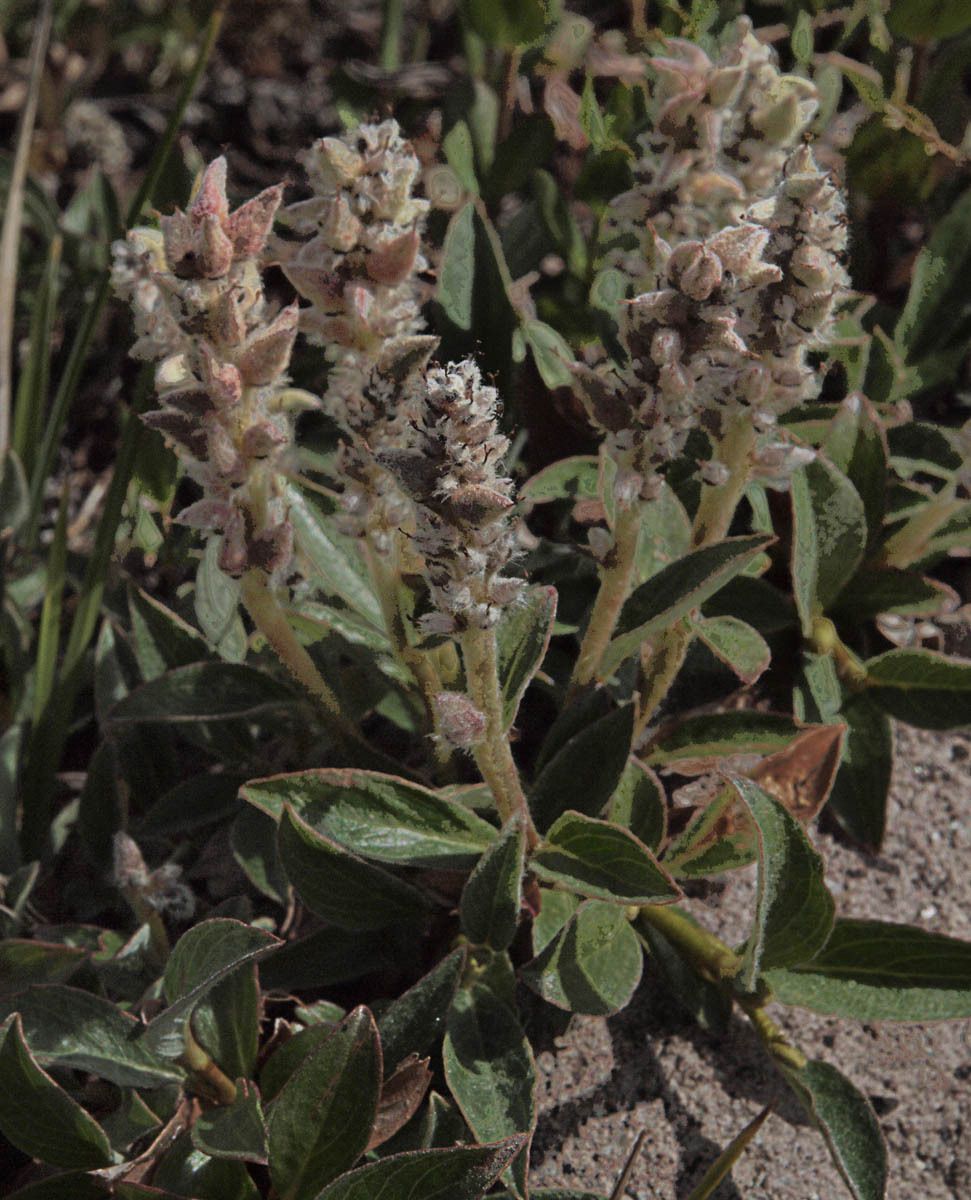
Oh, hello there! Come on in, pull up a chair. Let’s chat about one of my favorite willows – Salix cascadensis. If you haven’t encountered this beauty yet, prepare to be charmed. It’s got this wonderful charm, a graceful habit that just makes any garden feel a little more special. And the best part? It’s surprisingly rewarding to multiply it yourself! For us gardening enthusiasts, the joy of nurturing a new plant from a tiny snippet is truly unparalleled. Now, for beginners looking to dip their toes into propagation, Salix cascadensis is a fantastic choice. It’s quite forgiving, which is always a good sign when you’re just starting out.
The Best Time to Start
When it comes to getting the most bang for your propagation buck with Salix cascadensis, late spring or early summer is your sweet spot. You want to wait until the plant has put on some good new growth after winter. Think of it like this: you’re harvesting soft, pliable stems that are actively growing and full of life. This is when they’re most eager to root. Trying too early might mean the stems haven’t hardened off enough, and while late summer can work, the heat can sometimes be a bit too much for delicate new cuttings.
Supplies You’ll Need
Before we get our hands dirty, let’s gather our tools. It’s always better to be prepared!
- Sharp Pruning Shears or a Knif: Clean cuts are crucial. We don’t want to crush those precious plant tissues.
- Rooting Hormone (Optional but Recommended): This isn’t magic, but it does give your cuttings that extra little boost to get growing. Look for a powder or gel.
- Small Pots or Propagation Tray: Anything clean and with good drainage will do.
- Well-Draining Potting Mix: A light mix is key. I like to use a combination of peat moss or coco coir, perlite, and a bit of compost. You want air circulation!
- Watering Can with a Fine Rose: Gently does it when watering.
- Plastic Bag or Clear Propagator: This creates a mini-greenhouse effect to keep humidity up.
- Marking Labels: Essential for remembering what you’ve planted!
Propagation Methods: Stem Cuttings
This is my go-to method for Salix cascadensis, and I think you’ll find it pretty straightforward.
- Take Your Cuttings: On a nice day in late spring or early summer, select healthy, actively growing stems from your parent plant. Look for shoots that are about pencil-thick and around 6-12 inches long. Using your sharp shears, make a clean cut just below a leaf node (that little bump where a leaf grows from the stem). Remove the leaves from the bottom two-thirds of the cutting, leaving just a few at the top. This prevents them from rotting in the soil.
- Prepare Your Cuttings: If you’re using rooting hormone, dip the bottom inch of each cutting into the powder, tapping off any excess. This helps seal the cut end and encourages root development.
- Plant Your Cuttings: Fill your pots or tray with your well-draining potting mix. Make a hole in the center of the mix with a pencil or your finger, deep enough to bury the leafless part of your cutting. Gently insert the cutting and firm the soil around it. You can plant several cuttings in one pot, leaving a bit of space between them.
- Water Gently: Give your newly planted cuttings a good, but gentle, watering from above. You want the soil to be moist, not waterlogged.
- Create a Humid Environment: This is where your plastic bag or propagator comes in. Place it over the pot or tray, making sure the plastic doesn’t touch the leaves of the cuttings if possible. This traps humidity, which is crucial for preventing the cuttings from drying out before they can root.
The “Secret Sauce” (Pro Tips)
Now, for a couple of little tricks I’ve picked up over the years. These aren’t strictly essential, but they do make a difference.
- The Power of Bottom Heat: If you have a seedling heat mat around, place your pots on it. That gentle warmth from below really encourages those roots to start forming a lot faster. It’s like giving them a cozy foot spa!
- Don’t Let Those Leaves Touch the Water (If Water Propagating): While I prefer soil cuttings for Salix, some folks like to try water propagation. If you do, make absolutely sure none of the leaves are submerged. Any leaves sitting in water will just rot and can take the whole cutting down with them. Cut off any leaves that would end up below the waterline.
Aftercare & Troubleshooting
Once your cuttings are happily nestled in their pots, it’s time for a little TLC. Keep them in a bright spot but out of direct, scorching sun. Check the moisture of the soil regularly – it should feel consistently damp, like a wrung-out sponge. Mist the leaves occasionally if you’re not using a propagator.
How do you know they’re rooting? You’ll start to see new growth appearing at the top! Another good sign is a gentle tug test: if you feel resistance, roots are forming. This can take anywhere from a few weeks to a couple of months, so patience is key.
Now, the not-so-fun part: troubleshooting. The biggest enemy of cuttings is rot. If you see stems turning mushy or black, it’s usually a sign of too much moisture and not enough air circulation. In this case, sadly, that cutting is likely a goner. Make sure your soil is draining well and consider using less water next time. If your cuttings just seem to be wilting and not showing any signs of life after a long while, they might not have rooted. Don’t be discouraged; sometimes, it just doesn’t work out, and that’s part of the learning curve.
A Little Encouraging Word
So there you have it! Propagating Salix cascadensis is a truly satisfying endeavor. It’s a wonderful way to expand your garden, share plants with friends, or simply enjoy the magic of creation. Be patient with yourself and with your little cuttings. Gardening is a journey, and every step, even the ones that don’t result in a new plant, teaches us something valuable. Happy propagating!
Resource:
https://identify.plantnet.org/k-world-flora/species/Salix%20cascadensis%20Cockerell/data