Oh, hello there! Pull up a chair and let’s chat about a plant that truly captures my heart: Puya dyckioides. If you’ve seen these beauties, you know what I’m talking about. Their architectural form and the promise of stunning, often iridescent flowers make them a real showstopper in any garden. And the joy of coaxing a new plant to life from an existing one? That’s pure magic, if you ask me. Now, Puya dyckioides can be a little bit of a diva when it comes to propagation, so it might not be the absolute easiest plant for a brand-new gardener. But with a little patience and a few pointers, you’ll be well on your way to success.
The Best Time to Start
Timing is everything, right? For Puya dyckioides, I find the absolute best time to get propagating is during its active growing season, which typically falls in late spring and early summer. This is when the plant is full of vigor and has the energy reserves to put into developing new roots. Waiting until after it has finished flowering is also a good strategy, as you’ll often have pups or offsets readily available then.
Supplies You’ll Need
Before we dive in, let’s make sure you have everything at the ready. It’s like getting your ingredients prepped before you start cooking!
- Sharp, clean pruning shears or a sharp knife: Cleanliness is key to prevent disease.
- A well-draining potting mix: I like a blend of cactus and succulent mix with some horticultural grit or perlite added. Think gritty!
- Small pots or trays: Something appropriate for the size of what you’re propagating.
- Rooting hormone (optional but recommended): A powdered form works well.
- A spray bottle: For gentle misting.
- Labels and a marker: So you don’t forget what you planted where!
- A warm spot: This can be a windowsill or a propagation mat.
Propagation Methods
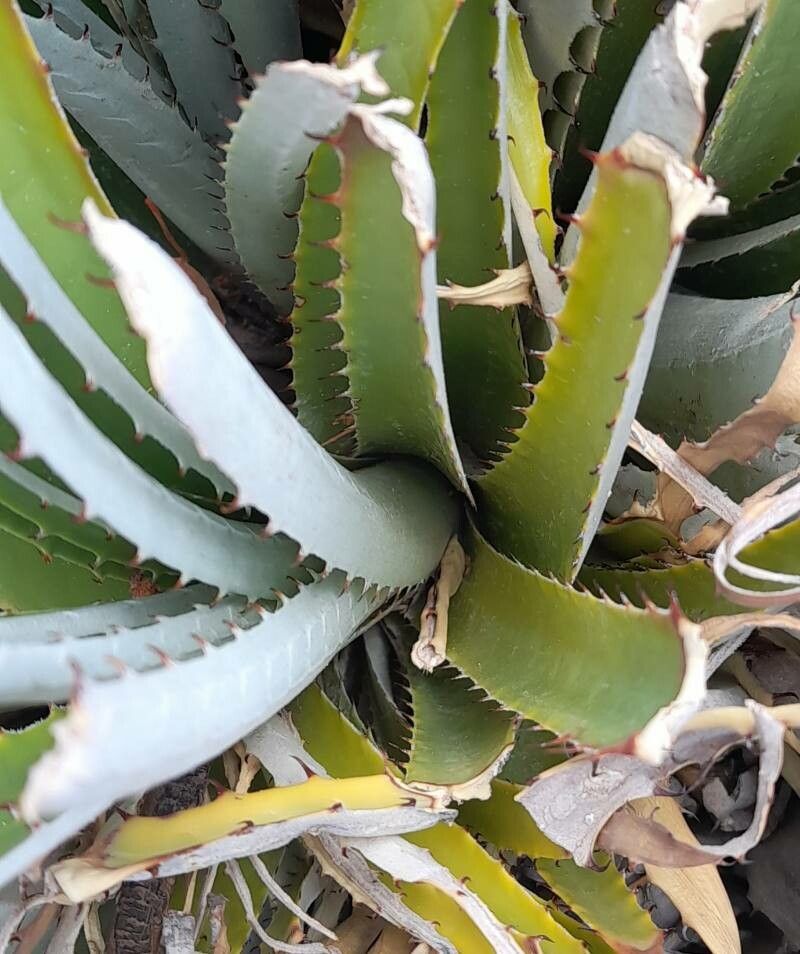
Now for the fun part! Puya dyckioides primarily propagates through offsets, which are essentially baby plants that grow from the base of the mother plant.
Banana-Peeling Offsets (The Best Method!):
- Identify your pups: Look for small, distinct plantlets at the base of your mature Puya dyckioides. They’ll usually have their own little leaves.
- Gently excavate: Carefully brush away some of the soil around the base of the pup you want to remove. You want to see where it’s attached to the mother plant.
- Make the cut: Using your sharp, clean shears or knife, make a clean cut as close to the mother plant as possible. Try to get a bit of a root bulb if you can, but don’t stress too much.
- Let it callous: This is a crucial step! Place the removed pup on a dry surface in a warm, bright spot (but out of direct, scorching sun) for 2-3 days. This callousing process allows the cut end to dry and form a protective layer, which dramatically reduces the risk of rot.
- Potting up: Once calloused, lightly dip the cut end in your rooting hormone (if using). Then, gently plant the pup into your well-draining potting mix. Don’t bury it too deeply; just enough so it stands upright.
- Initial watering: Water very sparingly at first, just enough to settle the soil around the base. Avoid waterlogging!
The “Secret Sauce” (Pro Tips)
Here are a few little tricks I’ve picked up that make a world of difference:
- Embrace the dry: Puyas are desert plants at heart. Overwatering is their arch-nemesis, especially when they’re just trying to root. Think less is more with your watering schedule. Let the soil dry out between waterings.
- Bottom heat is your friend: While not strictly necessary, placing your pots on a propagation mat or in a warm location can really speed up root development. It mimics the warmth of the soil they’d naturally grow in.
- Patience, dear gardener: These guys are not as quick to root as, say, a succulent cutting. Give them several weeks, sometimes even a couple of months, to establish a good root system before you expect to see significant new top growth.
Aftercare & Troubleshooting
Once you see those first signs of new leaves emerging, it’s a fantastic feeling!
- Continue with cautious watering: Gradually increase watering as the plant grows stronger, but always ensure good drainage.
- Gradual acclimation: If you started them in a shadier spot, slowly introduce them to more light.
- Signs of trouble: The main culprit for failure with Puyas is rot. If your pup turns mushy, black, or starts to fall apart, it’s sadly a lost cause due to too much moisture. If you see this happening, pull it out, let it air dry for a bit longer, and try again next time, focusing on that callousing and dry rooting period.
A Encouraging Closing
So there you have it! Propagating Puya dyckioides is a journey, and like all good gardening projects, it requires a little faith and a lot of love. Don’t be discouraged if your first attempt isn’t perfect. Each plant and each season brings its own learning experience. Just keep at it, enjoy the process of nurturing these unique plants, and soon you’ll be rewarded with beautiful new Puyas to admire! Happy propagating!
Resource:
https://identify.plantnet.org/k-world-flora/species/Puya%20dyckioides%20(Baker)%20Mez/data