Grow More of That Gorgeous Yellow! Propagating Potentilla canadensis
I’ve always had a soft spot for Potentilla canadensis, or Canadian Cinquefoil. Its cheerful, bright yellow blooms are such a welcome sight, especially in those transitional seasons. It’s a hardy little native that asks for very little and gives so much in return. And you know what’s even better than having one? Having more of them! Propagating this beauty is incredibly satisfying, and I’m happy to report it’s quite beginner-friendly. You’ll be surprised at how easy it is to multiply your garden joy.
When to Get Your Hands Dirty
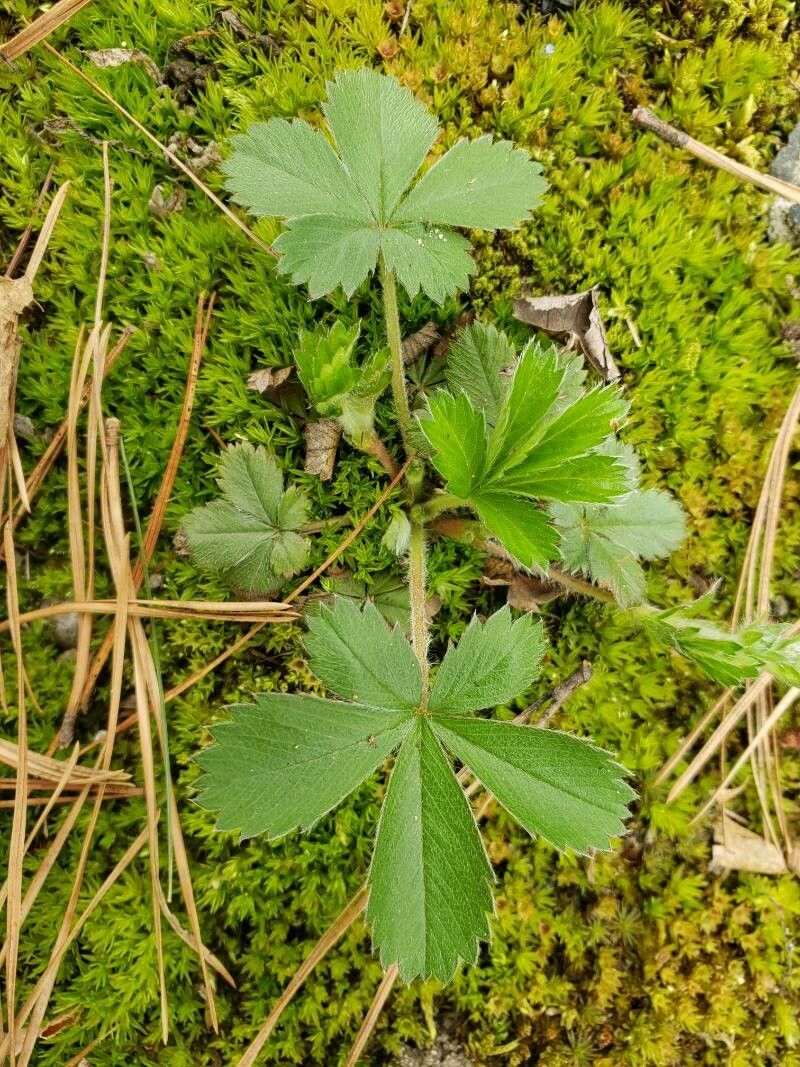
The sweet spot for propagating Potentilla canadensis is usually in late spring or early summer. This is when the plant is actively growing and has plenty of energy to put into new roots. Look for stems that are semi-hardwood – not too soft and green, but not completely woody and mature either. Think of a pencil: firm, but still a little flexible.
Your Propagation Toolkit
Here’s what you’ll want to have on hand before you start:
- Sharp Pruning Shears or a Knife: Cleanliness is key to preventing disease!
- Rooting Hormone (Optional but Recommended): This isn’t magic, but it sure does give your cuttings a helpful boost.
- Soilless Potting Mix: A light, airy mix is best. I like a blend of peat moss or coco coir with perlite or vermiculite.
- Small Pots or Seedling Trays: With drainage holes, of course!
- Plastic Bags or a Clear Plastic Dome: To create a humid environment for your cuttings.
- Watering Can or Spray Bottle: For gentle watering.
- Labels and a Marker: You’ll thank me later when you have multiple pots!
Let’s Talk Methods!
The most common and successful way I propagate Potentilla canadensis is through stem cuttings. It’s straightforward and usually yields great results.
Stem Cuttings:
- Gather your cuttings: In late spring or early summer, select healthy stems. Cut pieces about 4-6 inches long. Make your cuts just below a leaf node, which is where the stem naturally flares out to form a leaf.
- Prepare the cuttings: Remove the lower leaves, leaving only a few at the very top. This prevents them from rotting in the soil. If the leaves are large, you can even cut them in half horizontally to reduce water loss.
- Apply rooting hormone (if using): Dip the cut end of each stem into your rooting hormone powder, tapping off any excess.
- Plant your cuttings: Fill your small pots with your prepared soilless mix. Make a hole with your finger or a pencil and carefully insert the cutting, burying the lower leaf nodes. Gently firm the soil around the stem.
- Water and cover: Water the soil thoroughly but gently. Then, cover the pot with a clear plastic bag, securing it with a rubber band, or place it under a clear dome. This maintains humidity, which is crucial for cuttings.
The “Secret Sauce” from My Garden Corner
Here are a couple of things I’ve learned over the years that really make a difference:
- Don’t Overcrowd: Even though you want to propagate, give your cuttings a little breathing room. Too many in one pot can lead to poor air circulation and increase the chance of fungal issues.
- Gentle Bottom Watering is King: Once your cuttings are planted and covered, try to water from the bottom if possible. Place the pots in a tray of water and let the soil wick up moisture. This avoids disturbing the fragile cuttings and washes away any potential soil-borne diseases.
Aftercare and Keeping an Eye Out
Once your cuttings are planted, the waiting game begins!
- Location, Location, Location: Place your covered pots in a bright spot, but out of direct, scorching sunlight. A greenhouse bench or a shaded windowsill works wonderfully.
- Check for Roots: In about 3-6 weeks, you should start to see signs of new growth. You can also give a very gentle tug. If you feel resistance, that’s a good sign roots are forming!
- Acclimating: Once roots have developed, gradually remove the plastic cover over a few days to let the new plants adjust to normal humidity.
- Troubleshooting Rot: The most common pitfall is rot. If you see stems turning mushy or black, it’s usually a sign of too much moisture and not enough air circulation. Discard any rotten cuttings and review your watering and covering methods. Sometimes, a bit of bottom heat from a propagation mat can help roots form faster and drier conditions might be preferred.
Grow On, Gardener!
Propagating Potentilla canadensis is a rewarding journey. It’s a chance to connect with your plants on a deeper level and to share their beauty. Be patient with the process. Not every cutting will make it, and that’s perfectly okay. The joy comes from nurturing those little stems and seeing new life emerge. Happy gardening!
Resource:
https://identify.plantnet.org/k-world-flora/species/Potentilla%20canadensis%20L./data