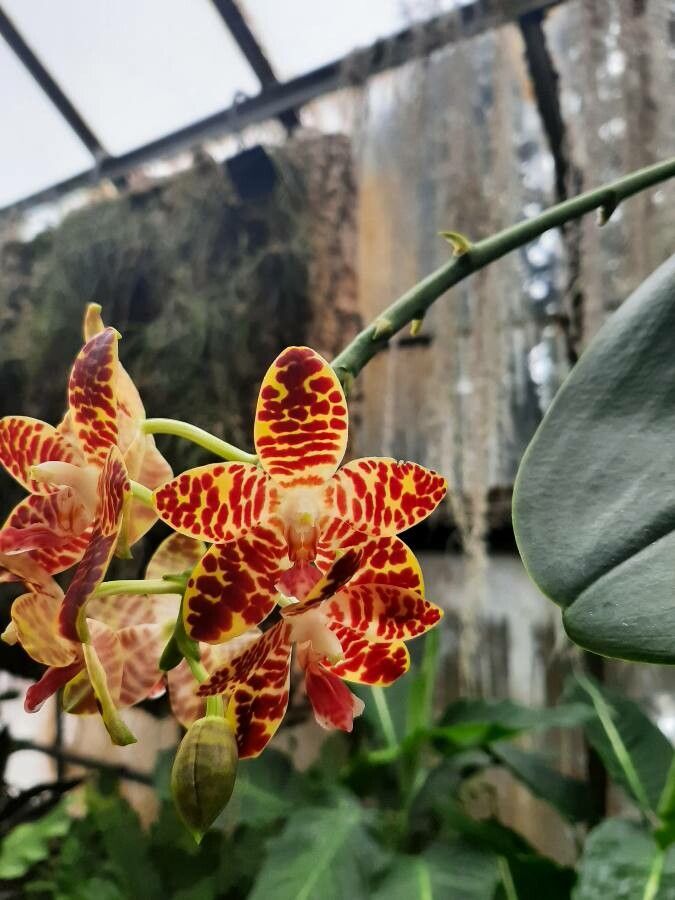
Hello, fellow plant lovers! I’m so thrilled you’re here to chat about a truly special orchid: Phalaenopsis amboinensis. If you’ve ever admired its stunning, waxy blooms – often a gorgeous blend of creamy yellows and whites, sometimes with intriguing red spotting – you know exactly why it captures our hearts. Propagating these beauties can be incredibly satisfying, a chance to share their magic or simply to expand your own collection. Now, I’ll be honest, Phalaenopsis amboinensis isn’t always the easiest orchid to start from scratch, especially for absolute beginners. But with a little patience and the right approach, it’s absolutely achievable!
The Best Time to Start
When is the magic window for propagating Phalaenopsis amboinensis? Generally, you’ll have the most success when the orchid is in an active growth phase. Spring or early summer is usually ideal, after the plant has finished blooming and is putting on new leaves and roots. You want to work with a healthy, robust specimen. Avoid trying to propagate from a plant that’s stressed or struggling; it just won’t have the energy to spare.
Supplies You’ll Need
Setting yourself up for success is half the battle. Here’s what you should have on hand:
- Sharp, sterilized pruning shears or a clean, sharp knife: Crucial for making clean cuts and preventing disease. Don’t forget to sterilize between cuts, especially if you’re working with multiple plants. A quick dip in rubbing alcohol does the trick.
- Sphagnum moss: This is your secret weapon for holding moisture and providing a good rooting medium. Opt for long-fibered sphagnum for best results. Make sure it’s clean and fluff it up well.
- Orchid bark mix (fine grade): For potting up the rooted plantlets. A good quality mix that drains well is key.
- Small pots or containers: These should have drainage holes! Tiny clear plastic cups are great for watching root development.
- Rooting hormone (optional but recommended): A powdered or gel form can give your cuttings a little boost.
- A clean spray bottle: For misting.
- Clear plastic bag or humidity dome (for stem cuttings): To create a humid microclimate.
Propagation Methods
Let’s dive into the how-to! For Phalaenopsis amboinensis, we’ll focus on the most reliable method: stem cuttings, often referred to as keikis or basal growths.
Stem Cuttings (Keikis): Sometimes, these orchids will naturally produce little baby plants (keikis) along the stem. If yours does, this is the easiest route!
- Identify the Keiki: Look for a small plantlet emerging from a node on the flower spike. It will have its own tiny leaves and, ideally, developing aerial roots.
- Wait for Roots: This is the most important step! Don’t rush this. Your keiki needs to develop its own roots, at least an inch or two long. This usually takes time.
- Carefully Detach: Once the keiki has sufficient roots, gently cut the stem connecting it to the mother plant, making sure to slice through the stem just below the keiki. If the keiki is very small, you might need to make a small cut on the mother plant’s stem too, just under the keiki’s base.
- Potting Up: Prepare a small pot with slightly dampened sphagnum moss. Gently place the keiki onto the moss, tucking its base in so the roots are covered. The base of the keiki should rest on the surface of the moss, not be buried too deeply.
- Create Humidity: Place the potted keiki inside a clear plastic bag or under a humidity dome. Ensure the bag doesn’t suffocate the plant; prop it up a bit.
- Light and Watering: Place it in bright, indirect light. Mist the sphagnum moss daily to keep it moist but not soggy. You’re aiming for high humidity.
The “Secret Sauce” (Pro Tips)
Here are a few things I’ve learned over the years that can make a big difference:
- Cleanliness is King: I can’t stress this enough. Sterilize your tools religiously. Even a tiny bit of bacterial or fungal infection can doom a promising cutting.
- Bottom Heat is Your Friend: If you can, place your potted keikis on a seedling heat mat set to a low temperature (around 70-75°F or 21-24°C). This encourages root development wonderfully. Just be careful not to dry out the medium too quickly.
- Don’t Over-Water: This is crucial for Phalaenopsis cuttings. They want to be consistently moist, but never waterlogged. Soggy conditions are a fast ticket to root rot. Lift the pot; if it feels light, it’s time to mist.
Aftercare & Troubleshooting
Once your keiki has started to root and show signs of active growth (new leaves unfurling!), you can gradually wean it off the plastic bag. Start by opening it for a few hours each day. Eventually, you can remove it completely.
Watch out for:
- Rotting: If the base of the keiki turns black and mushy, it’s likely rot. Try to trim away any affected parts with a sterilized blade and repot in fresh, dry sphagnum. Sometimes, unfortunately, it’s too late.
- Wilting Leaves: This can mean it’s not getting enough moisture or humidity, or the roots aren’t developing enough to sustain the leaves. Ensure consistent humidity and good light.
- No Growth: Be patient! Some keikis can take months to show obvious signs of growth. As long as it’s firm and green, there’s hope.
A Warm Encouragement
Growing plants is a journey, and propagating orchids like Phalaenopsis amboinensis adds a whole new layer of excitement. Don’t get discouraged if your first attempt isn’t a runaway success. Each plant is an individual, and sometimes they just need a little more coaxing. Keep observing, keep learning, and most importantly, enjoy the process of nurturing new life. Happy growing!
Resource:
https://identify.plantnet.org/k-world-flora/species/Phalaenopsis%20amboinensis%20J.J.Sm./data