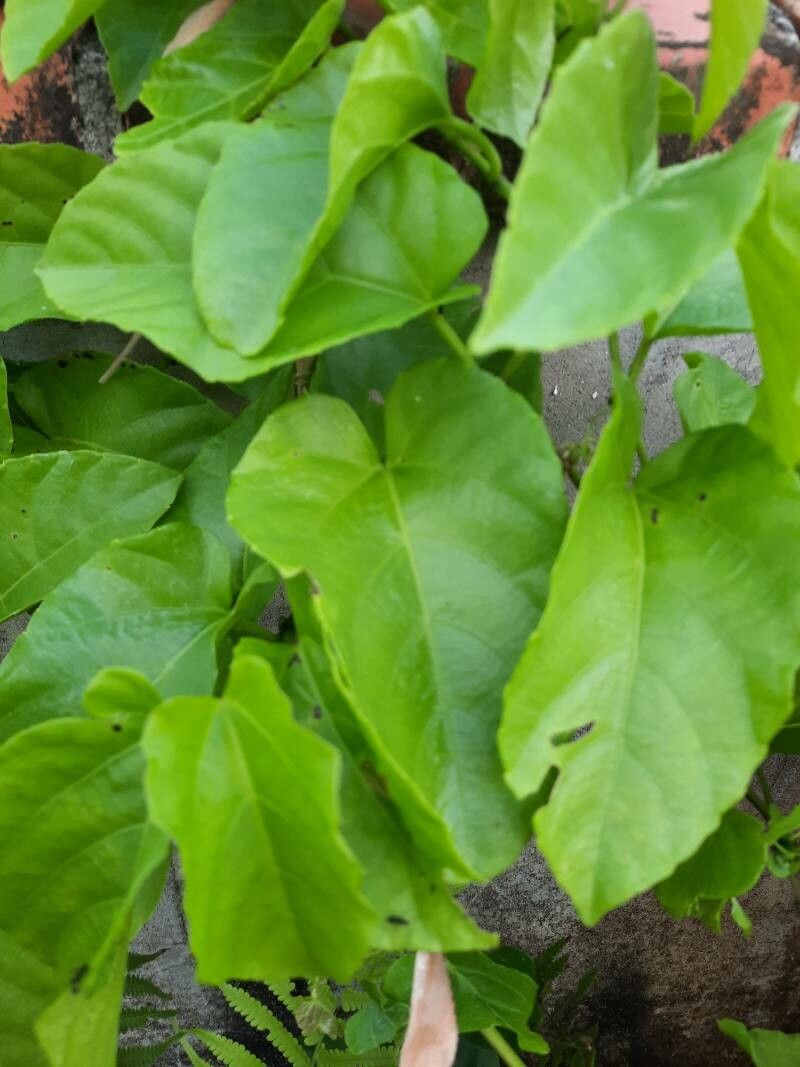
Hello there, fellow plant enthusiasts! Today, we’re diving into the delightful world of Passiflora acuminata, also known as the tropical passionflower. If you’ve ever seen its magnificent, intricate blooms and dreamt of having more of these botanical beauties gracing your garden or patio, you’re in the right place. Propagating these vining wonders is incredibly rewarding, and while some may find them a tad tricky, with a little know-how, you’ll be well on your way to success. Let’s get our hands dirty!
The Best Time to Start
Timing is everything in the garden, and for Passiflora acuminata, the sweet spot is late spring to early summer. This is when the plant is in its most vigorous growth phase. You’ll be looking for semi-hardwood cuttings, which are stems that have started to firm up but still have a bit of flexibility. Avoid the very soft, new growth, as it tends to be too delicate, and steer clear of old, woody stems – they can be much slower to root.
Supplies You’ll Need
Gathering your supplies beforehand makes the whole process smoother. Here’s what I usually have on hand:
- Sharp pruning shears or a clean, sharp knife: For making clean cuts.
- Rooting hormone: This is a lifesaver for encouraging root development. I prefer a powdered formulation for stem cuttings.
- Potting mix: A well-draining mix is crucial. I often use a blend of equal parts peat moss or coco coir, perlite, and a little bit of compost.
- Small pots or seed trays: With drainage holes, of course!
- Clear plastic bags or domes: To create a humid environment.
- Perlite or coarse sand: Good for improving drainage in your potting mix.
- Watering can with a fine rose: For gentle watering.
- Labels: So you don’t forget what you planted where!
Propagation Methods
Let’s explore the most reliable ways to get new Passiflora acuminata plants.
Stem Cuttings
This is my go-to method for Passiflora.
- Take your cuttings: From your healthy parent plant, select stems that are about 4-6 inches long. Make your cut just below a leaf node (where a leaf attaches to the stem). Remove the leaves from the bottom half of the cutting.
- Prepare the cutting: Dip the cut end into a little rooting hormone, tapping off any excess.
- Plant the cutting: Fill your pots with the well-draining potting mix. Make a small hole with your finger or a pencil, and insert the cutting, ensuring the node where you removed the lower leaves is buried in the soil. Gently firm the soil around the stem.
- Water and cover: Water the soil gently. Then, place a clear plastic bag over the pot, securing it with a rubber band, or use a propagator lid. This creates a mini-greenhouse effect, keeping humidity high.
Water Propagation
This is a simpler, less hands-on method, perfect for when you’re just starting.
- Prepare the cuttings: Similar to stem cuttings, take 4-6 inch lengths from healthy stems. Ensure at least one leaf node is below the water level.
- Place in water: Put the cuttings in a clean jar or vase filled with fresh, room-temperature water. Make sure no leaves are submerged in the water – they will rot and contaminate the water.
- Change the water: Change the water every 2-3 days to keep it fresh and prevent bacterial growth.
- Observe for roots: You should start to see small white roots emerging from the leaf nodes after a few weeks. Once the roots are about an inch long, you can transplant them into pots filled with your well-draining potting mix.
The “Secret Sauce” (Pro Tips)
Here are a few things I’ve learned over the years that can really boost your success rates:
- Bottom Heat is Your Friend: Passiflora roots are just happier when they have a little warmth from below. Placing your pots on a heated propagator mat can significantly speed up root formation, especially if your home is on the cooler side. You can often find affordable mats online.
- Don’t Over-Water, but Keep It Humid: While you want the soil to be consistently moist for cuttings, it shouldn’t be soggy. Overwatering is a fast track to root rot. The plastic bag or dome helps maintain humidity, but if you see condensation dripping heavily, you can briefly air out the cutting for an hour.
- Be Patient with the Woody Bits: Sometimes, even with semi-hardwood cuttings, you might get a slightly tougher stem. Don’t be discouraged if it takes a little longer to show signs of life. As long as the stem is still green and firm, there’s hope. A gentle tug test (if you can resist!) can tell you if roots are forming – it will feel resistant.
Aftercare & Troubleshooting
Once you see new leaf growth emerging from your cuttings, that’s a fantastic sign! It means roots are developing.
- Gradually Acclimate: Over the course of a week, slowly start to introduce your new plants to drier air. You can do this by opening the plastic bag or propagator lid for increasing amounts of time each day.
- Watering: Water them when the top inch of soil feels dry.
- Light: Provide bright, indirect light. Too much direct sun too soon can be a shock.
- Troubleshooting: The most common issue is rot. If you see your cutting turning black and mushy, it has likely rotted. This is usually due to too much moisture and not enough air circulation. Discard the affected cutting and reassess your watering and humidity levels for the remaining ones. If a cutting simply wilts and stays that way without rotting, it might just not have been viable to begin with.
Propagating Passiflora acuminata is a journey, and each cutting is a little experiment. Don’t be discouraged if not every one makes it. Celebrate the successes, learn from the failures, and most importantly, enjoy the process of nurturing life from a simple stem. Happy gardening!
Resource:
https://identify.plantnet.org/k-world-flora/species/Passiflora%20acuminata%20DC./data