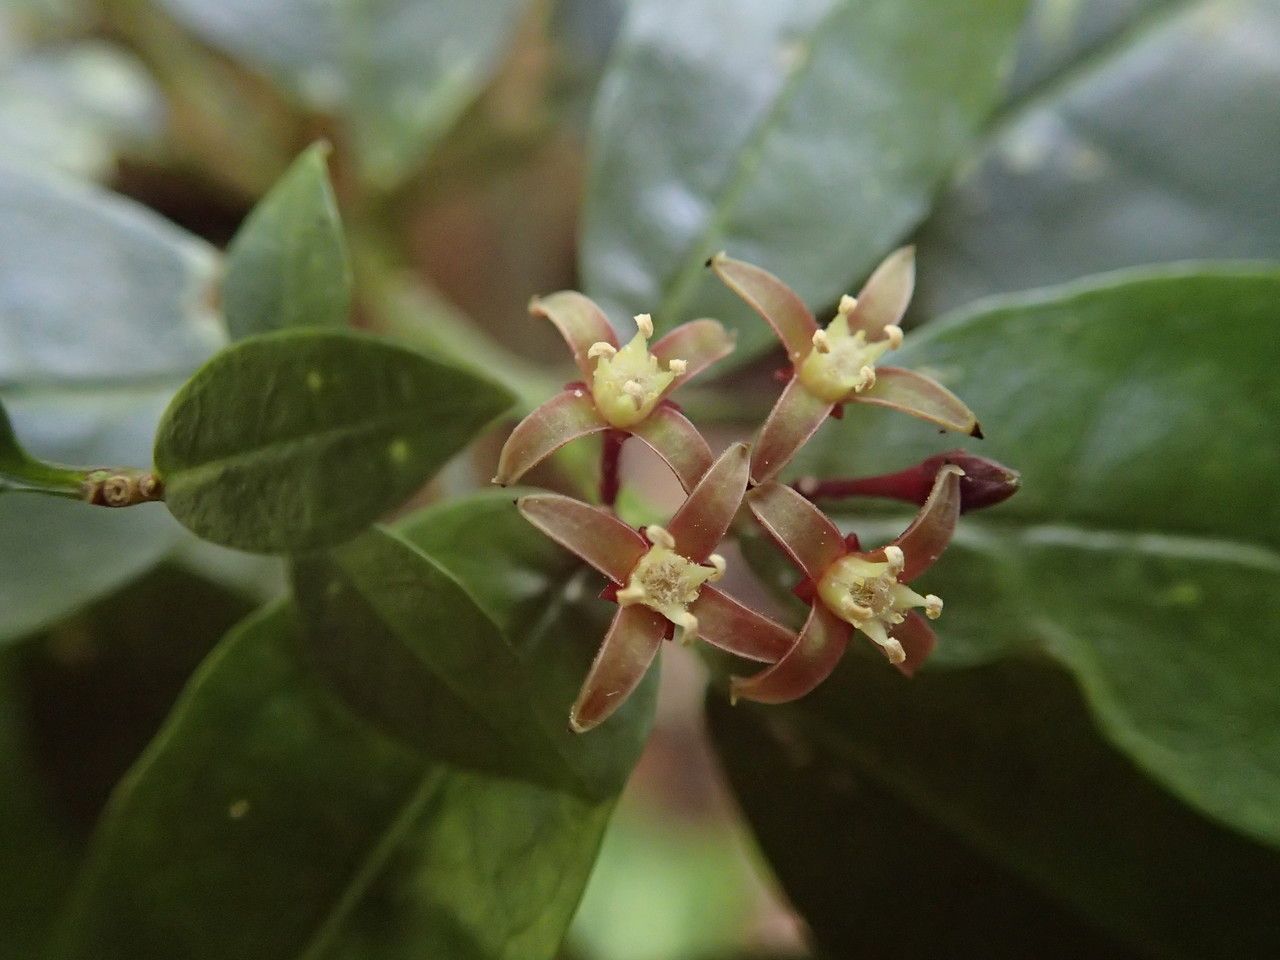
Oh, hello there, fellow garden enthusiast! I’m so glad you’ve stumbled upon my little corner of the web. Today, we’re diving into the wonderful world of Melicope glaberrima, also known as the Smooth-leaved Melicope. This beauty is a real showstopper in my garden, with its glossy, deep green leaves and delicate, often fragrant, white flowers that attract all sorts of pollinators. It’s the kind of plant that brings a touch of quiet elegance to any landscape.
Now, I know some plants can feel a bit intimidating to propagate, but I’m here to tell you: Melicope glaberrima is surprisingly accessible! Even if you’re new to the propagation game, you can absolutely succeed with this one. The reward of watching a tiny cutting unfurl its first true leaves is just pure gardening magic, isn’t it? It’s a fantastic way to expand your collection or share these lovely plants with friends.
The Best Time to Start
For the happiest, most successful propagation, I always aim for the late spring through early summer. This is when the plant is actively growing and has plenty of energy to put into developing new roots. You’re looking for stems that are still somewhat flexible but not brand new, flimsy growth. Think of them as being in that “just right” stage – not too soft, not too woody.
Supplies You’ll Need
Here’s what you’ll want to have on hand before you begin:
- Sharp, clean pruning shears or a sharp knife: Essential for making clean cuts.
- Rooting hormone powder or gel: While not strictly mandatory for Melicope, it can give your cuttings a significant boost.
- A well-draining potting mix: I love a mix of equal parts peat moss or coco coir and perlite or coarse sand. You want something airy!
- Small pots or seedling trays: Clean containers about 3-4 inches in size work perfectly.
- A clear plastic bag or a propagator lid: To create a humid environment.
- Watering can with a fine rose or a spray bottle: For gentle watering.
- Labels and a permanent marker: To keep track of what you’ve propagated and when!
Propagation Methods: Stem Cuttings
This is my go-to method for Melicope glaberrima and the one I find most fruitful.
- Take Your Cuttings: Choose healthy, vibrant stems. Using your clean shears, make a cut just below a leaf node (where a leaf attaches to the stem). Aim for cuttings that are about 4-6 inches long. Remove the lower leaves, leaving just two or three at the very top.
- Prepare the Cutting: If you’re using rooting hormone, dip the cut end of the stem into the hormone, tapping off any excess. This encourages root development.
- Planting the Cutting: Fill your clean pots with your well-draining potting mix. Make a hole in the center of the soil with your finger or a pencil, deep enough for the cutting to stand upright. Gently insert the prepared cutting into the hole.
- Firm the Soil and Water: Tuck the soil gently around the base of the cutting to ensure good contact. Then, water thoroughly but gently. You want the soil to be moist, but not waterlogged.
- Create a Humid Environment: This is crucial! Cover the pot with a clear plastic bag or a propagator lid. This traps moisture and keeps the humidity high, which helps prevent the cuttings from drying out before they can form roots. Make sure the leaves aren’t touching the plastic if possible – you can use stakes to prop it up.
- Placement: Place your pots in a bright spot with indirect light. Avoid direct sun, as this can scorch the delicate cuttings.
The “Secret Sauce” (Pro Tips)
Now for a couple of little tricks I’ve learned over the years that often make all the difference:
- The Importance of the Node: When you take your cutting, that little bump where the leaf meets the stem? That’s where the magic happens, where roots are most likely to form. Always make your cut just below a leaf node.
- Bottom Heat is Your Friend: If you have access to a seedling heat mat, placing your pots on top of it can significantly speed up root formation. It mimics the warmth of spring soil and gives those developing roots a cozy environment to grow. It’s not always necessary, but it’s a real game-changer!
- Don’t Over-Water, Ever: I’ve seen so many beginners struggle with this. Soggy soil is the enemy of a new cutting and can lead to rot. It’s better to let the surface of the soil dry out slightly between waterings. Stick your finger in the soil – if it feels dry about an inch down, it’s time to water.
Aftercare & Troubleshooting
Once you see signs of new growth – a tiny leaf peeking out or a bit of lengthening at the top – it’s a good indication that roots are forming! At this point, you can gradually acclimate your cuttings to normal humidity by slowly removing the plastic cover over a week or two. Continue to keep them in bright, indirect light and water when the top inch of soil feels dry.
What if things go wrong? The most common culprit is rot. If your cutting looks limp, mushy, or develops black spots, it’s likely rotted. This is usually due to overwatering or poor air circulation. Don’t be discouraged if some don’t make it – it’s all part of the learning process! Sometimes, a cutting just doesn’t have what it takes, and that’s perfectly okay. Keep trying.
A Warm Encouraging Closing
Propagating Melicope glaberrima is a journey, and like all the best gardening adventures, it requires a bit of patience. Watch your cuttings, learn from what they tell you, and celebrate every little success. The joy of growing a new plant from a tiny piece of another is incredibly fulfilling. So, go ahead, grab your shears, and get your hands in the soil. I can’t wait to hear about your propagation triumphs! Happy gardening!
Resource:
https://identify.plantnet.org/k-world-flora/species/Melicope%20glaberrima%20Guillaumin/data