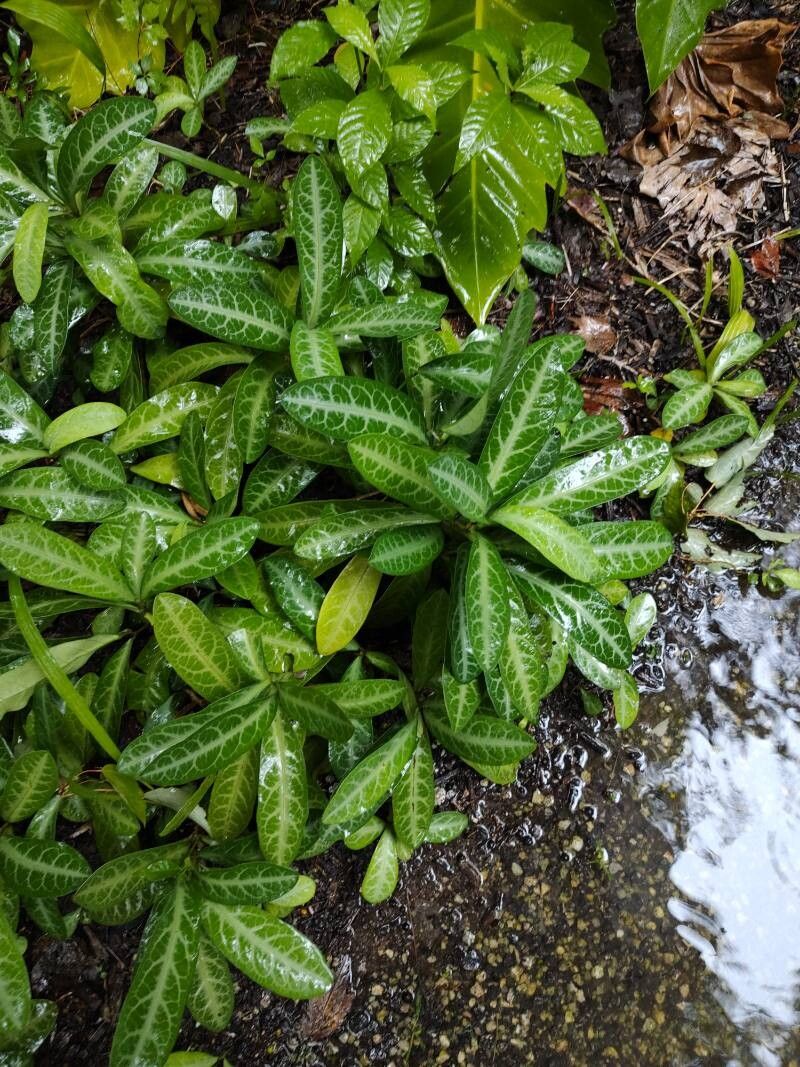
Oh, let me tell you about Lysimachia minoricensis! If you’re looking for a delicate, trailing beauty to grace your hanging baskets or spill over the edge of a pot, this is a plant that truly shines. Its tiny, almost star-shaped leaves create a lush, verdant cascade that can soften any corner of your garden or patio. And the best part? Growing more of these beauties from your existing plants is incredibly satisfying, even if it takes a little patience. For beginners, I’d say it’s moderately easy – nothing a little tender loving care can’t handle!
The Best Time to Start
When you’re thinking about getting new plants going, spring is your golden ticket for Lysimachia minoricensis. The plant is just waking up from its winter rest, and new growth is usually vigorous and ready to root. Aim for a time when your plant is actively putting out fresh shoots, usually after the last frost has passed and the days are starting to lengthen.
Supplies You’ll Need
Here’s what you’ll want to have on hand before you dive in:
- Sharp, clean pruning shears or a knife: For taking nice, clean cuts.
- A good quality potting mix: Something that drains well. A mix with perlite or coarse sand works wonders. I often use a blend of peat moss, perlite, and a little compost.
- Small pots or seed trays: Clean ones are a must!
- Rooting hormone (optional but helpful): A little dip can give your cuttings a boost.
- Watering can with a fine rose: For gentle watering.
- A plastic bag or a propagator: To create a humid environment.
Propagation Methods
My absolute favorite way to multiply Lysimachia minoricensis is through stem cuttings. It’s straightforward and usually yields great results.
- Take Your Cuttings: Gently look over your healthy Lysimachia minoricensis plant. You’re looking for softwood cuttings, which are young, flexible stems. Select shoots that are about 3-4 inches long. Using your clean shears, make a cut just below a leaf node (where a leaf attaches to the stem).
- Prepare the Cuttings: Carefully remove the lower leaves from your cuttings. You want to leave just a few sets of leaves at the top. This reduces moisture loss.
- Apply Rooting Hormone (Optional): If you’re using rooting hormone, dip the cut end of each stem into the powder or gel. Tap off any excess.
- Pot Them Up: Fill your small pots or seed trays with your well-draining potting mix. Make a small hole in the center of each pot with your finger or a pencil.
- Insert the Cuttings: Gently insert the cut end of each stem into the hole, ensuring the leaf nodes below where you removed the leaves are buried in the soil. Firm the soil around the base of the cutting.
- Water Gently: Water the potting mix thoroughly but gently. You don’t want to dislodge your precious cuttings!
The “Secret Sauce” (Pro Tips)
Now, for a couple of things I’ve learned over the years that really make a difference:
- Humidity is King: Once you’ve potted up your cuttings, create a mini greenhouse effect. You can do this by covering the pots with a clear plastic bag, making sure the leaves don’t touch the plastic. Alternatively, use a propagator with a lid. This keeps the humidity high, which is essential for cuttings to root before they dry out.
- Warmth Encourages Roots: While it’s not strictly necessary, placing your cuttings on a gentle heat mat can significantly speed up the rooting process. It mimics the warmth the plant would experience from the sun in spring. Just make sure it’s not too hot – you’re aiming for a bit of warmth, not a bake!
Aftercare & Troubleshooting
Once your cuttings are potted, find them a bright spot, but out of direct, intense sunlight. Keep the soil consistently moist but not soggy. You’ll know they’re rooting when you see new growth appearing, or if you gently tug on a cutting and feel resistance. This usually takes anywhere from 3 to 6 weeks.
The most common issue you might encounter is rot. This happens when the soil stays too wet, and the cuttings can’t breathe. If you see mushy stems or leaves turning yellow and falling off, it’s usually a sign of overwatering or lack of air circulation. Pull out any rotted cuttings immediately.
Once your new plants have a good root system – you’ll see roots emerging from the drainage holes – you can transplant them into slightly larger pots. Continue to care for them as you would your mature plant.
A Little Patience Goes a Long Way
Propagating Lysimachia minoricensis is a wonderful way to expand your collection and share these lovely plants with friends. Don’t get discouraged if a few cuttings don’t make it; it’s all part of the learning process. Just keep trying, observe your plants, and enjoy the magic of growing something new. Happy propagating!
Resource:
https://identify.plantnet.org/k-world-flora/species/Lysimachia%20minoricensis%20J.J.Rodr./data