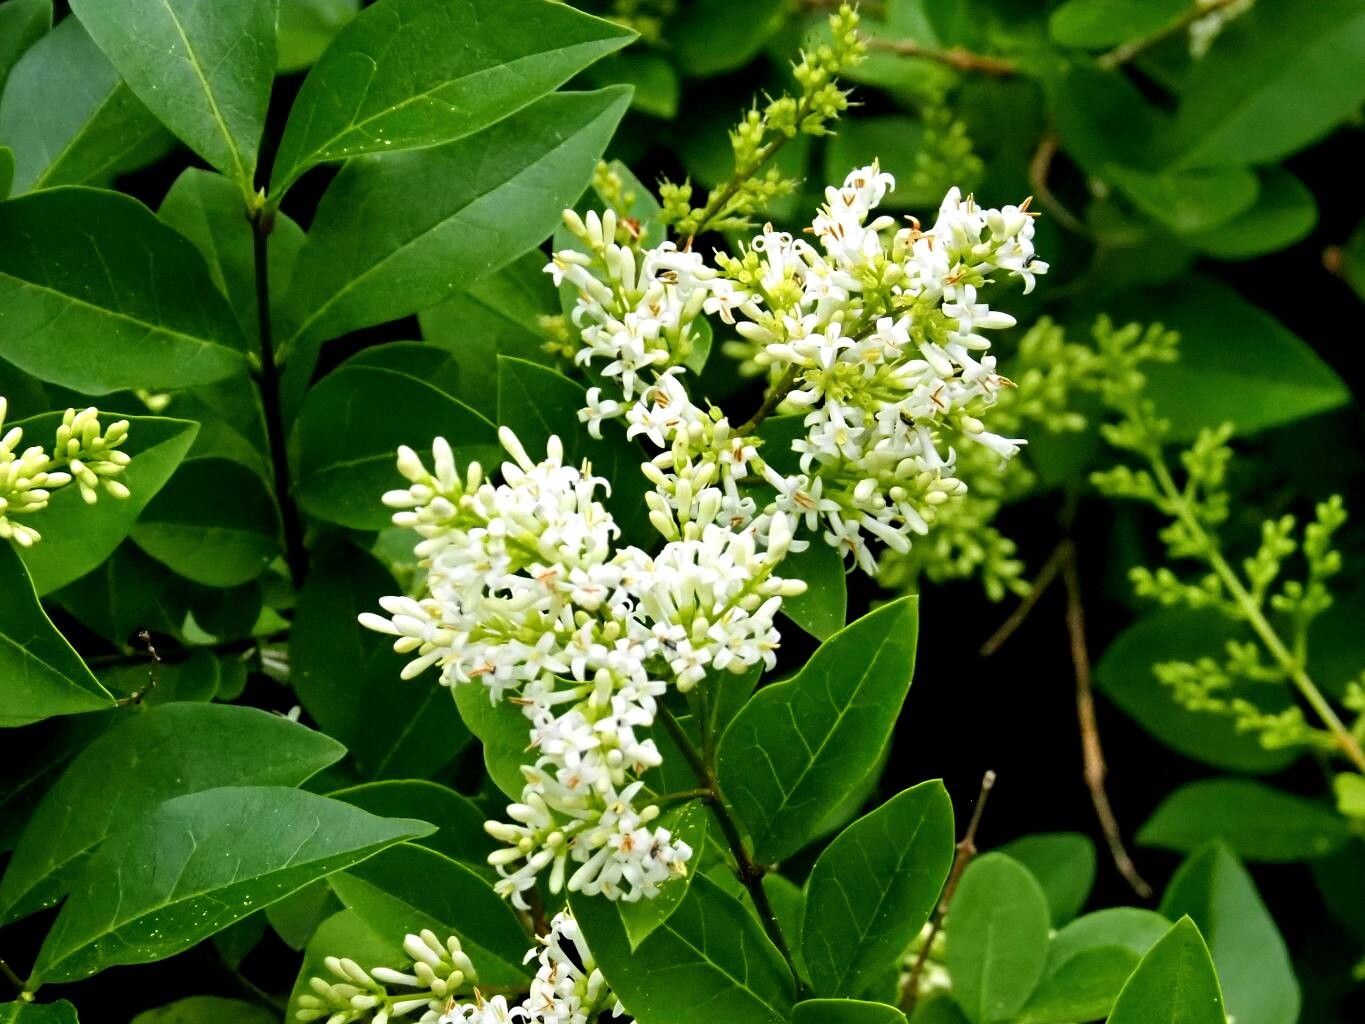
Hello there, fellow garden enthusiasts! It’s me, your friendly garden guru, ready to talk about one of my favorite workhorses: the Privet, or Ligustrum ovalifolium. This plant is just so wonderfully versatile. It’s fantastic for hedges, offers lovely glossy leaves, and is generally quite unfussy. And the best part? It’s surprisingly easy to boost your plant collection by propagating it! If you’re new to the gardening game, you’ll be pleased to know that Ligustrum ovalifolium is a fantastic plant to start with on your propagation journey.
When to Get Your Hands Dirty
For the highest chance of success, I like to take cuttings from semi-hardwood in late summer or early autumn. This is when the current season’s growth has started to firm up but isn’t yet as woody as older stems. You can also successfully propagate from softwood cuttings in late spring or early summer, but I find the semi-hardwood ones give me a little more resilience.
What You’ll Need For Your Propagation Adventure
Gathering your supplies beforehand makes the whole process much smoother. Here’s what you’ll want:
- Sharp, clean pruning shears or a sharp knife (for making clean cuts)
- A good quality seedling or propagation mix (something that drains well is key!)
- Small pots or trays with drainage holes
- A rooting hormone powder or gel (optional, but it gives a nice boost)
- A watering can with a fine rose or a spray bottle
- A plastic bag or propagator lid (to create a humid environment)
- A marker pen and labels
Let’s Get Propagating! Stem Cuttings are Your Friend
This is my go-to method for Ligustrum ovalifolium. It’s efficient and yields great results.
- Select Your Stems: Look for healthy, vigorous stems on your mature privet plant. Aim for pieces that are about 6-8 inches long.
- Make Your Cuts: Using your clean shears, take cuttings just below a leaf node. A leaf node is where a leaf attaches to the stem – this is where the magic happens for root development. If you’re using a knife, make a clean, slightly angled cut.
- Prepare the Cuttings: Gently remove the lower leaves. You want to leave just a couple of leaves at the top. This prevents leaves from rotting in the soil and reduces moisture loss.
- Apply Rooting Hormone (Optional but Recommended): Dip the cut end of each stem into your rooting hormone. Tap off any excess.
- Plant Your Cuttings:
- Fill your pots or trays with the well-draining propagation mix.
- Make a small hole in the soil with a pencil or your finger.
- Insert the cut end of the stem into the hole, about an inch or two deep.
- Gently firm the soil around the base of the cutting.
- Water thoroughly until the soil is moist but not soggy.
My “Secret Sauce” for Extra Success
Over the years, I’ve learned a few little tricks that make a difference.
- Don’t Crowd Them: Give your cuttings a bit of breathing room. Overcrowding can lead to fungal issues. I usually plant just one or two cuttings per small pot, or space them out in trays.
- Bottom Heat is Your Friend for Speed: If you have the space and the inclination, placing your pots on a heated propagator mat can significantly speed up the rooting process. It encourages the development of roots from the bottom up.
- The Humidity Tent is Crucial: Once planted, cover your pots with a clear plastic bag or a propagator lid. This creates a humid environment that mimics what the plant would experience in its natural, damp habitat, preventing the cuttings from drying out before they can form roots.
Aftercare and What to Watch For
Once your cuttings are planted and covered, place them in a bright spot out of direct hot sun. Keep the soil consistently moist but never waterlogged. You can test this by gently poking a finger into the soil; it should feel damp.
You’ll know your cuttings are starting to root when you see new leaf growth appearing at the top. This can take anywhere from 4 to 8 weeks, sometimes longer. Gently tug on a cutting; if you feel resistance, that’s a good sign roots are forming. Once they are well-rooted and you’ve seen new growth, you can gradually acclimatize them to drier air by slowly opening the plastic bag or lid over a few days. Then, you can transplant them into individual pots with regular potting soil.
What if things go wrong? The most common issue is rot. If your cuttings turn mushy and black at the base, it’s a sign of too much moisture and poor drainage. Unfortunately, these are usually beyond saving. Prevention is key here: use well-draining soil and don’t overwater.
Patience is a Gardener’s Virtue
Propagating plants is a wonderfully rewarding experience. It’s like watching life begin anew right before your eyes. Don’t get discouraged if not every cutting takes – it’s all part of the learning process! Enjoy the journey of nurturing these new little privets, and soon you’ll have a whole new hedge or a lovely collection of small shrubs to share. Happy gardening!
Resource:
https://identify.plantnet.org/k-world-flora/species/Ligustrum%20ovalifolium%20Hassk./data