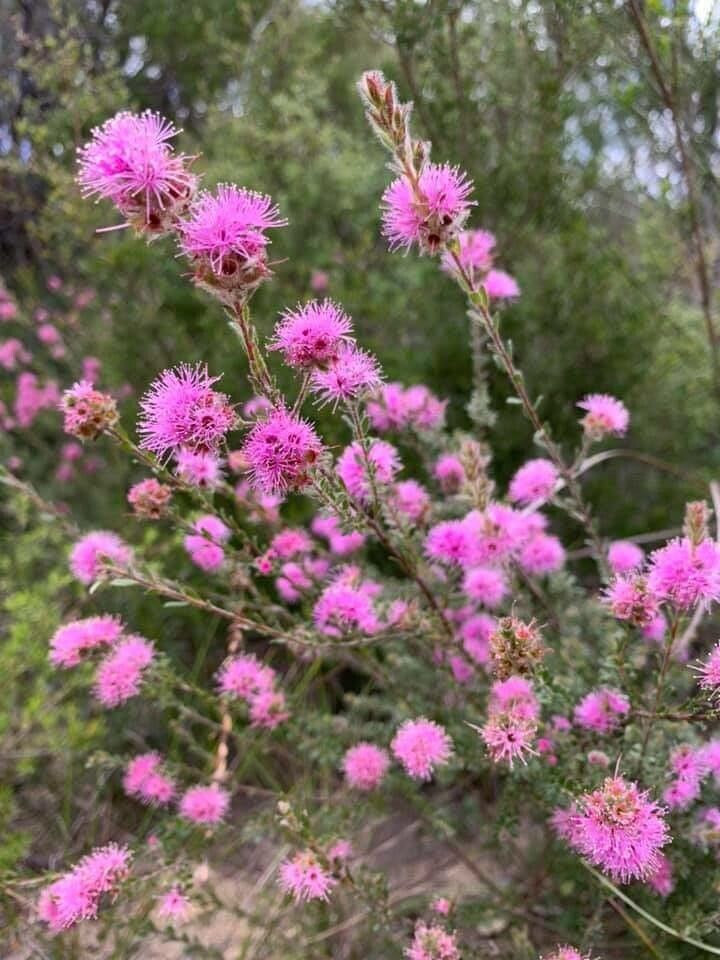
Hello, fellow garden enthusiasts! Today, we’re diving into the wonderful world of Kunzea parvifolia, often called dwarf Kunzea or dwarf honey-myrtle. If you’ve ever admired its delicate, heath-like foliage and charming clusters of tiny white or pink flowers, you know how special this little Australian native is. It’s a fantastic plant for filling in gaps, rockeries, or even a small pot. The best part? Propagating it is a truly rewarding experience. While it might seem a bit particular, with a few pointers, you’ll be well on your way to a whole troop of these beauties. Don’t worry if you’re new to propagating; I’ll walk you through it!
When the Magic Happens: The Best Time to Start
For Kunzea parvifolia, late spring to mid-summer is generally your golden ticket. This is when the plant is actively growing, and the new, semi-hardwood stems are most receptive to rooting. You’re looking for shoots that have started to firm up a bit but aren’t yet woody and old. Think of them as being “bendable but not floppy.”
What You’ll Need to Get Started
Gathering your supplies ahead of time makes the whole process smoother. Here’s a little checklist for you:
- Sharp Pruning Shears or Craft Knife: For clean cuts that heal well.
- Rooting Hormone Powder or Gel: This is your best friend for encouraging root development.
- Well-Draining Potting Mix: A great blend is 50% perlite and 50% peat moss or coco coir. You can also use a commercial seed-starting or cutting mix.
- Small Pots or Trays: Clean containers with drainage holes are essential.
- Plastic Bags or Propagator Lid: To create a humid microclimate.
- Watering Can with a Fine Rose: For gentle watering.
- Labels and a Pen: To keep track of what you’ve planted and when.
- Optional: Heat Mat: This can significantly speed up the rooting process in cooler climates.
Bringing New Life: Propagation Methods
We’ll focus on the most reliable method for Kunzea parvifolia: stem cuttings.
Step 1: Take Your Cuttings
On a bright, mild morning, use your sharp pruning shears or craft knife to take cuttings from healthy, vigorous parent plants. Aim for pieces about 4-6 inches long. Make your cut just below a leaf node (where a leaf attaches to the stem).
Step 2: Prepare the Cuttings
Gently remove the lower leaves from the bottom half of each cutting. This prevents them from rotting when buried in the soil. Leave about 2-3 sets of leaves at the top. If the leaves are very large, you can trim them in half horizontally to reduce water loss.
Step 3: Dip in Rooting Hormone
Dip the cut end of each prepared cutting into your rooting hormone powder or gel. Tap off any excess. This step is crucial for boosting success rates.
Step 4: Plant Your Cuttings
Fill your small pots or trays with your well-draining potting mix. Moisten the mix thoroughly. Using a pencil or your finger, make a small hole in the soil and gently insert the prepared cutting, ensuring the hormone-coated end is well within the soil. Firm the soil gently around the base of the cutting.
Step 5: Create a Humid Environment
Water the cuttings gently after planting. Then, cover the pot or tray with a clear plastic bag or a propagator lid. This traps humidity, which is vital for cuttings to root without drying out. Ensure the leaves aren’t touching the plastic if possible.
The “Secret Sauce”: My Insider Tips
Over the years, I’ve found a few little tricks that make a big difference with these lovely plants:
First off, don’t let the leaves touch the water if you’re attempting water propagation (though it’s less reliable for Kunzea). More importantly for cuttings in soil, if you can manage it, using a gentle bottom heat source can work wonders. A seedling heat mat placed under the propagation tray warms the soil to around 70-75°F (21-24°C), which encourages roots to form much faster and more reliably, especially if your room is on the cooler side. Secondly, and this is a big one, resist the urge to fuss over them too much. They need stability. Avoid poking around to see if they have roots for at least 6-8 weeks. Patience is truly a gardener’s virtue here!
Aftercare and What to Watch For
Once your cuttings have been planted, place them in a bright spot but out of direct, harsh sunlight. Keep the soil consistently moist but not waterlogged. You want it to feel like a wrung-out sponge.
You’ll know your cuttings have started to root when you see new growth emerging from the top. Another sign is a gentle tug test – if you feel resistance when you carefully pull on the cutting, it’s likely rooted. This typically takes 6-10 weeks, sometimes longer.
The most common pitfall is rot. If you see your cuttings turning mushy and brown, it’s usually a sign of too much moisture and not enough air circulation. If rot sets in, unfortunately, that cutting is likely lost. Sometimes, if you catch it early, you can salvage parts of the stem, but it’s usually best to start fresh with new cuttings if this happens.
Happy Growing!
So there you have it! Propagating Kunzea parvifolia is a delightful journey into plant growth. Be patient with your little cuttings; they have their own timeline. With a little care and these tips, you’ll soon be rewarded with your own homegrown dwarf honey-myrtles. Enjoy the process of nurturing them and watching them thrive!
Resource:
https://identify.plantnet.org/k-world-flora/species/Kunzea%20parvifolia%20Schauer/data