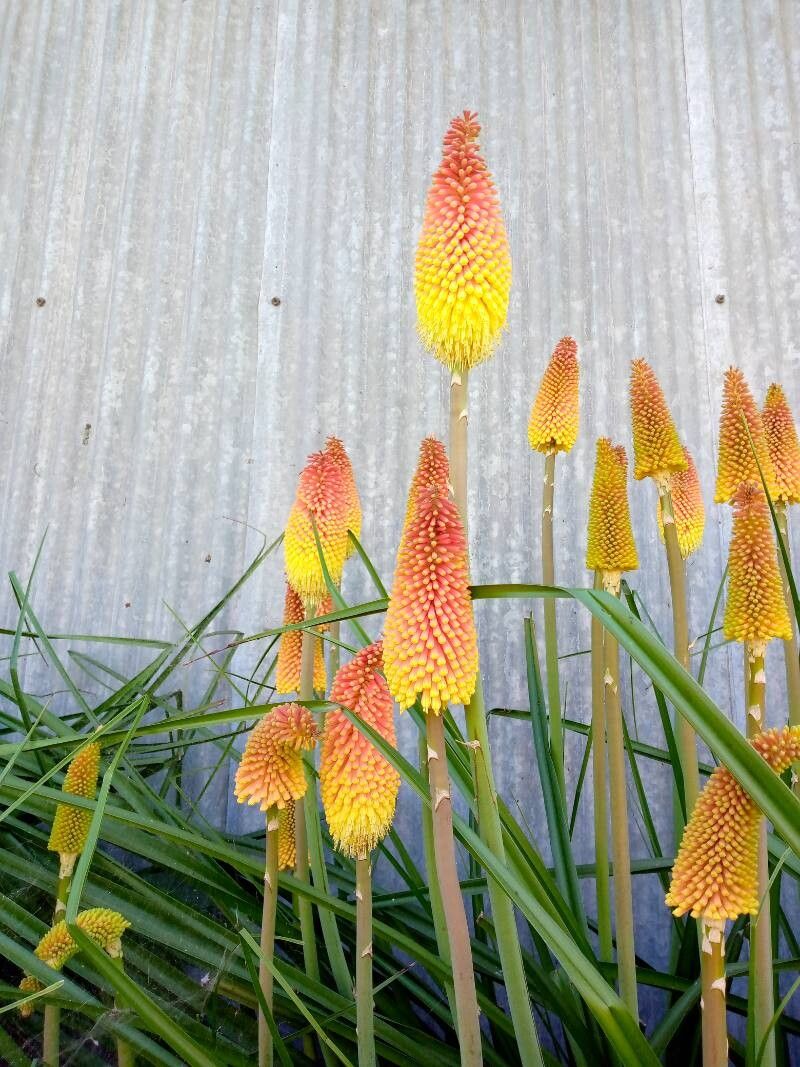
Hey there, fellow plant lovers! I’ve got a real treat for you today – talking about Kniphofia linearifolia, or as many of us affectionately call them, the Tall Poker Plant. If you’re dreaming of adding more of those fiery, red-hot poker blooms to your garden, or just want to share the joy with friends, propagating them is a wonderfully rewarding project. Honestly, Kniphofia linearifolia is quite forgiving, which makes it a great plant to try your hand at propagation with. You’ll be amazed at how easy it can be to create new lives from an existing beauty.
The Best Time to Start
For Kniphofia linearifolia, the ideal time to propagate is in the spring, right as things start to warm up and the plant is gearing up for its main growing season. You can also have success with a division in the fall, after the flowering has finished but before the ground gets too cold. Getting started when the plant is actively growing is key for the best results.
Supplies You’ll Need
- Sharp, clean pruning shears or a garden knife: To make clean cuts.
- Well-draining potting mix: A blend of 50% potting soil and 50% perlite or coarse sand works beautifully.
- Small pots or seed trays: With drainage holes, of course.
- Rooting hormone (optional but recommended): Helps new cuttings establish roots faster.
- Watering can or spray bottle: For gentle watering.
- Labels: So you don’t forget what you planted where!
- A sunny spot or grow light: To provide adequate light.
Propagation Methods
There are a couple of really effective ways to get more Kniphofia linearifolia. I find division to be the most straightforward for this particular plant, but stem cuttings can also work if you’re feeling adventurous.
Division: My Go-To Method
This is the easiest and most successful way to multiply your poker plants.
- Dig up the entire plant: In the spring, when the soil is moist but not waterlogged, carefully dig around the base of your Kniphofia linearifolia plant. Gently lift the whole clump out of the ground.
- Inspect the root ball: You’ll see that the plant naturally forms clumps or crowns. You can often see where new growth is emerging from the parent plant.
- Separate the divisions: Using your clean pruning shears or a sharp knife, carefully divide the clump into smaller sections. Each division should have at least one healthy-looking root system and a few leafy shoots. Don’t be afraid to be a little firm; these plants are tough!
- Replant immediately: Once you have your divisions, replant them in their new spots in the garden or in pots filled with your well-draining soil mix. Make sure the crown (where the leaves emerge from the roots) is at soil level.
- Water thoroughly: Give them a good watering to help settle the soil and reduce transplant shock.
Stem Cuttings: For the Patient Gardener
This method is a bit more involved but can be very rewarding.
- Take your cuttings: In spring or early summer, select a healthy, non-flowering stem. Using your sharp shears, cut a section about 4-6 inches long. Make the cut just below a leaf node (where a leaf attaches to the stem).
- Prepare the cutting: Remove any lower leaves, leaving just a couple at the top. If you’re using rooting hormone, dip the cut end about 1/2 inch into the powder, tapping off any excess.
- Plant the cutting: Insert the cut end about 1-2 inches deep into a pot filled with your well-draining mix, or a 50/50 mix of peat moss and perlite.
- Water gently: Mist the soil lightly to moisten it. You want it damp, not soggy.
- Create a humid environment: Cover the pot with a clear plastic bag to create a mini-greenhouse effect. Make sure the leaves don’t touch the plastic. You can use stakes to prop up the bag if needed.
- Place in bright, indirect light: Avoid direct sun, which can scorch the delicate cuttings.
The “Secret Sauce” (Pro Tips)
- Don’t let the leaves touch the water (for cuttings): If you’re trying water propagation or have any dew on your cuttings, make sure the leaves aren’t sitting in water. This can lead to rot very quickly.
- Bottom heat is your friend (for cuttings): If you’re struggling to get cuttings to root, investing in a small seedling heat mat can make a huge difference. A little warmth from below encourages root development.
- Be patient with divisions: Even if the leaves look a little sad after division, give them time. As long as the roots are healthy, they’ll bounce back and start new growth.
Aftercare & Troubleshooting
Once your divisions are replanted or your cuttings show signs of rooting (new leaves emerging or a gentle tug reveals resistance), it’s time for a little dedicated care.
- Watering: Keep the soil consistently moist but not waterlogged. For divisions, this means regular watering for the first few weeks. For cuttings, continue to mist or water gently as needed. Once established, Kniphofia are quite drought-tolerant.
- Light: Provide bright, indirect light for cuttings. Established divisions can be placed in their intended sunny spots.
- Fertilizing: Wait until you see strong new growth before feeding. A balanced, all-purpose liquid fertilizer diluted to half strength can be applied once a month during the growing season.
The most common issue you might encounter is rot. This usually happens from overwatering or poor drainage. If you see your cutting stem turning black and mushy, or divisions wilting despite moist soil, it’s likely rot. Discard any affected material to prevent it from spreading, and double-check your watering and soil drainage for the remaining plants.
A Little Encouragement to Finish
There you have it! Propagating Kniphofia linearifolia is a rewarding journey, and I promise, with a little patience and a lot of love, you’ll be rewarded with beautiful new plants. Don’t be discouraged if not every attempt is a runaway success. Gardening is all about learning and growing, so just enjoy the process. Happy propagating!
Resource:
https://identify.plantnet.org/k-world-flora/species/Kniphofia%20linearifolia%20Baker/data