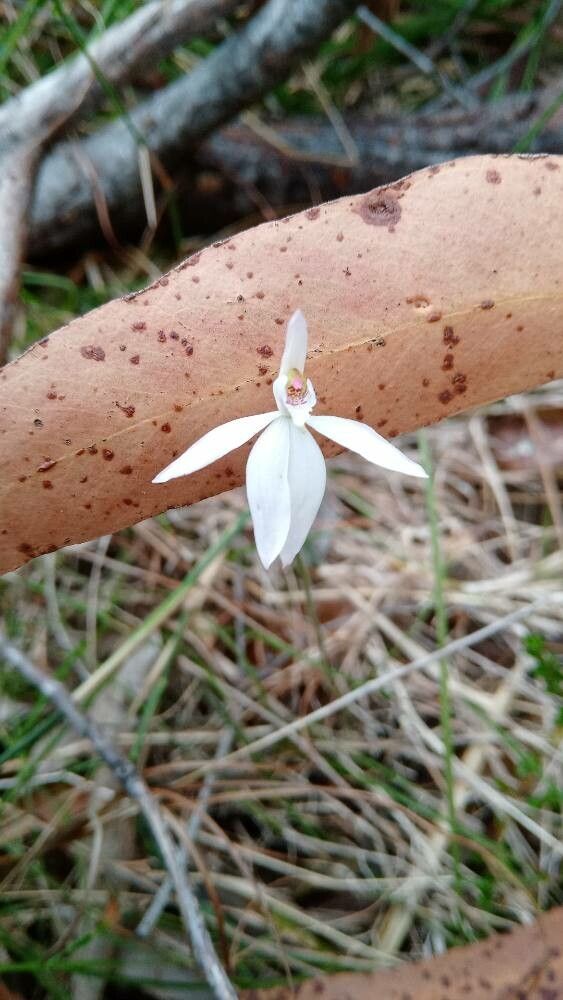
Oh, hello there! So glad you’ve popped in. Today, we’re talking about a real gem, Caladenia picta, sometimes called the Painted Spider Orchid. If you’re looking for a native Australian orchid that truly brings a splash of artistic flair to a shady corner, this is your gal. Their delicate, painted petals are simply mesmerizing. Now, I’ll be honest, propagating orchids, especially terrestrial ones like Caladenia picta, can be a bit of a journey. It’s not quite plant-and-forget, but the rewards are so worth it for the patient soul. Beginners, be prepared to learn and experiment!
When to Get Your Hands Dirty
For Caladenia picta, timing is key. The absolute best time to think about propagation is right after they’ve finished flowering, typically in late spring or early summer. You’ll want to catch them when they are actively finishing their bloom cycle and beginning their vegetative growth phase. This means the plant is full of stored energy, ready to channel it into putting down new roots.
What You’ll Want in Your Toolkit
Gathering your supplies before you start makes the whole process smoother. Here’s what I usually have on hand:
- Sterile pruning shears or a sharp, clean knife: Essential for making clean cuts and preventing disease.
- A well-draining potting mix: For terrestrial orchids, we’re talking a mix that’s airy and free-draining. I often use a blend of coarse sand, orchid bark (fine grade), and a bit of composted pine bark. Something that won’t hold too much moisture.
- Small pots or seed trays: Clean, small containers are best to start. Terracotta can work, but plastic is often easier to keep clean.
- Propagation medium: If you’re trying something like leaf cuttings, you might need a specialized orchid propagation mix.
- Rooting hormone (optional but helpful): For cuttings, this can give them a little boost. I prefer the powdered form.
- A spray bottle: For gentle misting.
- Labels: Don’t forget to label what you’ve propagated and when!
Let’s Get Propagating
Caladenia picta is primarily propagated using a method called division, or by attempting to grow them from what’s referred to as a tuber or pseudobulb. Collecting seeds is a whole different, much more complex process, often involving mycorrhizal fungi, so we’ll stick to the more accessible methods today.
1. Division of Tubers
This is the most reliable method for home gardeners.
- Step 1: Gently Excavate. When your Caladenia picta is dormant (usually after flowering and the foliage has died back), carefully dig around the base of the plant. You want to expose the tuber system without damaging it.
- Step 2: Identify New Shoots. Look for small, new tubers or shoots that have emerged from the main tuber or its base. These are your potential new plants.
- Step 3: Careful Separation. Using your sterile knife or shears, carefully cut away the new tuber or shoot, ensuring it has some attached root structure. Try to make a clean cut.
- Step 4: Potting Up. Immediately pot each new division into its own container filled with your well-draining orchid mix. Plant it at roughly the same depth it was growing before.
- Step 5: Initial Watering. Water very lightly. The goal is just enough to settle the soil, not to make it soggy.
2. Leaf or Shoot Cuttings (More Experimental)
This is a bit trickier and less common for Caladenia picta, as they are more known for their tuberous propagation. But for the adventurous, here’s a general approach.
- Step 1: Select a Healthy Shoot. Choose a healthy, mature leaf or immature shoot that shows good vigor.
- Step 2: Make the Cut. Using your sterile tool, take a clean cutting. For a leaf, you might take a section or the whole thing, depending on its size. For a shoot, aim for a piece with a node.
- Step 3: Apply Rooting Hormone (Optional). Dip the cut end of the cutting into rooting hormone powder.
- Step 4: Plant the Cutting. Insert the cut end into a pot filled with your propagation medium. You can mist the medium lightly afterward.
- Step 5: Provide Humidity. This is crucial for cuttings. Cover the pot loosely with a clear plastic bag or place it in a propagator to maintain high humidity.
My “Secret Sauce” (Insider Tips)
Alright, let’s talk about a couple of things that have seen me through many a propagation project.
- The “Dormancy Drink” is Key: For division, I always wait until the plant’s leaves have completely died back. This tells me it’s truly in its resting phase. Trying to divide when it’s actively growing can shock the plant and reduce your success rate dramatically.
- Don’t Drench; Mist Gently: After potting divisions or replanting cuttings, avoid the urge to flood the pot. Mist the surface of the soil regularly. Overwatering is the enemy of terrestrial orchids, quickly leading to rot. Just keep the medium lightly moist.
- Patience with the Compost: If you’re going the cutting route (which, again, is more for the experimental gardener with Caladenia picta), don’t expect miracles overnight. These are slow growers. Sometimes, it takes months for new roots or shoots to appear, if they appear at all.
Nurturing Your New Sprouts & What to Watch For
Once your new Caladenia picta divisions have shown signs of growth – perhaps a new leaf poking through or the old one perking up – you can start treating them a bit more like established plants. Continue with bright, indirect light and careful watering. Avoid feeding them heavily right away; let them settle in.
The biggest culprit for failure, especially with cuttings, is rot. If your cutting turns black and mushy, or if the division looks limp and discolored after initial potting, it’s a sign that it’s gotten too wet. Damp, but not soggy, is the mantra. Another issue can be lack of root development, meaning the cutting simply doesn’t have the resources to grow. This is where patience and careful observation come into play.
Don’t be discouraged if your first attempts aren’t roaring successes. Gardening is a learning process, and each plant teaches us something new. The joy of seeing a small division or a hopeful cutting mature into a beautiful Caladenia picta is truly immense. So, get your hands dirty, embrace the journey, and happy growing!
Resource: