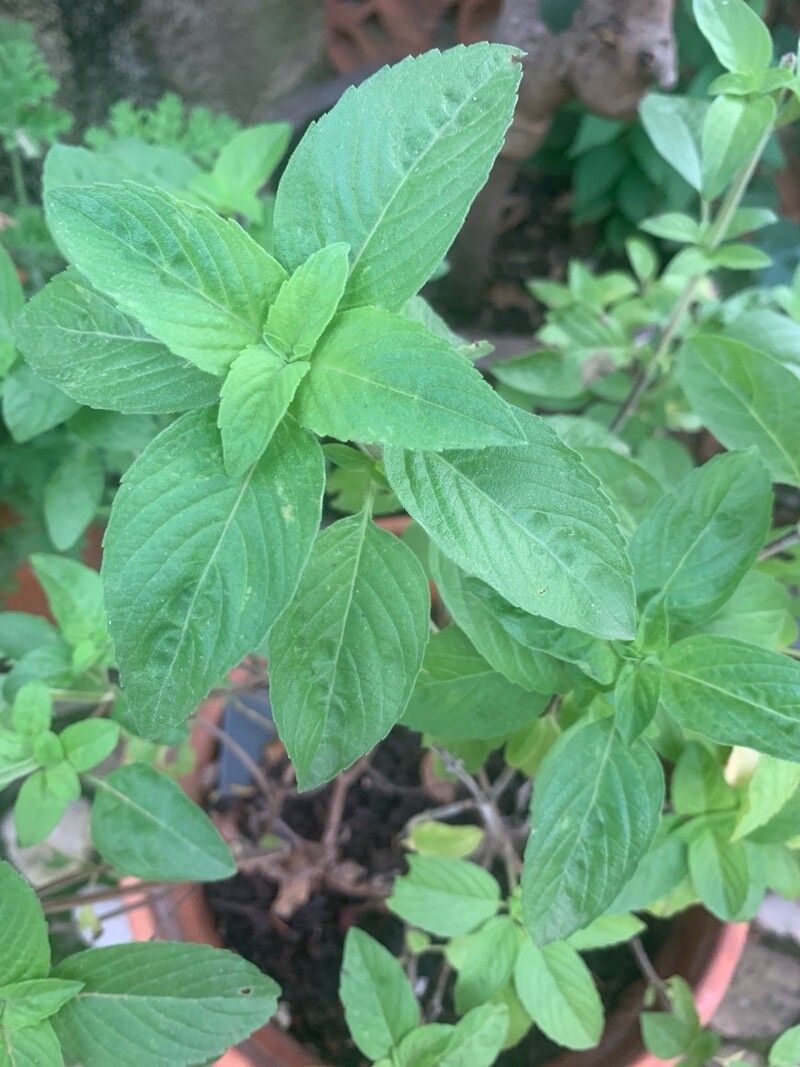
Oh, Basilicum polystachyon! What a treasure to have in the garden. If you’re not familiar, imagine a wonderfully fragrant herb, with lush, green leaves and a slightly wild, natural charm. It’s not quite basil as you might know it, but it shares that same delightful aromatic quality that just makes cooking sing. Plus, its delicate flower spikes are a magnet for pollinators.
Propagating this beauty is a truly rewarding endeavor. You get to watch life unfurl, and the satisfaction of taking a piece of your existing plant and coaxing it into a whole new one? Priceless! Don’t fret if you’re new to this; Basilicum polystachyon is wonderfully forgiving, making it a fantastic choice for beginners looking to dip their toes into propagating.
The Best Time to Start
Timing, as they say, is everything in the garden. For Basilicum polystachyon, I’ve found the late spring or early summer to be your sweet spot. This is when the plant is in its most vigorous growth phase. The warmth and longer daylight hours give cuttings the best chance to root and establish before the cooler months arrive. You want to be working with healthy, actively growing stems.
Supplies You’ll Need
Before we get our hands dirty, let’s gather our tools. It’s always good to be prepared!
- Sharp pruning shears or a clean knife: For making clean cuts.
- Small pots or seed trays: Anything that can hold the potting mix and allow for drainage.
- A good quality potting mix: I prefer a light, well-draining mix. You can buy it or make your own by combining equal parts peat moss, perlite, and a bit of compost.
- Rooting hormone (optional but helpful): A powder or gel can give your cuttings a little boost.
- Water: For keeping things moist.
- A spray bottle: For misting.
- Plastic bags or a propagator (optional): To create a humid environment.
Propagation Methods
Let’s get down to the nitty-gritty. Basilicum polystachyon is quite amenable to a few different approaches.
Stem Cuttings: My Go-To Method
This is my favorite and usually the most successful.
- Select vibrant stems: Look for healthy, non-flowering stems on your mature plant. You want stems that are flexible but not too soft – think pencil-thick is ideal.
- Make your cuts: Using your sharp shears or knife, cut a section of stem that’s about 4-6 inches long. Make the cut just below a leaf node (where a leaf joins the stem). This is where the magic happens, as this is where roots are most likely to form.
- Prepare the cuttings: Gently remove the lower leaves from the stem, leaving just a couple at the very top. This prevents them from rotting in the soil or water.
- Apply rooting hormone (if using): Dip the cut end of the stem into the rooting hormone, tapping off any excess.
- Plant your cuttings: Fill your small pots with your prepared potting mix. Make a small hole in the center with your finger or a pencil. Gently insert the cut end of the stem into the hole, ensuring it goes deep enough to be stable but deep enough that the remaining leaves aren’t buried.
- Water gently: Water thoroughly, making sure the soil is evenly moist but not waterlogged.
- Create a humid environment: You can cover the pot with a clear plastic bag (supported by stakes so it doesn’t touch the leaves) or place it in a propagator. This traps moisture and keeps the cuttings from drying out.
Water Propagation: The Visual Approach
If you like to see the roots develop, this is for you!
- Prepare your cuttings: Follow steps 1-3 above for selecting and preparing your stems.
- Place in water: Put the cuttings in a clean jar or glass filled with fresh, room-temperature water.
- Important: Make sure no leaves are submerged in the water. Only the stem should be in contact with the water.
- Change the water regularly: Every couple of days, change out the water to keep it fresh and prevent bacterial growth.
- Watch for roots: Within a few weeks, you should start seeing little white roots emerging from the stem nodes.
- Pot up when ready: Once the roots are about an inch long, it’s time to carefully transplant them into pots with your well-draining potting mix. Treat them as you would a newly potted cutting at this stage.
The “Secret Sauce” (Pro Tips)
Here are a few little tricks I’ve picked up over the years that can make a big difference.
- Bottom Heat is Your Friend: If you have the means, placing your pots on a gentle heating mat can dramatically speed up root development. It mimics natural ground warmth and really encourages those roots to take off. Just keep it on a low setting!
- Don’t Over-Water, Ever! This is a cardinal rule for cuttings. Consistently damp rather than soggy is the phrase to remember. Overwatering is the quickest way to invite rot, and that’s a sad end for a promising cutting.
- The Art of the “Heeling”: When you take your cuttings, sometimes you’ll find a piece of the “heel” from the parent stem attached. This little bump of tissue is often rich in hormones and can significantly improve your chances of successful rooting. It’s not always possible, but if you see one, embrace it!
Aftercare & Troubleshooting
Once you see signs of life – new leaf growth or a good network of roots – it’s time to treat your new plant with a little extra care.
- Gradually acclimatize: If you’ve been using a plastic bag or propagator, slowly start to introduce your new plant to normal humidity over a few days. This prevents shock.
- Watering: Continue to keep the soil consistently moist but not wet. As the plant grows larger, you can ease up slightly, allowing the top inch of soil to dry out between waterings.
- Light: Place your new plant in a bright spot, but avoid direct scorching sun for the first few weeks. As it matures, it will likely enjoy full sun.
Now, what if things go wrong?
- Wilting: This usually means the cutting is drying out. Increase humidity and check your watering.
- Yellowing Leaves: This can be a sign of overwatering (the roots are suffocating) or shock. Ensure good drainage and check your watering.
- Rotting: If a stem turns black and mushy, it’s typically rot from too much moisture. Discard the affected cutting and ensure other cuttings have better drainage and airflow. Don’t get discouraged; sometimes it just happens!
A Encouraging Closing
Propagating Basilicum polystachyon is such a joy, a small act of green magic you can perform right in your own home. Be patient with your cuttings. Some will be faster than others, and some may not make it, but that’s all part of the learning process. Just keep observing, keep tending, and soon you’ll have a whole new batch of this delightful herb to enjoy. Happy propagating!
Resource:
https://identify.plantnet.org/k-world-flora/species/Basilicum%20polystachyon%20(L.)%20Moench/data