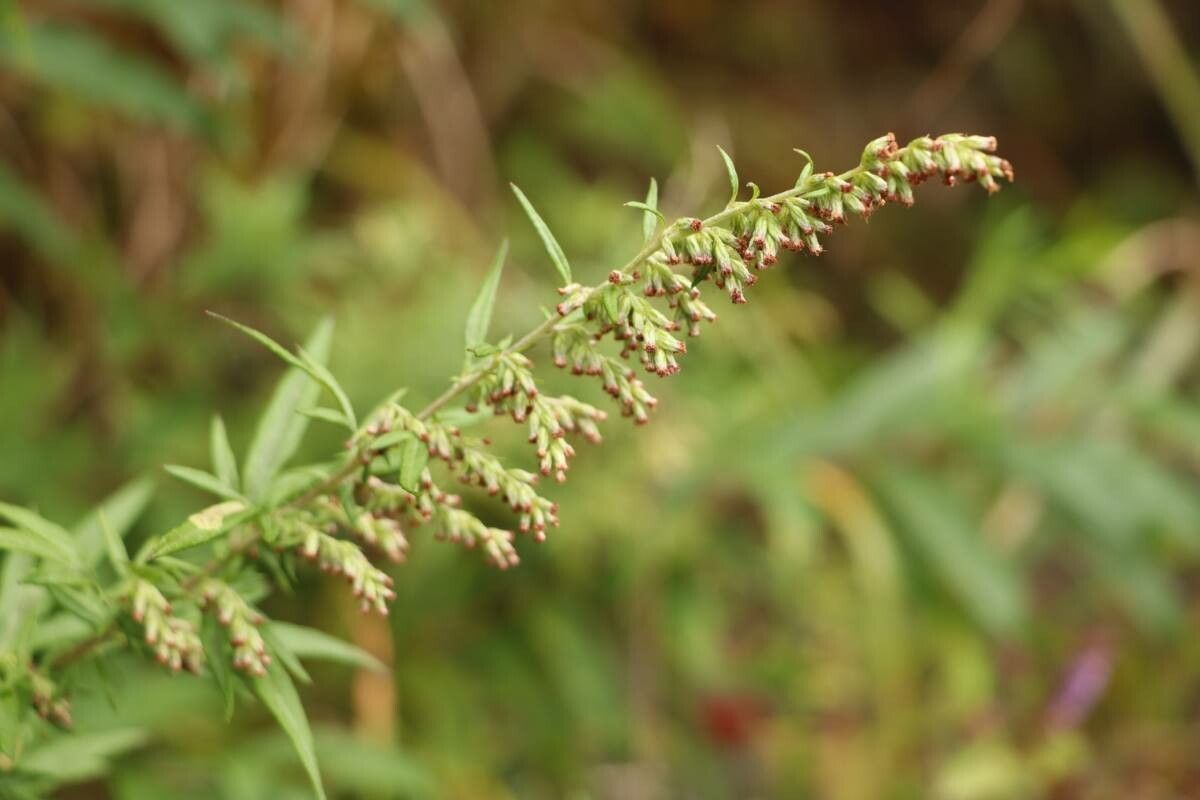
Hello there, fellow plant lovers! It’s a joy to be sharing my little corner of the gardening world with you again. Today, we’re diving into a plant that brings a touch of silvery elegance and a lovely, subtle fragrance to any garden: Artemisia lancea, often known as Lanceleaf Wormwood or Silver Wormwood.
Why Propagate Artemisia lancea?
I find Artemisia lancea absolutely captivating. Its delicate, feathery foliage creates a soft texture, and the silvery sheen catches the light beautifully. It’s a fantastic contrast to bolder, greener plants. Propagating it yourself is incredibly rewarding. You save money, you can share these beauties with friends, and there’s a special satisfaction in watching a tiny cutting transform into a flourishing plant. For beginners? I’d say Artemisia is moderately easy to propagate, which is wonderful. A little patience and the right approach, and you’ll be well on your way.
The Best Time to Start
My golden rule for propagating most herbaceous perennials, including Artemisia lancea, is late spring to early summer. This is when the plant is actively growing, and we can take cuttings from healthy, new shoots. You can also have success with its siblings in early autumn, but spring offers the best chance for robust rooting.
Supplies You’ll Need
Here’s what you’ll want to gather to get started:
- Sharp pruning shears or a clean, sharp knife: For taking clean cuts.
- Rooting hormone (optional but helpful): A powder or gel that encourages root development.
- Small pots or trays: Clean ones, of course!
- A well-draining potting mix: I like a blend of peat moss, perlite, and a little bit of compost. A mix specifically for cuttings or seedlings works well too.
- A watering can or spray bottle: For gentle watering.
- Plastic bags or a propagation dome: To create a humid environment, especially for stem cuttings.
- Labels: To keep track of what you’ve planted!
Propagation Methods
Let’s get our hands dirty with a couple of reliable ways to multiply your Artemisia lancea.
1. Stem Cuttings
This is my go-to method for Artemisia.
- Take Your Cuttings: Look for healthy, non-flowering stems that are about 4-6 inches long. Using your clean shears or knife, make a clean cut just below a leaf node (where a leaf meets the stem).
- Prepare the Cuttings: Gently remove the lower leaves from the cutting, leaving just a few at the top. This prevents them from rotting when buried. If you’re using rooting hormone, dip the cut end into the powder or gel now.
- Plant Them Up: Fill your small pots or trays with your well-draining potting mix. Make a small hole in the center for each cutting. Gently insert the cut end of the Artemisia into the hole, ensuring at least one leaf node is below the soil surface.
- Water Gently: Water the soil thoroughly but gently, so it’s moist but not waterlogged.
- Create Humidity: Cover the pots with a clear plastic bag, secured with a rubber band, or place them under a propagation dome. This creates a mini-greenhouse effect.
2. Division
If your Artemisia lancea is already an established clump, division is a wonderfully simple way to create new plants.
- Dig Up the Plant: In spring (when new growth is just starting), carefully dig up the entire plant. Try to disturb the roots as little as possible, but it’s okay if some soil falls away.
- Separate the Divisions: You can often pull the root ball apart with your hands. If it’s quite tough, use a clean trowel or even a sharp spade to divide the clump into smaller sections. Each section should have a good amount of roots and some healthy shoots.
- Replant Immediately: Plant the divisions into their new spots in the garden or into pots filled with your potting mix. Ensure they are planted at the same depth they were growing before.
- Water Well: Give them a good, soaking watering to help settle the soil around the new roots.
The “Secret Sauce” (Pro Tips)
Now, for a couple of little tricks I’ve learned over the years:
- Don’t Overcrowd Your Cuttings: When planting stem cuttings, give each little plant enough space so their leaves aren’t constantly touching each other indoors. This helps prevent fungal issues.
- Bottom Heat is Your Friend: If you can, placing your pots of cuttings on a heat mat designed for plants can significantly speed up root formation. It mimics the warmth of spring soil, giving those little roots a cozy boost.
Aftercare & Troubleshooting
Once your Artemisia lancea cuttings have rooted – you’ll know by seeing new growth appearing and a gentle tug showing resistance – it’s time to start treating them like small plants.
- Gradually Acclimatize: If you used a plastic bag, start by opening it for a few hours each day, then remove it entirely over a week. This prevents shock from sudden changes in humidity.
- Watering: Keep the soil consistently moist, but never soggy, until the plant is well-established.
- Light: Once they have roots, they’ll appreciate bright, indirect light.
The most common sign of trouble is rot. If your cuttings or divisions turn black and mushy, it’s usually a sign of too much moisture and not enough air circulation. If you see this happening, remove the affected parts immediately and try to improve drainage and ventilation.
Keep Growing!
Propagating Artemisia lancea is a wonderfully accessible way to expand your plant collection and share the beauty of this graceful plant. Don’t be discouraged if your first attempt isn’t perfect. Gardening is all about learning and being patient. Enjoy the process, and soon you’ll have a garden filled with these lovely silver beauties! Happy planting!
Resource:
https://identify.plantnet.org/k-world-flora/species/Artemisia%20lancea%20Vaniot/data