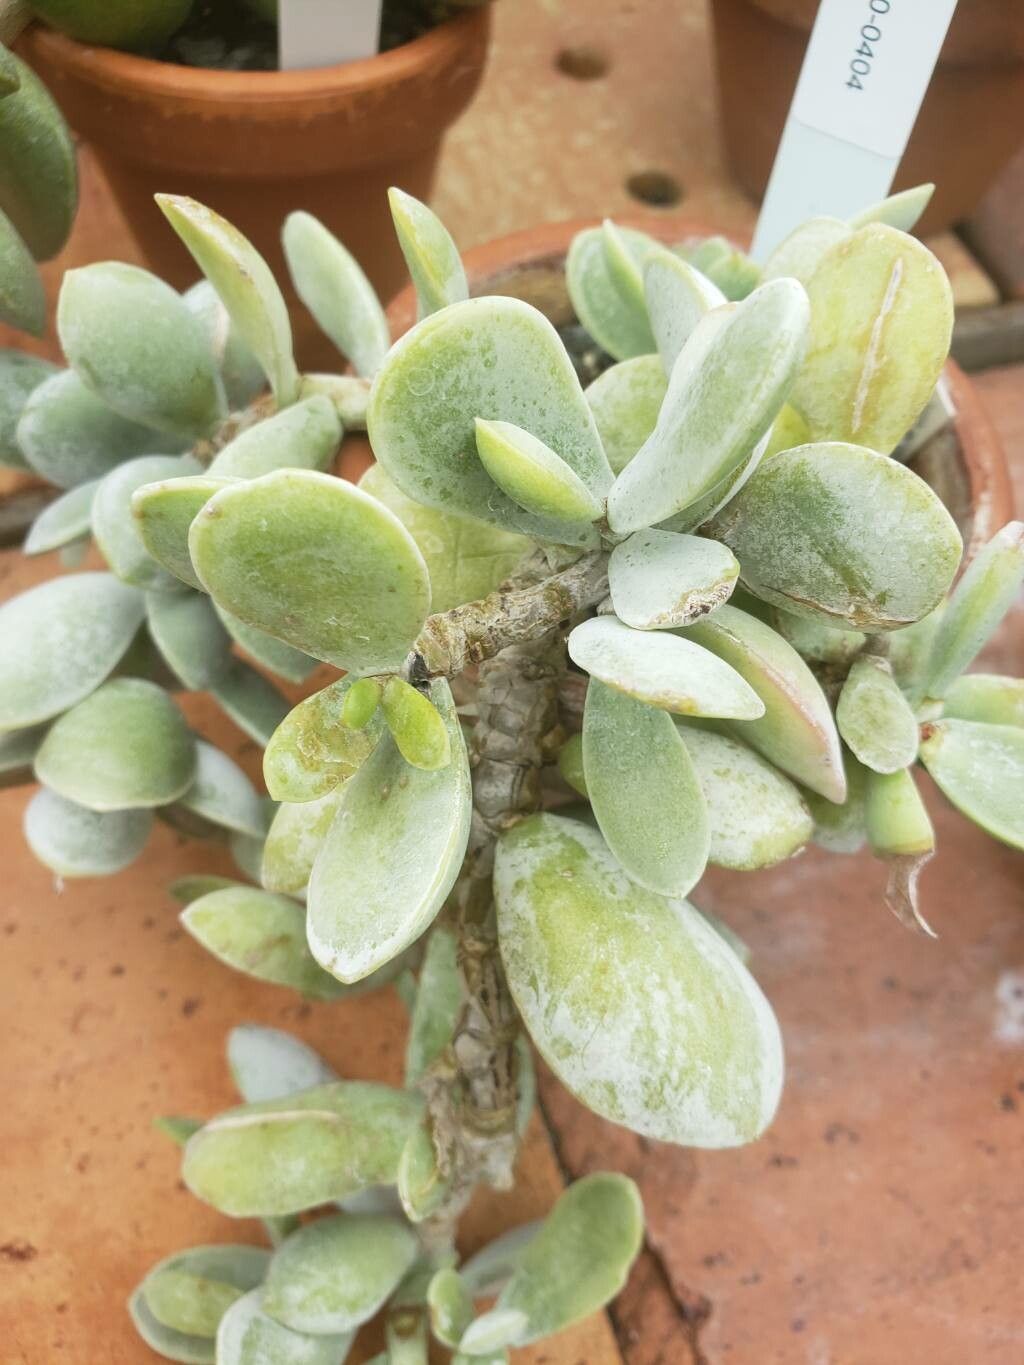
Hello fellow plant lovers! I’m so excited to chat with you today about a charming little succulent that has been stealing my heart for years: Adromischus leucophyllus. If you’re looking for a plant that’s a bit different, with its delightful, powdery chalk-white leaves that look like they’ve been dusted with a fairy’s touch, then you’ve come to the right place. And guess what? Propagating them is wonderfully rewarding, and I’d say it’s quite beginner-friendly, making it a fantastic plant to get your propagation journey started.
The Best Time to Start
For Adromischus, like many succulents, the active growing season, typically late spring through summer, is your golden window. This is when the plant is full of vigor and ready to put out new growth. Starting then gives your cuttings the best chance to establish themselves before cooler weather arrives.
Supplies You’ll Need
Here’s what you’ll want to gather before we dive in:
- Well-draining potting mix: A cactus and succulent mix is ideal. You can also create your own by blending equal parts potting soil, perlite, and coarse sand.
- Clean, sharp pruners or a knife: For making clean cuts that heal better.
- Rooting hormone (optional): Especially helpful if you’re a little nervous or want that extra boost.
- Small pots or seed trays: With drainage holes, of course!
- Perlite or grit: To add to the bottom of pots for extra drainage and aeration.
- Watering can or spray bottle: For gentle watering.
Propagation Methods
Adromischus leucophyllus is a star at propagation, and two methods really shine.
1. Leaf Cuttings: The Charm of Tiny Sprouts
This is perhaps the most classic and most rewarding way to propagate these beauties.
- Select a healthy leaf: Gently twist a plump, mature leaf from the mother plant. Try to get a clean break at the stem. A leaf that falls off naturally is often already preparing to root!
- Let it callous: This is crucial! Place the leaf in a dry, shaded spot for a day or two. You want the cut end to form a dry, scar-like surface. This prevents rot when you repot.
- Prepare your propagation medium: Fill your small pots or trays with your well-draining succulent mix. You can add a layer of perlite or grit at the bottom for even better drainage.
- Insert the leaf: Gently press the calloused end of the leaf into the soil. You don’t need to bury it deeply – just enough so it stands upright.
- Water sparingly: The key here is not to overwater. I usually wait a few days after planting before giving the soil a very light watering. You can also use a spray bottle to mist the soil surface lightly. The goal is for the soil to be just barely moist.
- Provide bright, indirect light: Keep your pots in a spot with plenty of bright light, but no direct sun, which can scorch the delicate new growth.
- Patience is your best friend: This is where the magic happens slowly. Over the next several weeks, you’ll start to see tiny roots emerge from the cut end, followed by a minuscule rosette of leaves. It can take months for a leaf to fully develop into a new plantlet, but oh, is it worth the wait!
2. Stem Cuttings: A Faster Route to More Plants
If you want to speed things up a bit, stem cuttings are a great option.
- Take a cutting: Using your clean pruners or knife, take a stem cutting that’s at least 2-3 inches long. Ensure it has a few leaves on it.
- Callous the cutting: Just like with leaf cuttings, let the cut end dry and form a callous. This usually takes 2-3 days.
- Prepare your pots: Fill your pots with the succulent mix and a bit of grit or perlite.
- Plant the cutting: Insert the calloused end of the stem cutting a good inch or so into the soil. You can gently firm the soil around it to help it stand up.
- Water lightly: Again, water very sparingly. Wait a few days before the first light watering.
- Bright, indirect light: Place the pot in a location with good, filtered light.
- Root development: Roots should begin to form within a few weeks. You can gently tug on the cutting to feel for resistance. Once it feels firmly rooted and you see new growth, you can start watering a bit more regularly, but always allow the soil to dry out between waterings.
The “Secret Sauce” (Pro Tips)
Here are a couple of little tricks I’ve learned over the years that really make a difference:
- Don’t let the leaves touch the water! With leaf cuttings, it’s easy for the leaf itself to sit in moisture. This is a sure recipe for rot. Make sure the cut end is in the soil and avoid over-misting the leaves directly.
- Bottom heat is your friend! While not strictly essential, placing your propagation trays or pots on a gentle heating mat designed for plants can significantly speed up root formation. It mimics the warmth of summer soil and gives your cuttings an extra boost.
Aftercare & Troubleshooting
Once you see roots and new growth, your new little Adromischus is ready for a bit more attention.
- Gradual watering: Start watering a little more generously, but always allow the soil to dry out completely between waterings. Overwatering is the number one killer of succulents, especially young ones.
- Acclimatize slowly: As the plant grows, gradually introduce it to more direct sunlight. Don’t move it from shaded conditions to full sun overnight; a slow transition will prevent sunburn.
The most common issue you’ll face is rot. If a leaf cutting turns soft, mushy, and black, it’s likely succumbed to rot. This usually happens from too much moisture or not allowing the cutting to callous properly. Don’t despair if you have failures! It’s all part of the learning process. Just toss the rotted bits and try again.
A Little Patience Goes a Long Way
Propagating Adromischus leucophyllus is a journey, not a race. It requires a bit of patience, but the reward of nurturing a new plant from just a leaf or a stem is incredibly satisfying. Enjoy the process, marvel at the tiny miracles, and soon you’ll have a whole collection of these chalky beauties! Happy propagating!
Resource:
https://identify.plantnet.org/k-world-flora/species/Adromischus%20leucophyllus%20Uitewaal/data