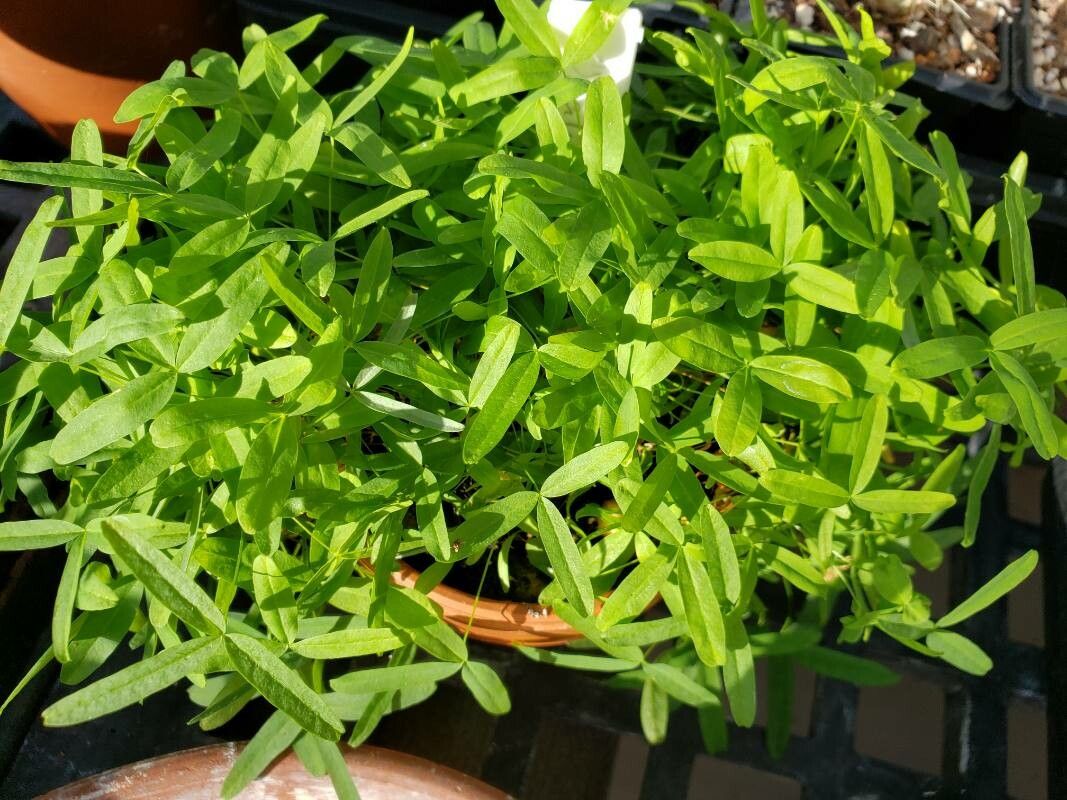
Oh, hello there! If you’ve ever admired the delicate beauty of Oxalis gracilis, with its charming clover-like leaves and dainty flowers, you’re in good company. This little gem really brightens up a shelf or a corner of the garden. And guess what? Growing more of them is actually quite achievable, even for those of you who are just starting out in the wonderful world of plant propagation. It’s a truly satisfying feeling to take a piece of a plant you love and turn it into a whole new life.
The Best Time to Start
For Oxalis gracilis, the sweet spot for propagation is generally when the plant is actively growing. Think late spring through summer. You’ll see new shoots emerging, and the plant will have enough stored energy to put into creating those precious new roots. Avoid trying to propagate when the plant is dormant or stressed, as you’ll have a much lower success rate.
Supplies You’ll Need
Here’s a little kit to get you started. Don’t worry, it’s not overly complicated!
- Sharp, clean pruning shears or scissors: A clean cut is crucial to prevent disease.
- Well-draining potting mix: I like a blend of peat moss, perlite, and a bit of compost. You could also use a seed-starting mix.
- Small pots or propagation trays: Enough to hold your cuttings.
- Rooting hormone (optional but recommended): This gives your cuttings a good boost.
- Watering can or spray bottle: For gentle watering.
- Clear plastic bag or dome: To create a humid environment for your cuttings.
- Labels or markers: So you remember what you planted!
Propagation Methods
Oxalis gracilis is quite generous, and luckily for us, it’s easy to propagate in a few different ways.
Stem Cuttings
This is my go-to method for multiplying these beauties.
- Select a healthy stem: Look for a stem that’s actively growing, ideally about 4-6 inches long, with a few sets of leaves.
- Make a clean cut: Just below a leaf node (where a leaf attaches to the stem), make a clean cut with your sharp shears.
- Remove lower leaves: Take off the bottom leaves, leaving just a couple at the very top. This prevents them from rotting when you place them in the soil.
- Dip in rooting hormone (optional): Lightly dip the cut end into your rooting hormone powder, tapping off any excess.
- Plant the cutting: Make a small hole in your potting mix with your finger or a pencil. Insert the cut end of the stem into the hole and gently firm the soil around it.
- Water lightly: Give it a gentle watering, ensuring the soil is moist but not waterlogged.
- Create humidity: Pop the pot into a clear plastic bag or cover it with a dome. This creates a mini-greenhouse. You can prop up the bag with a stick or two so it doesn’t touch the leaves. Place it in bright, indirect light.
Division
If your Oxalis gracilis has become a lovely clump, you can often divide it into smaller plants.
- Gently remove the plant from its pot: Tip the pot over and coax the root ball out.
- Locate natural divisions: You’ll often see where the plant has naturally split into sections. You can gently pull these apart with your hands. If they’re a bit stubborn, you might need to use a clean knife or your shears to divide the root ball.
- Pot up the divisions: Plant each division in its own pot with fresh, well-draining potting mix.
- Water and place: Water them in and place them in bright, indirect light.
The “Secret Sauce” (Pro Tips)
After years of getting my hands dirty, I’ve picked up a few tricks that seem to make all the difference.
- Bottom heat is your friend! If you’re having trouble with cuttings rooting, especially if your home is a bit cooler, try placing your pots on a gentle heat mat designed for seedlings. This consistent warmth around the roots encourages them to grow much faster.
- Don’t overwater, ever. This is probably the most common mistake. Oxalis hates soggy feet. A little bit of dehydration is better than too much moisture, which can lead to root rot very quickly. I like to check the soil moisture by sticking my finger in an inch or so. If it feels dry, then it’s time to water.
Aftercare & Troubleshooting
Once your cuttings have developed a good root system – you’ll know because you’ll see new growth – it’s time to start treating them a bit more like established plants. Gradually remove the plastic bag or dome over a few days to acclimate them to normal humidity. Continue to water when the top inch of soil feels dry.
The biggest issue you’ll likely encounter is rot. If you notice your cutting wilting, looking mushy, or turning black and slimy at the soil line, it’s probably rot. This is almost always a sign of overwatering. Sadly, if rot sets in, it’s very hard to save the cutting. If you suspect overwatering, try to let the soil dry out more and perhaps even repot into fresh, drier mix if it’s really saturated. Keep an eye out for any signs of pests too, though they’re not usually a big problem with Oxalis propagation.
A Encouraging Closing
Propagating plants is a journey, and each little success is a triumph. Be patient with your Oxalis gracilis cuttings. Some might take off quickly, while others might seem to be taking their sweet time. Just give them a bit of consistent care, a good dose of sunlight (but not direct, scorching sun, mind you!), and you’ll soon have a whole collection of these lovely plants to enjoy and share. Happy propagating!
Resource:
https://identify.plantnet.org/k-world-flora/species/Oxalis%20gracilis%20Jacq./data