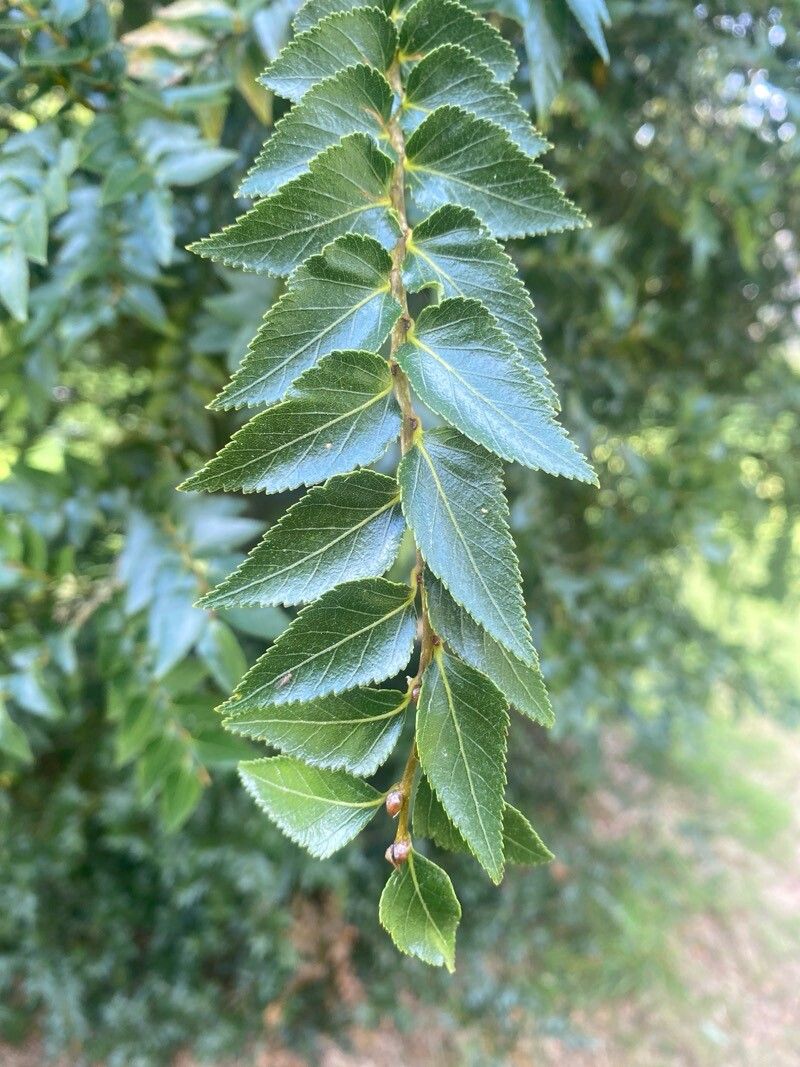
Oh, Nothofagus nitida! You know, I’ve always had a soft spot for these beautiful Southern Beeches. Their glossy, deep green foliage and elegant, often weeping, habit bring such a wonderful sense of tranquility to a garden. Plus, growing a new plant from scratch? There’s a unique kind of joy in that, a real connection to the life cycle of your garden. It’s a bit of a slow burn, this one. Compared to, say, a fuchsia cutting, Nothofagus nitida can be a bit more of a deliberatestarter, but don’t let that deter you one bit. With a little patience, you’ll be rewarded.
The Best Time to Start
For Nothofagus nitida, late spring to early summer is generally your sweet spot. This is when the new growth is becoming semi-hardened – it’s no longer that super-soft, floppy growth, but it hasn’t fully matured into tough wood yet. Think of it as being perfectly pliant. This ‘semi-ripe’ stage is ideal for cuttings. Waiting until then lets the plant gather its strength from the growing season.
Supplies You’ll Need
Gathering your tools beforehand makes the whole process so much smoother. Here’s my go-to list:
- Sharp pruning shears or a clean craft knife: For taking cuttings. Sterilize them with rubbing alcohol!
- Rooting hormone: I often use a powder, but a gel works too. It really gives cuttings a helpful boost.
- A well-draining potting mix: A good blend for me is equal parts peat moss (or coco coir), perlite, and coarse sand. You want air and drainage, but a bit of moisture retention too. Avoid heavy garden soil.
- Small pots or seed trays: Clean ones, of course! Small pots are great because you can focus your energy on just a few cuttings at a time.
- A clear plastic bag or propagator lid: To create a humid environment.
- Watering can with a fine rose: For gentle watering.
- Labels and a permanent marker: Don’t skip this! You’ll thank yourself later.
Propagation Methods
While Nothofagus nitida can be propagated by seed, I find stem cuttings to be the most reliable and satisfying method from a gardener’s perspective. It’s how I’ve had the most success.
Stem Cuttings:
- Select your stems: Look for healthy, vigorous shoots that are about pencil thickness. You want to take cuts from the current season’s growth, ideally when they’re just starting to firm up (that semi-ripe stage I mentioned).
- Take the cuttings: Using your sharp secateurs or knife, take cuttings about 4-6 inches long. Make your cut just below a leaf node (where a leaf attaches to the stem). This is where rooting hormones and new root development are most likely to occur.
- Prepare the cuttings: Gently remove the lower leaves, leaving just a few at the very top. If the leaves are very large, you can even cut them in half horizontally to reduce water loss through transpiration.
- Dip in rooting hormone: Dip the cut end of each cutting into your rooting hormone powder or gel, tapping off any excess.
- Pot them up: Fill your small pots with your prepared potting mix. Make a hole in the center with a pencil or a twig, ensuring it’s deep enough for about an inch of the cutting to fit.
- Insert the cuttings: Gently place a prepared cutting into the hole and firm the mix gently around it. Make sure the leaf nodes are below the surface of the soil.
- Water gently: Water thoroughly with your fine-rose watering can. You want the soil to be moist but not waterlogged.
- Create humidity: Place the pots into a clear plastic bag or cover with a propagator lid. Seal it loosely – you don’t want it airtight, just enough to trap humidity around the cuttings. Place this in a bright spot, but out of direct, scorching sunlight.
The “Secret Sauce” (Pro Tips)
Here are a couple of things I’ve learned over the years that can really make a difference with trickier cuttings like these.
- The Power of Bottom Heat: If you have access to a propagator with a heating mat, use it! Applying gentle bottom heat (around 65-70°F or 18-21°C) can significantly speed up root formation. It provides warmth to the base of the cutting, encouraging root development from below.
- Air Circulation is Key (Once Roots Appear): While you want humidity before roots, once you start seeing those little signs of life, gradually increase ventilation. This helps prevent fungal issues like damping off. You’ll usually see tiny root tips poking out of the drainage holes first.
Aftercare & Troubleshooting
Once your cuttings have rooted (this can take anywhere from a few weeks to a few months – patience is your best friend here!), it’s time for a new phase of care.
- Gradual Acclimatization: Once you see healthy new growth or roots emerging from the bottom, slowly start to open the propagator lid or plastic bag each day. This helps the new plant adjust to the drier air of your home or greenhouse.
- Move to a Slightly Larger Pot: Once they seem well-established, you can carefully pot them up into larger, individual pots. Continue to keep them in bright, indirect light and water them when the top inch of soil feels dry.
- Watch for Rot: The most common sign of failure is rotting at the base. This usually happens with too much moisture and not enough air circulation. If a cutting feels mushy and turns black at the soil line, it’s likely lost. This is why that well-draining mix and careful watering are so vital. Another sign of distress can be yellowing leaves, which might indicate it’s not getting enough light, or a lack of rootedness.
A Encouraging Closing
So there you have it! Propagating Nothofagus nitida is a journey, not a race. There will be times you wonder if anything is happening, but trust the process. Celebrate every tiny sign of success, and if some cuttings don’t make it, don’t fret. Take what you learned, adjust your approach, and try again. The satisfaction of nurturing a new tree from something so small is truly unparalleled. Happy propagating!
Resource:
https://identify.plantnet.org/k-world-flora/species/Nothofagus%20nitida%20(Phil.)%20Krasser/data