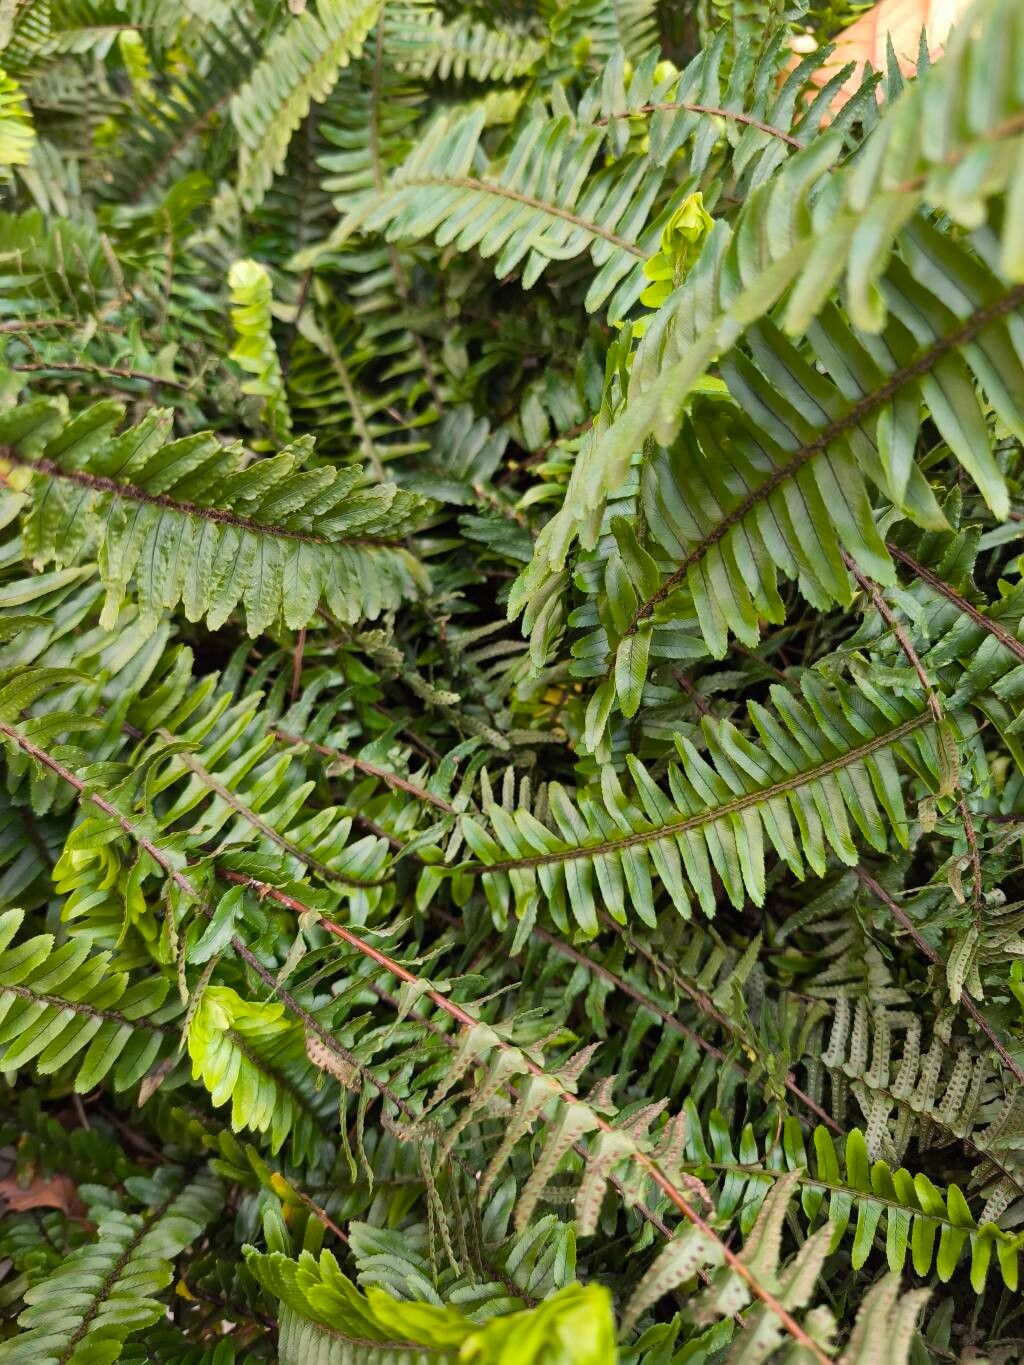
Ah, the Boston Fern, or Nephrolepis cordifolia as it’s known in botanical circles. Honestly, there’s something so lush and inviting about a healthy Boston Fern, isn’t there? Those feathery fronds cascade so beautifully, bringing a touch of the tropics right into our homes. And the best part? They’re surprisingly rewarding to propagate. If you’re looking to fill a few more corners with that gorgeous green, or even share the joy with friends, you’re in the right place. For beginners, I’d say they’re moderately easy. A little patience goes a long way!
The Best Time to Start
My personal favorite time to get things going with Nephrolepis cordifolia is in the spring. When the days start getting longer and warmer, the plant has that natural surge of energy. This means it’s ready to put out new growth, which is exactly what we’re looking for when we want to take cuttings or divide a mature specimen. Late spring, once the initial burst of growth has settled a bit, is often perfect.
Supplies You’ll Need
- Sharp pruning shears or a clean knife: For making clean cuts.
- Sterile potting mix: A good blend for ferns often includes peat moss or coco coir for moisture retention, plus perlite for drainage. I like a mix that’s light and airy.
- Small pots or propagation trays: With drainage holes, of course!
- Rooting hormone powder (optional but helpful): Especially for stem cuttings.
- Plastic bag or clear dome: To create a humid environment.
- Water: Clean, room-temperature water.
- Spray bottle: For misting.
- Gloves (optional): If your hands get sensitive.
Propagation Methods
There are a couple of wonderfully effective ways to get more Nephrolepis cordifolia from your existing plants.
Division: The Easiest Route
This is often the most straightforward method, especially if your fern has gotten a little crowded in its pot.
- Gently remove the fern from its pot. Tip it on its side and coax it out. You might need to tap the pot a bit.
- Inspect the root ball. You’ll see clumps of roots and rhizomes. These are the little underground stems from which new fronds grow.
- Carefully tease the root ball apart. Use your fingers to gently pull apart the sections. If there are very thick rhizomes, you might need to use your clean pruning shears to make a cut, ensuring each new division has both roots and some leafy growth.
- Pot up the divisions. Plant each section in its own small pot filled with your sterile potting mix. Make sure the top of the root ball is at or slightly below the soil surface.
- Water thoroughly and place the pots in a bright spot, out of direct sun.
Stem Cuttings (Runners): For the Patient Gardener
Boston Ferns often produce “runners” – long stems that grow out from the main plant, sometimes with tiny new ferns forming at the tips. These are fantastic for propagation!
- Identify a healthy runner. Look for one that has a small plantlet already forming at the tip.
- Make a clean cut. Using your sharp shears, cut the runner about an inch or two behind the new plantlet.
- Prepare the cutting. If the plantlet has any small leaves, you can leave them. If it’s very large, you might trim it slightly. You can dip the cut end in rooting hormone if you have it.
- Pot it up. Plant the cut end into a small pot filled with your moist potting mix. The plantlet should be above the soil.
- Create a humid environment. This is key! Cover the pot loosely with a plastic bag secured with a rubber band, or use a clear plastic dome. You want to trap that moisture.
- Place in bright, indirect light. Keep the soil consistently moist, but not waterlogged.
The “Secret Sauce” (Pro Tips)
- Never let the leaves touch the water when trying to root cuttings directly in water. This is a common mistake that leads to rot. If you’re using water propagation, ensure the cut end is submerged, but the foliage is high and dry.
- For both division and cuttings, consider bottom heat. A gentle heat mat placed underneath your pots can really encourage root development. It mimics the warmth of spring soil and can significantly speed up the process.
- Don’t be afraid to trim away any sad-looking or yellowing fronds from the parent plant before taking cuttings or dividing. This redirects the plant’s energy into new growth.
Aftercare & Troubleshooting
Once you see signs of new growth—tiny unfurling fronds, or the plantlet perking up—it means roots are forming! Continue to keep the soil consistently moist (not soggy!) and the environment humid for a few more weeks. Gradually acclimate your new fern to normal room humidity by poking a few holes in your plastic cover or lifting the dome for increasing periods each day.
The most common issue you’ll encounter is rot. If your cuttings or divisions look black and mushy, or if the soil surface develops a fuzzy mold, it’s usually a sign of too much moisture and not enough air circulation. Make sure your pots have good drainage, and try to let the very top layer of soil dry out slightly between waterings. If rot sets in, it’s often best to discard the affected cutting to prevent it from spreading.
A Warm Encouragement
Propagating plants is such a wonderful way to connect with nature and expand your green kingdom. Be patient with your Nephrolepis cordifolia. Some take a little longer than others, but the reward of seeing a new little fern sprout and thrive is truly special. Enjoy the journey, and happy growing!
Resource:
https://identify.plantnet.org/k-world-flora/species/Nephrolepis%20cordifolia%20(L.)%20C.Presl/data