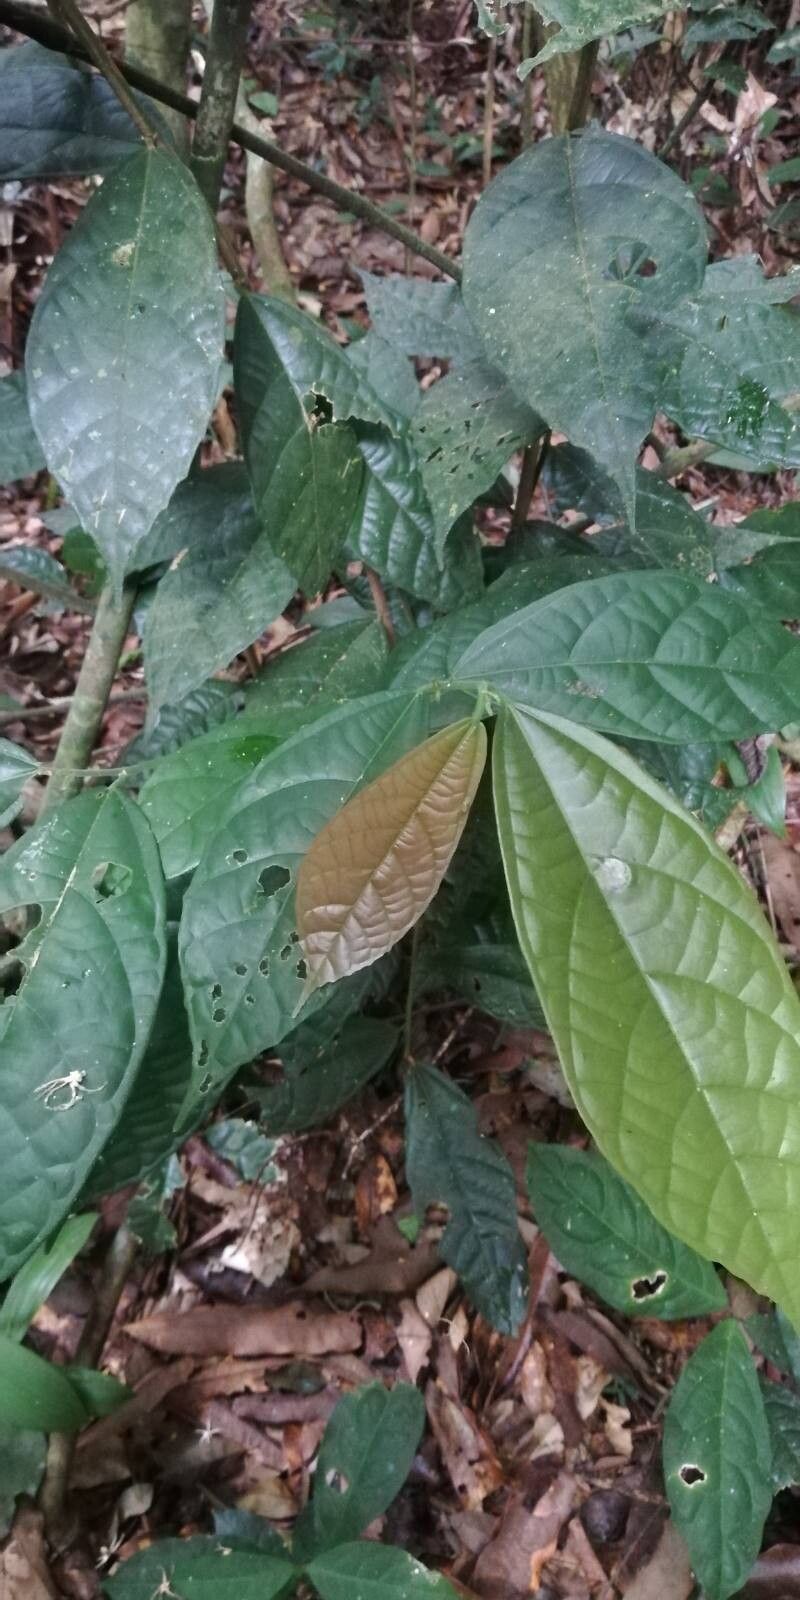
Welcome, fellow garden enthusiasts! Today, we’re diving into the delightful world of Microcos coriacea, a plant that’s captured my heart with its glossy, leathery leaves and delicate, often fragrant, blooms. Honestly, there’s something truly special about taking a tiny bit of a beloved plant and nurturing it into a whole new life. It’s a rewarding feeling that never gets old. Now, if you’re new to the propagation game, you might be wondering how tricky Microcos coriacea is to work with. I’ll be honest, it’s not the absolute easiest for a complete beginner, but with a little patience and these tips, you’ll be well on your way.
The Best Time to Start
My favorite time to get propagating Microcos coriacea is during its active growing season. Think late spring through early summer. The plant is full of vigor then, meaning it’s more likely to have the energy to put into developing new roots. If you miss that window, don’t fret! You can also have success in early autumn, just as the summer heat starts to mellow out, but my best results have always come from those spring and early summer cuttings.
Supplies You’ll Need
Before we get our hands dirty, let’s gather our tools. Having everything ready makes the process so much smoother.
- Sharp, clean pruning shears or a sharp knife: For making clean cuts.
- Rooting hormone (optional but recommended): A powder or gel that helps cuttings develop roots faster.
- Well-draining potting mix: A good blend of peat moss, perlite, and a bit of coarse sand works wonders. You can also buy specialized propagation mixes.
- Small pots or seed trays: Clean ones are a must to prevent disease.
- Plastic bags or a propagator: To create a humid environment for your cuttings.
- Watering can or spray bottle: For gentle watering.
- Labels or markers: To keep track of what’s what!
Propagation Methods
Microcos coriacea is quite amenable to stem cuttings, which is my go-to method. Here’s how I do it:
1. Taking Cuttings:
Start by selecting a healthy, non-flowering stem from your mature plant. Look for stems that are semi-hardwood – they’ll snap cleanly when bent, not just flop over limply. Using your clean shears, take a cutting about 4-6 inches long. Make the cut just below a leaf node (where a leaf attaches to the stem).
2. Preparing the Cuttings:
Gently remove the lower leaves from the cutting, leaving just a few at the very top. This reduces water loss and directs the plant’s energy into rooting. If your leaves are quite large, you can even cut them in half horizontally to further minimize transpiration.
3. Applying Rooting Hormone (Optional):
If you’re using rooting hormone, dip the cut end of the stem into the powder or gel. Just a light coating is usually enough. Tap off any excess.
4. Planting the Cuttings:
Fill your clean pots with your well-draining potting mix. Moisten the mix thoroughly before you start. Then, gently push the prepared cutting into the soil, ensuring the leaf nodes that were lower down are buried. Make a little hole with your finger or a pencil first to avoid scraping off the rooting hormone. Firm the soil gently around the base of the cutting.
5. Creating a Humid Environment:
This is crucial! Place the pots inside a plastic bag or propagator. If you’re using a bag, secure it loosely around the pot with a rubber band, making sure the leaves don’t touch the plastic. You want to create a mini greenhouse effect. Place the pots in a bright location, but out of direct sunlight.
The “Secret Sauce” (Pro Tips)
Now for a couple of things I’ve learned over the years that can really make a difference:
- Don’t let the leaves touch the water: If you’re trying water propagation with Microcos coriacea (which is less reliable for this specific plant but possible), it’s vital that the leaves aren’t submerged. Any leaf tissue sitting in water is a prime candidate for rot.
- Breathe your cuttings: Open the plastic bag or propagator for about 15-30 minutes each day. This allows for air circulation and prevents fungal diseases from taking hold. It’s like giving your little babies a breath of fresh air!
- Consider bottom heat: If your room is on the cooler side, a gentle bottom heat mat can significantly speed up root development. You don’t want it too hot, just a nice warmth to encourage root growth from below.
Aftercare & Troubleshooting
Once you’ve planted your cuttings, keep the soil consistently moist but not waterlogged. Mist the foliage occasionally if the humidity seems to be dropping inside the bag. Be patient! It can take anywhere from 4 to 8 weeks for roots to establish. You’ll know roots are forming when you see new leaf growth or gently tug on a cutting and feel resistance.
The most common hitch you’ll encounter is rot. If a cutting turns mushy or black, it’s a sign of too much moisture and not enough air circulation. Unfortunately, a rotten cutting can’t be saved, so it’s best to discard it and learn from the experience. If the leaves start to yellow and drop without any new growth, it might be too dry or not getting enough light.
A Encouraging Closing
Propagating plants is a journey, not a race. There will be days of triumph and, occasionally, a bit of disappointment. But each attempt teaches you something new. So, take a deep breath, embrace the process, and enjoy the magic of bringing new life into your garden. Happy propagating!
Resource:
https://identify.plantnet.org/k-world-flora/species/Microcos%20coriacea%20(Mast.)%20Burret/data