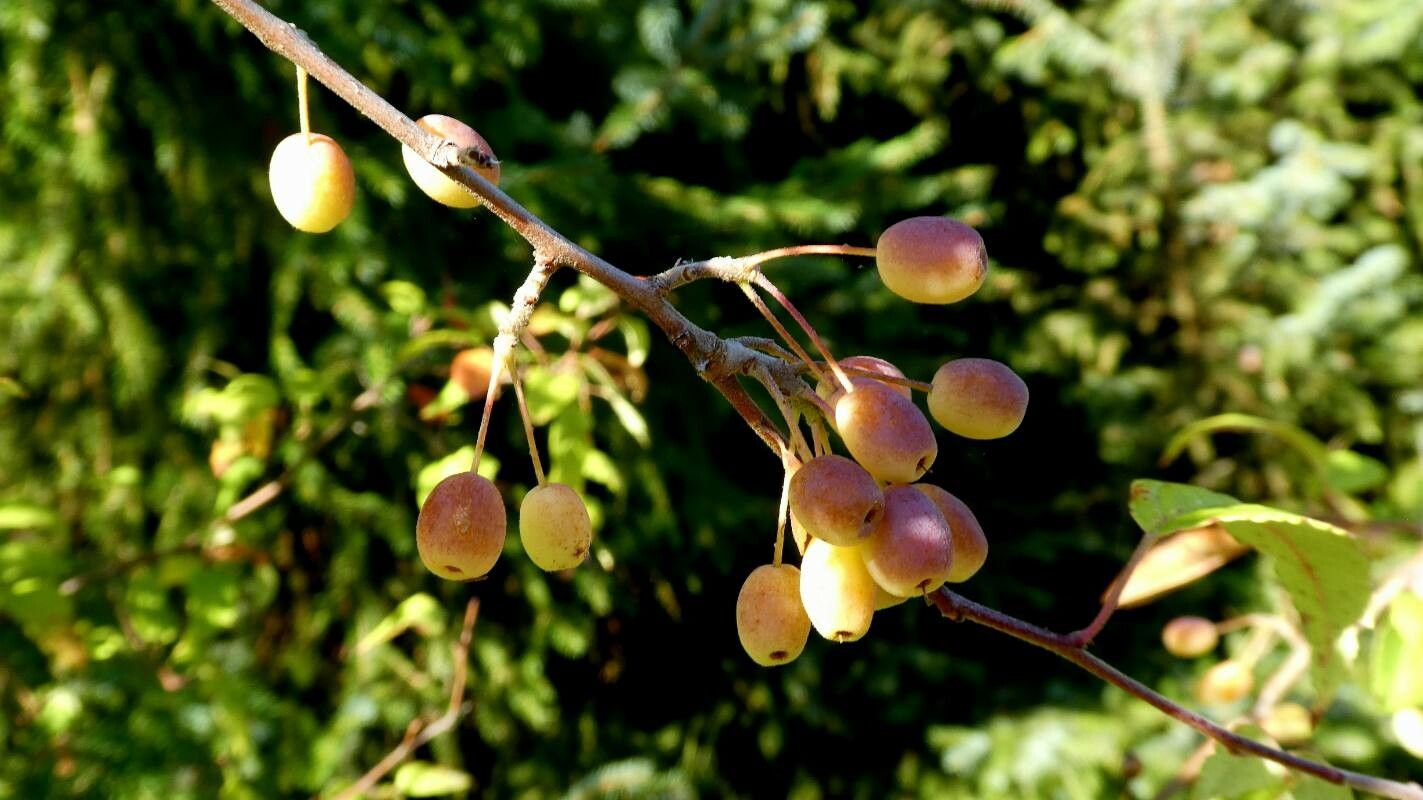
Oh, hello there! Come on in, grab a mug. I’m so glad you’re curious about propagating Malus fusca, our wonderful native Pacific crabapple. This little beauty is such a treasure in the garden, with its delicate spring blossoms and those tart, wildlife-attracting fruits. Growing your own from cuttings or seeds? It’s incredibly satisfying, a real connection to the natural cycle. And is it easy for beginners? Honestly, I’d say it’s moderately easy, which makes it a fantastic project to tackle. You’ll learn a lot, and the rewards are so worth a little bit of effort.
The Best Time to Start
For the best chance of success with Malus fusca, I always recommend starting in late spring to early summer. This is when the plant has plenty of energy after its spring growth spurt, and the new, semi-hardwood growth is perfect for taking cuttings. You’re looking for stems that are flexible enough to bend without snapping, but firm enough to hold their shape. If you miss this window, don’t fret! You can often have success with dormant hardwood cuttings in late winter, but this method can be a bit trickier to get started.
Supplies You’ll Need
Gathering your supplies beforehand makes the whole process so much smoother. Here’s what I always have on hand:
- Sharp Pruning Shears or a Utility Knife: Clean cuts are crucial!
- Rooting Hormone: A powder or gel works wonders.
- Small Pots or Seed Starting Trays: With drainage holes, of course.
- Well-Draining Potting Mix: I like a blend of peat moss, perlite, and a little bit of compost.
- Plastic Bags or a Propagator: To create a humid environment.
- Watering Can with a Fine Rose: Gentle watering is key.
- Labels and a Marker: To keep track of what you’re propagating!
Propagation Methods
Let’s get our hands dirty! Here are the ways I typically propagate Malus fusca:
Stem Cuttings
This is my go-to method for Malus fusca.
- Take Cuttings: In late spring or early summer, select healthy, non-flowering shoots. Cut stems about 4-6 inches long, just below a leaf node. Remove the lower leaves, leaving just a few at the top.
- Prepare the Cuttings: Dip the cut end of each cutting into rooting hormone, tapping off any excess.
- Plant the Cuttings: Fill your pots or trays with the well-draining mix. Make a hole with a pencil or stick for each cutting, then gently insert it, firming the soil around it. You want at least one or two leaf nodes buried.
- Water and Cover: Water thoroughly until you see water drain from the bottom. Then, cover the pots with a plastic bag or place them in a propagator to maintain high humidity. Secure the bag with a rubber band.
Water Propagation (Less Common, but Possible)
While cuttings are usually best, you can experiment with water.
- Prepare Cuttings: Similar to above, take 4-6 inch cuttings. Remove most of the leaves.
- Place in Water: Put the cuttings in a jar or vase filled with clean water. Make sure no leaves are submerged in the water – they’ll just rot.
- Change Water Regularly: Change the water every few days to keep it fresh and prevent bacteria buildup.
- Wait for Roots: You should see small white roots appear after a few weeks. Once they are about an inch long, you can carefully transplant them into your potting mix.
The “Secret Sauce” (Pro Tips)
Here are a couple of things I’ve learned over the years that really make a difference:
- Bottom Heat is Your Friend: For stem cuttings, placing your pots on a heated propagator mat can dramatically speed up root development. It mimics the warmth of the soil in spring and encourages those roots to take hold.
- Mist, Don’t Drown: When you’re misting your cuttings under the plastic bag, do it judiciously. You want the air to be humid, but you don’t want standing water pooling on the leaves or in the soil. A light misting once a day is usually enough.
Aftercare & Troubleshooting
Once you see signs of roots – new leafy growth is a great indicator! – it’s time for a little adjustment.
Aftercare:
Gradually introduce your new plants to drier air over a few days by opening the plastic bag or propagator a little more each day. Keep the soil consistently moist but not soggy. Once they’re well-established, you can transplant them into slightly larger individual pots.
Troubleshooting:
The most common issue is rot. If you see stems turning black and mushy, or the leaves wilting dramatically despite adequate moisture, it’s often a sign of overwatering or poor drainage. Sometimes, you can save a cutting by trimming away the rotted part and repotting in fresh, drier mix, but sadly, once rot sets in, it’s often a lost cause. Damping off can also occur in seedlings.
A Encouraging Closing
Creating new life from a simple stem is one of gardening’s most magical acts. Be patient with your Malus fusca cuttings; they have their own timeline. Some will take off quickly, others will be a bit more leisurely. Don’t get discouraged if not every single one makes it. Enjoy the process, the learning curve, and the sheer wonder of watching a brand new little tree begin its journey. Happy propagating!
Resource:
https://identify.plantnet.org/k-world-flora/species/Malus%20fusca%20(Raf.)%20C.K.Schneid./data