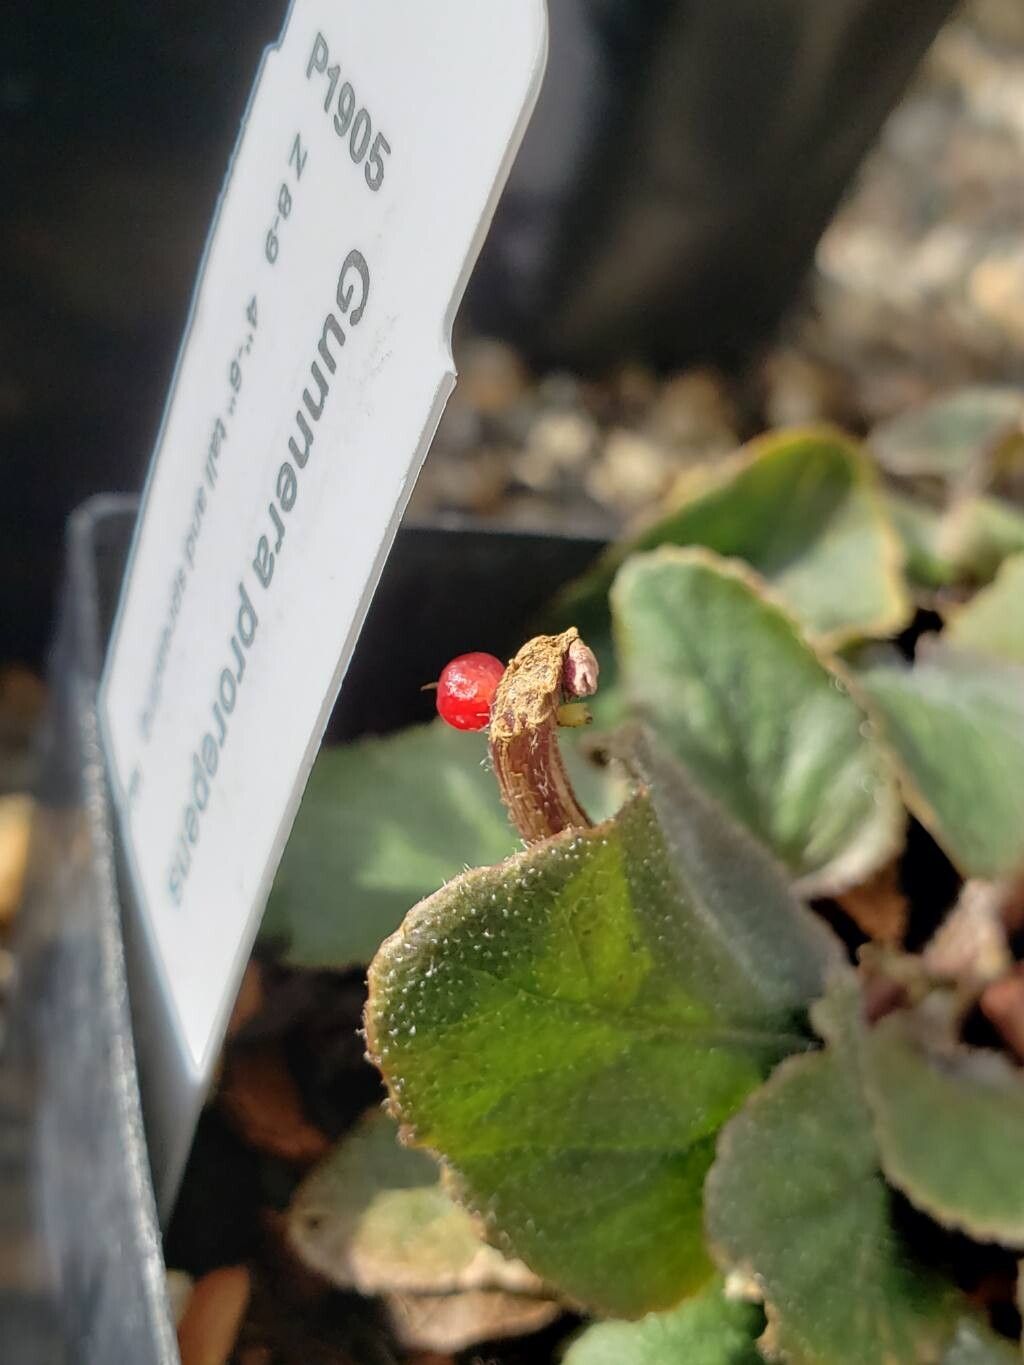
Oh, hello there! Pull up a chair and let’s chat about one of my absolute favorite plants: Gunnera prorepens. If you’ve ever seen this beauty spreading its broad, textured leaves, you know exactly what I’m talking about. It’s that lush, tropical feel, that bold statement in a shady corner. And the best part? It’s surprisingly rewarding to multiply!
Propagating Gunnera prorepens might sound a little daunting, but trust me, it’s a process that even a beginner can tackle with a little guidance. It’s like learning to bake your first loaf of bread – a bit of practice, a touch of patience, and you’ll be boasting a whole garden full of these wonderful plants before you know it.
The Best Time to Start
For Gunnera prorepens, the sweet spot for propagation is late spring to early summer. This is when the plant is actively growing and has plenty of energy to put into developing new roots. You want to work with healthy, vigorous material, so look for new shoots that are firm but not yet woody.
Supplies You’ll Need
Gathering your tools beforehand makes the whole process smoother. Here’s what I always have on hand:
- Sharp, clean pruning shears or a sharp knife: Essential for taking clean cuts that heal well.
- Small pots or trays: For housing your new cuttings. Make sure they have drainage holes!
- A good quality potting mix: I like a blend that’s light and airy. A mix of peat moss, perlite, and a bit of compost works wonders.
- Rooting hormone (optional but recommended): This gives your cuttings a helpful boost.
- A spray bottle: For misting your cuttings to keep them hydrated.
- Clear plastic bags or a propagator: To create a humid environment.
Propagation Methods
Let’s get our hands dirty! The most reliable way for Gunnera prorepens is by taking stem cuttings.
- Taking the Cuttings: Using your sharp shears or knife, select a healthy stem with at least two or three leaf nodes. Make a clean cut just below a leaf node. These nodes are where the roots will emerge. I aim for cuttings that are about 4-6 inches long. Remove any lower leaves, but leave the top one or two intact.
- Rooting Hormone (Optional): If you’re using rooting hormone, dip the cut end of the stem into the powder, tapping off any excess. This helps encourage robust root development.
- Planting the Cuttings: Fill your small pots or trays with your prepared potting mix. Make a small hole in the center of the soil with a pencil or your finger. Insert the cut end of your Gunnera cutting into the hole, ensuring at least one leaf node is buried in the soil. Gently firm the soil around the stem.
- Creating Humidity: Water the soil lightly. Now, here’s a crucial step: cover the pot with a clear plastic bag or place it in a propagator. This traps moisture and creates the humid environment your cuttings need. You can use sticks or skewers to keep the bag from touching the leaves.
The “Secret Sauce” (Pro Tips)
Over the years, I’ve learned a few tricks that really up the success rate.
- Bottom Heat is Your Friend: If you have a heat mat available, place your pots on it. This gentle warmth from below really encourages root development, especially if the weather isn’t reliably warm. It’s like giving your little cuttings a cozy heated bed!
- Don’t Drown Them: While humidity is key, you don’t want soggy soil. Check the moisture level regularly. The soil should be consistently moist, but not waterlogged. If you see water pooling, empty it out. Waterlogged conditions are a fast track to rot.
- Patience with the Leaves: You might notice the original leaves wilting a bit. That’s often normal as the cutting focuses its energy on root production. As long as the stem itself looks firm and the leaves aren’t turning black or mushy, keep them on. They still provide valuable energy to the cutting.
Aftercare & Troubleshooting
Once you start seeing signs of new growth, like tiny new leaves unfurling from the nodes or a gentle tug on the cutting reveals resistance (a sign of roots!), you’re on the right track!
After about 4-6 weeks, when your cuttings are well-rooted, you can gradually acclimatize them to normal room conditions. This means slowly opening the plastic bag over a few days, or venting the propagator more frequently. Once they are no longer enclosed, you can pot them up into slightly larger individual pots. Water them gently and keep them in a bright spot out of direct sun.
The most common problem you’ll encounter is rot. This usually happens when the soil is too wet and there isn’t enough air circulation. If you see a cutting turning black and mushy, it’s likely past saving. Don’t get discouraged! Just discard it and try again, paying closer attention to watering and humidity levels.
A Encouraging Closing
Propagating Gunnera prorepens is a journey that brings its own quiet rewards. It’s a chance to connect deeper with your plants, to understand their life cycle, and to experience that thrill of creating something new from a simple piece of stem. Be patient with the process, learn from each attempt, and soon you’ll have beautiful new Gunneras to share or to fill your own garden with that wonderful, tropical vibe. Happy growing!
Resource:
https://identify.plantnet.org/k-world-flora/species/Gunnera%20prorepens%20Hook.f./data