Hello there, fellow plant enthusiasts! Today, I want to chat about a truly special orchid, Eulophia speciosa. You might know it as the ‘Autumn Tuber’ orchid or the ‘Ghost Orchid’ of South Africa. Its beauty lies in its elegant, often fragrant blooms that appear when many other plants are winding down for the year. Propagating it isn’t as common as fussing over a Pothos, but oh, the satisfaction when you see a new little baby Eulophia thriving! For beginners, I’d say it’s a bit of a project, but definitely an achievable and deeply rewarding one with a little patience.
The Best Time to Start
Timing is everything, isn’t it? For Eulophia speciosa, the sweet spot for propagation is generally after flowering and as new growth is beginning. This usually happens in late spring to early summer. You’ll see the plant sending up fresh shoots or developing new bulbs. This is when the plant has the most energy reserves to dedicate to establishing new offspring. Trying to divide or take cuttings when it’s dormant or in full bloom is less likely to be successful.
Supplies You’ll Need
Before we dive in, let’s gather our trusty tools. Having everything ready will make the process much smoother and less stressful.
- Sharp, sterile pruning shears or a clean, sharp knife: For making clean cuts and preventing disease. I always give mine a quick wipe with rubbing alcohol before I start.
- Potting mix: A well-draining orchid mix is crucial. Think bark, perlite, and maybe some charcoal. You want excellent aeration.
- New pots: Small pots or seed trays, whatever suits the size of your divisions or cuttings. Ensure they have drainage holes!
- Rooting hormone (optional but recommended): Especially for stem cuttings, this can give them a helpful boost. Look for a powdered or liquid form.
- Watering can with a fine rose: To gently water your new propagations.
- Labels and a permanent marker: To keep track of what you’ve propagated and when.
- Optional: A humidity tray or a clear plastic bag: To maintain humidity for very delicate cuttings.
Propagation Methods
Now for the good part! Eulophia speciosa is best propagated by division. Think of it as gently splitting a family into smaller, but equally capable, units.
Division:
- Gently remove the parent plant from its pot. If it’s been in the pot for a while and is a bit stuck, you might need to gently coax it out. Don’t be afraid to loosen some of the old media from around the roots.
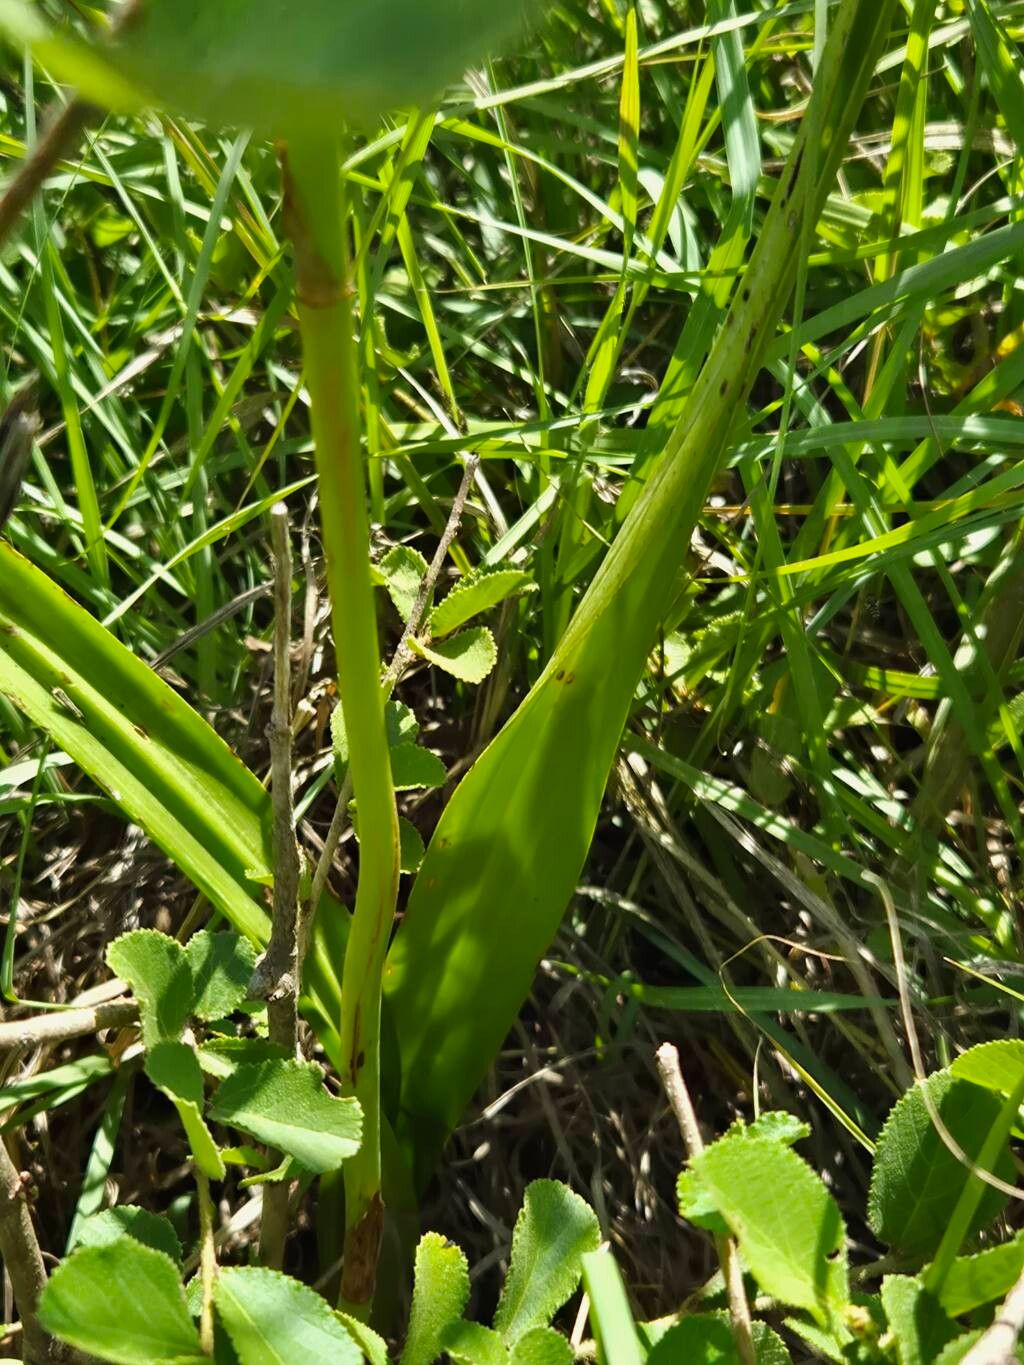
- Inspect the rhizomes (the thick, creeping stems). You’re looking for sections that have at least one healthy pseudobulb (the swollen stem base) and some good roots attached.
- Using your sterile knife or shears, carefully cut between the pseudobulbs to separate the divisions. Make sure each division has a solid base and a few roots.
- If you find any damaged or rotted sections, trim them away. It’s better to have a slightly smaller, healthier division than a larger, compromised one.
- Allow the cut surfaces to dry for a few hours or even overnight. This helps to callus over, reducing the risk of rot. This is a critical step!
- Pot up each division into its own small pot using your fresh, well-draining orchid mix. Bury the base of the pseudobulb just slightly, ensuring the roots are well-covered.
- Water very sparingly at first. You don’t want to saturate the media. A light misting or a very gentle watering is usually enough.
The “Secret Sauce” (Pro Tips)
Here are a couple of things I’ve learned over the years that really make a difference.
Firstly, don’t over-pot your divisions. Starting them in a pot that’s too large can lead to the potting mix staying wet for too long, inviting fungal issues. Think small and snug for the initial stage.
Secondly, when you’re repotting, try to keep as much of the original root system intact as possible. While some disturbance is inevitable, aggressively ripping off old roots stresses the plant. If there are just a few mushy, dead roots, carefully trim those.
And one more thing: observe your plants religiously, especially in the first few weeks. Catching the very first signs of rot or drying out is much easier than dealing with an established problem.
Aftercare & Troubleshooting
Once your new Eulophia divisions are potted, they need a bit of TLC. Keep them in a spot with bright, indirect light. Avoid direct, scorching sun. Water only when the potting mix is starting to dry out, which might be less often than you think initially. Eulophia is pretty forgiving, but overwatering is its Achilles’ heel.
The most common sign of failure you’ll see is rot. This usually manifests as mushy, dark, or black pseudobulbs or roots. If you see this, act fast. Trim away all affected parts with your sterile knife, dust the cuts with cinnamon (a natural fungicide), and repot into fresh, dry media. If the whole plant is mushy, sadly, it might be beyond saving, but don’t be discouraged!
A Encouraging Closing
Propagating Eulophia speciosa is a journey, not a race. Take your time, be gentle, and trust your instincts. Watching a tiny new pseudobulb emerge on one of your divisions is a truly magical experience. Enjoy the process, celebrate your successes, and learn from any setbacks. Happy propagating!
Resource:
https://identify.plantnet.org/k-world-flora/species/Eulophia%20speciosa%20(R.Br.)%20Bolus/data