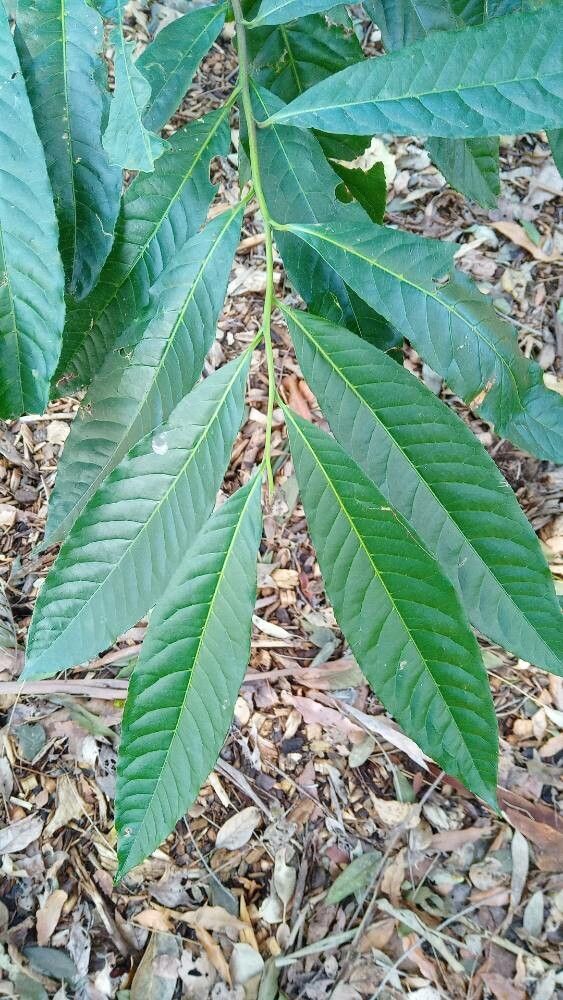
Hello fellow garden enthusiasts! Today, we’re diving into propagating Elaeocarpus grandis, often called the Blue Quandong or Native Olive. If you’ve ever admired its glossy green leaves and the beautiful blue fruits that give it its name, you’re not alone. Growing your own from seed or cuttings is incredibly satisfying, and while not as straightforward as some houseplants, it’s definitely achievable with a little care and patience. I’d say it’s a rewarding project for those who have dabbled a bit in plant propagation before, but even keen beginners can master it.
The Best Time to Start
For Elaeocarpus grandis, spring and early summer are your best friends for propagation. This is when the plant is actively growing, meaning cuttings have a better chance of forming roots. You’re looking for semi-hardwood cuttings – those that are a bit firm but still bendable, not overly woody or brand new and soft.
Supplies You’ll Need
Here’s what I always have on hand when I’m propagating:
- Sharp Pruning Shears or a Clean Knife: For making clean cuts.
- A Well-Draining Potting Mix: I like a 50/50 blend of perlite and propagation mix to ensure good aeration.
- Rooting Hormone (Optional but Recommended): A powder or gel can really give your cuttings a boost.
- Small Pots or Seedling Trays: With drainage holes, of course.
- Clear Plastic Bags or a Propagator Lid: To create a humid environment.
- Water: For misting and watering.
- Labels and a Marker: Don’t skip this! Future you will thank you.
Propagation Methods
While you can grow them from seed, it can be a touch slow and germination can be erratic. I find stem cuttings offer a more consistent and faster route to success.
Stem Cuttings:
- Gather Your Cuttings: In spring or early summer, select healthy, non-flowering shoots from your Elaeocarpus grandis. Using your sharp shears, take cuttings about 10-15 cm long. Make a clean cut just below a leaf node (where a leaf meets the stem).
- Prepare the Cuttings: Gently remove the lower leaves from your cuttings, leaving just two or three sets of leaves at the top. If the top leaves are very large, you can carefully cut them in half horizontally to reduce water loss.
- Apply Rooting Hormone (If Using): Dip the cut end of each stem cutting into your rooting hormone, tapping off any excess.
- Pot Up the Cuttings: Fill your pots or trays with the well-draining potting mix. Make a small hole with your finger or a pencil. Insert each cutting into the hole, ensuring the leaf nodes are buried in the soil. Gently firm the soil around the base of the cutting.
- Create a Humid Environment: Water the soil thoroughly after planting. Then, place a clear plastic bag over the pot, securing it with a rubber band, or cover the tray with a propagator lid. This traps moisture and keeps humidity high, which is crucial for cuttings.
The “Secret Sauce” (Pro Tips)
Here are a couple of things I’ve learned over the years that really make a difference:
- Once your cuttings are in their humid environment, avoid letting the leaves touch the sides of the plastic bag. This can encourage fungal growth and rot. If they’re touching, trim them back a little.
- Bottom heat is a game-changer, especially if your house tends to be on the cooler side. Placing your pots on a seedling heat mat can really speed up root formation. It encourages root development without overheating the delicate leaves.
Aftercare & Troubleshooting
Once your cuttings are potted, place them in bright, indirect light. Avoid direct sun, which can scorch the young leaves. Keep the soil consistently moist but not waterlogged. You’ll want to open the plastic bag or propagator lid for a few minutes each day to allow for some air circulation and prevent disease.
You’ll know your cuttings have rooted when you see new leaf growth or gentle resistance when you very lightly tug on them. This can take anywhere from 6 weeks to a few months.
The most common problem you’ll encounter is rot. If a cutting goes limp, turns black or mushy, it’s likely rotted. This is usually due to overwatering or insufficient air circulation. Don’t be discouraged if a few don’t make it – it’s part of the process! Just remove the rotted cuttings and continue to care for the healthy ones.
A Encouraging Closing
Propagating Elaeocarpus grandis is a wonderful way to connect with nature and expand your garden. It requires a bit of patience, but seeing those first signs of roots and new growth is an incredibly rewarding experience. Be persistent, learn from any setbacks, and most importantly, enjoy the journey! Happy gardening!
Resource:
https://identify.plantnet.org/k-world-flora/species/Elaeocarpus%20grandis%20F.Muell./data