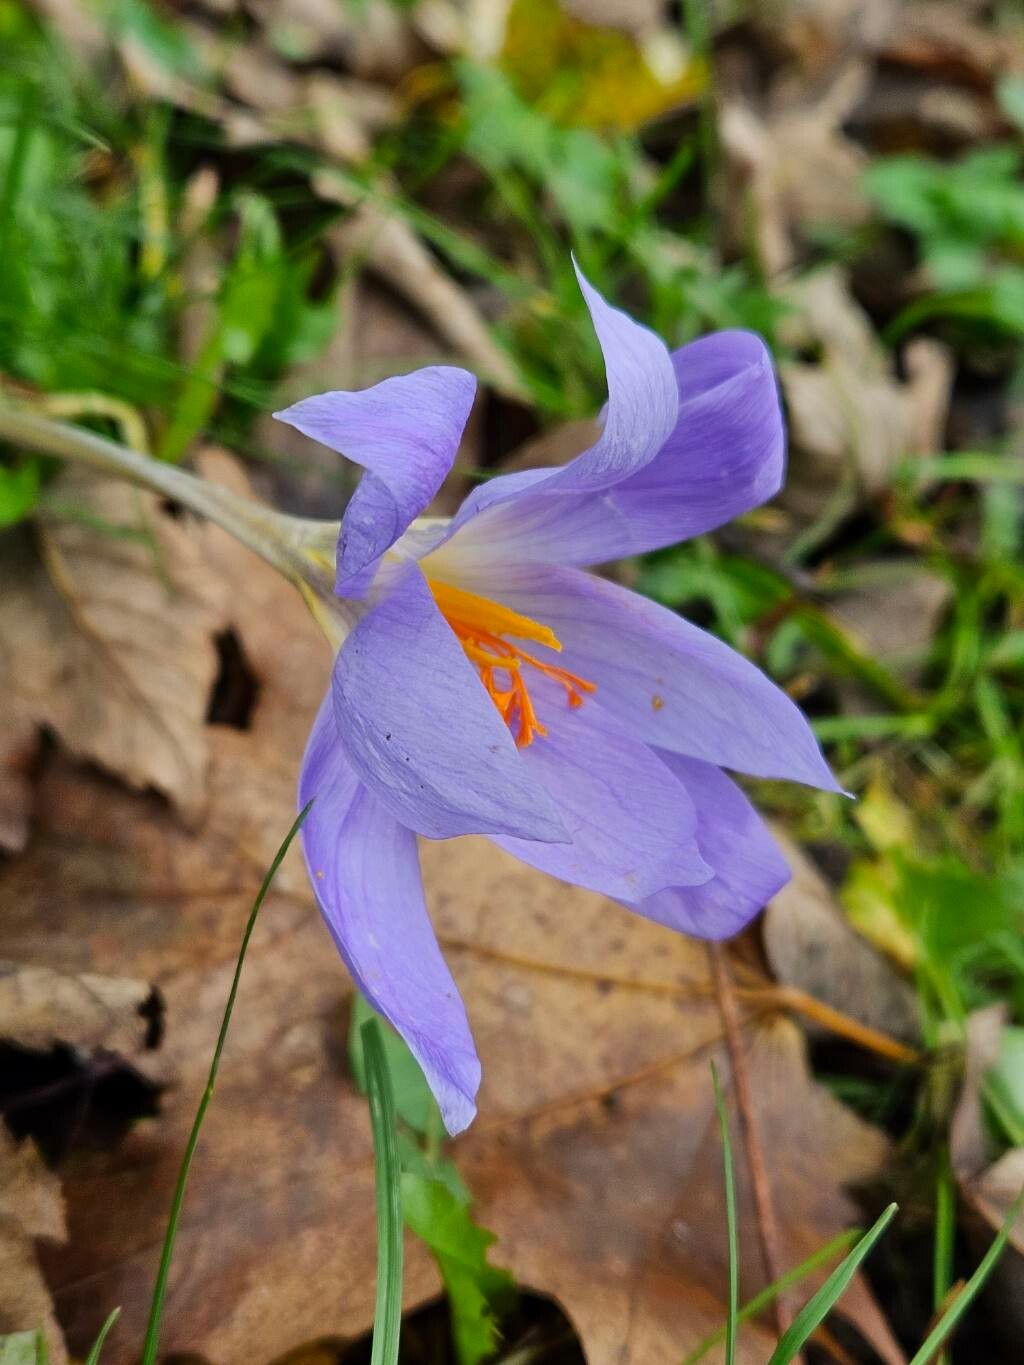
Oh, hello there! I’m so glad you’re interested in diving into the wonderful world of propagating Crocus speciosus. These little gems are just bursting with early autumn color, aren’t they? Their vibrant blue-purple blooms are like a final, cheerful wave from summer before we settle into fall. And the best part? They’re surprisingly rewarding to multiply! If you’re new to plant propagation, you’ll be happy to hear that Crocus speciosus is quite forgiving. It’s a fantastic plant to start with.
When to Get Your Hands Dirty
The absolute sweet spot for giving your Crocus speciosus some propagation love is right after they’ve finished flowering and the foliage has started to yellow and die back. This usually happens in late spring to early summer. Think of it as a gentle nudge when the plant is naturally winding down its active growth phase. This allows the corms to focus their energy on building up resources for the next blooming season, while simultaneously preparing for division.
Your Propagation Toolkit
Here’s what you’ll want to have ready to go before you begin:
- A sharp, clean trowel or small spade: For carefully digging up your corms.
- A soft brush: To gently remove excess soil.
- Rooting hormone (optional, but helpful): Especially if you’re dividing smaller cormlets. Look for one formulated for bulbs or herbaceous plants.
- A sterile potting mix: A good blend is about 50% compost and 50% perlite or sharp sand for excellent drainage.
- Small pots or trays: For your newly planted corms.
- A watering can with a fine rose: Gentle watering is key.
- Labels and a permanent marker: So you remember what you planted where!
The Art of Division: Multiplying Your Crocus
For Crocus speciosus, the most reliable and straightforward propagation method is through division. These plants naturally multiply by producing new corms (we call them cormlets) from the base of the parent corm.
- Gentle Excavation: Carefully dig around the base of your established Crocus speciosus plant. You want to lift the entire clump. It’s best to do this when the soil is slightly moist, not bone dry or waterlogged.
- Clean and Inspect: Once the clump is out, gently brush away as much soil as you can. You’ll start to see the main parent corm and several smaller cormlets attached.
- The Gentle Pull: With your fingers, gently separate the cormlets from the parent corm. You want to ensure each cormlet has at least a small portion of the basal plate attached, where the roots will emerge. If a cormlet seems very small or detached, it’s best to discard it as it’s less likely to survive.
- Rooting Hormone (If Using): If you have rooting hormone, dip the basal end of each cormlet into it. This can give them a little boost.
- Planting Time: Fill your small pots or trays with your sterile, well-draining potting mix. Plant each divested cormlet about 2-3 inches deep, ensuring the pointed end is facing upwards.
- Water Wisely: Water them in gently. You want the soil to be moist but not soggy.
My Little Secrets (The “Secret Sauce”)
Here are a couple of things I’ve learned over the years that really make a difference:
- Don’t Rush the Drying: After you’ve divided your corms and before you plant them, it’s beneficial to let them air dry for a day or two in a shaded, well-ventilated spot. This helps to callous over any minor wounds from division and reduces the risk of rot when they’re planted.
- Location, Location, Location: Once planted, place your pots in a bright, airy location that isn’t in direct, scorching sun. A greenhouse, a cold frame, or even a bright windowsill in a cooler room works wonderfully. They don’t need warmth to establish; they just need a good environment to settle in.
Nurturing Your New Sprouts & What to Watch For
After planting, keep the soil consistently lightly moist. Avoid letting them dry out completely, but also steer clear of waterlogged conditions, as this is the fastest way to invite rot. You won’t see much action immediately, and that’s perfectly normal. Corms take their time to establish roots.
If you notice any mushy, discolored corms, that’s a sign of rot. Unfortunately, these are usually beyond saving. The best course of action is to remove them immediately to prevent the rot from spreading to healthy corms. Sometimes, a corm might also fail to sprout if it was too small or damaged during division. Don’t be discouraged by a few losses; it’s part of the learning curve.
A Little Patience Goes a Long Way
Propagating Crocus speciosus through division is incredibly satisfying. Seeing those tiny corms you carefully separated begin to grow into new plants is a gardener’s delight. It might take a little patience, as they’ll likely take a season to reach full blooming potential, but the reward of more beautiful blooms in your garden next autumn is absolutely worth it. So, get out there and enjoy the process! Happy gardening!
Resource:
https://identify.plantnet.org/k-world-flora/species/Crocus%20speciosus%20M.Bieb./data