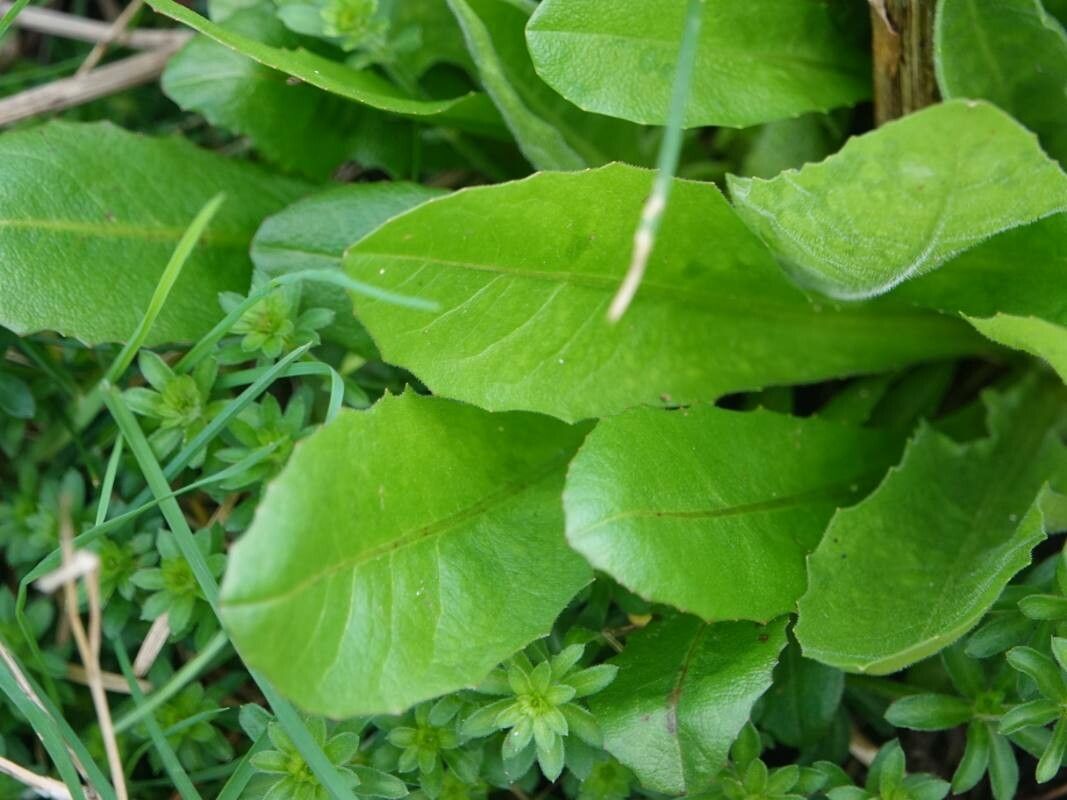
Hello, fellow garden lovers! Today, we’re diving into the wonderful world of propagating Crepis mollis, also known as Italian Hawk’s-beard. I’ve spent two decades with my hands in the dirt, and believe me, Crepis mollis is a charming addition to any garden with its cheerful yellow daisy-like blooms. Those sunny faces peeking out from the foliage bring such joy, and the reward of creating more of these beauties from your existing plants is truly something special. I’m happy to say, Crepis mollis is a fantastic plant for beginners looking to dip their toes into propagation. It’s quite forgiving!
The Best Time to Start
For the highest success rates with Crepis mollis, I’ve found that early spring is your golden ticket. Think right after the last frost has passed, when the plant is just starting to wake up and put on its new growth. You can also have good luck with late summer, after the main flowering flush has finished, but the spring babies tend to establish themselves with more vigor. Look for healthy, vigorous shoots that are just beginning to elongate.
Supplies You’ll Need
Gathering your tools beforehand makes the whole process smoother. Here’s what I usually have on hand:
- Sharp, clean pruning shears or a craft knife: For making clean cuts.
- Small pots or seed trays: With drainage holes, of course!
- A good quality potting mix: I often use a blend of peat moss, perlite, and a little bit of compost. For Crepis mollis, a well-draining mix is key.
- Rooting hormone (optional but recommended): A powder or gel can give your cuttings an extra boost.
- A watering can with a fine rose attachment: For gentle watering.
- Labels: To keep track of your new plants!
- Plastic bags or a propagator: To create a humid environment.
Propagation Methods
Crepis mollis is quite amenable to a few different propagation techniques. My go-to is usually division, but stem cuttings are also effective.
Division (My Favorite!)
This is my most successful and easiest method for Crepis mollis.
- Dig Up the Mother Plant: In early spring, gently dig up your Crepis mollis plant. You don’t need to yank it out; aim to loosen the soil around it and lift the entire root ball.
- Inspect the Roots: You’ll see that the plant naturally forms clumps. Look for natural divisions where you can see where new shoots are emerging from existing roots.
- Gently Separate: Using your hands or a clean trowel, gently pull the clumps apart. You want to ensure each new piece has plenty of roots and at least one or two healthy shoots. If the roots are really tangled, a clean knife can help, but try to avoid excessive damage.
- Replant Immediately: Pot up your new divisions into pots filled with your prepared potting mix. Water them in well.
Stem Cuttings
This method takes a little more patience, but it’s incredibly rewarding.
- Take Cuttings: In spring or early summer, select healthy, non-flowering stems that are about 4-6 inches long. Using your sharp shears or knife, make a clean cut just below a leaf node. A leaf node is where a leaf attaches to the stem.
- Prepare the Cuttings: Gently remove the lower leaves from the stem, leaving only a few at the top. This prevents them from rotting in the soil. If you’re using rooting hormone, dip the cut end into it now.
- Pot Them Up: Insert the prepared cuttings into pots filled with your well-draining potting mix. Make sure the leaf nodes near the bottom are covered by the soil.
The “Secret Sauce” (Pro Tips)
Over the years, I’ve learned a few little tricks that really give propagation a boost:
- Don’t Drown Them: When water-propagating (not my preferred for this plant, but some love it!), make sure no leaves touch the water. They’ll rot surprisingly fast. For stem cuttings in soil, water them thoroughly but then let the surface dry out slightly between waterings.
- Embrace the Humid Tent: For stem cuttings, covering the pots with a clear plastic bag or placing them in a propagator creates a humid environment. This is crucial for helping them form roots before they dry out. Just make sure to open it daily for a few minutes to allow for air circulation and prevent fungal issues.
- Bottom Heat is Your Friend: If you have a propagator with a heating mat, gentle bottom heat can significantly speed up root development for cuttings. It mimics the warmth of spring soil.
Aftercare & Troubleshooting
Once your new divisions or cuttings have rooted – you’ll often see new leaf growth, a sign of success!
- Water Wisely: Keep the soil consistently moist but not waterlogged. This is the most critical part. Water gently at the base of the plant.
- Light and Air: Once they show signs of rooting, gradually introduce them to more light. As they grow stronger, you can begin to harden them off by taking them outside for short periods before planting them in their permanent spot. Increase the time outside gradually over a week or two.
- Common Pests/Diseases: The biggest issue you’ll likely face is rot. This is usually due to overwatering or poor drainage. If you see mushy stems or yellowing leaves that wilt rapidly, remove the affected parts immediately. Sometimes, it’s best to discard a failed cutting to prevent it from spreading.
A Little Patience Goes a Long Way
Propagating Crepis mollis is a truly delightful way to expand your garden and share these sunny blooms. Don’t get discouraged if a few don’t make it – it happens to us all! Be patient, observe your new plants, and most importantly, enjoy the rewarding journey of bringing more life into your garden. Happy propagating!
Resource:
https://identify.plantnet.org/k-world-flora/species/Crepis%20mollis%20(Jacq.)%20Asch./data