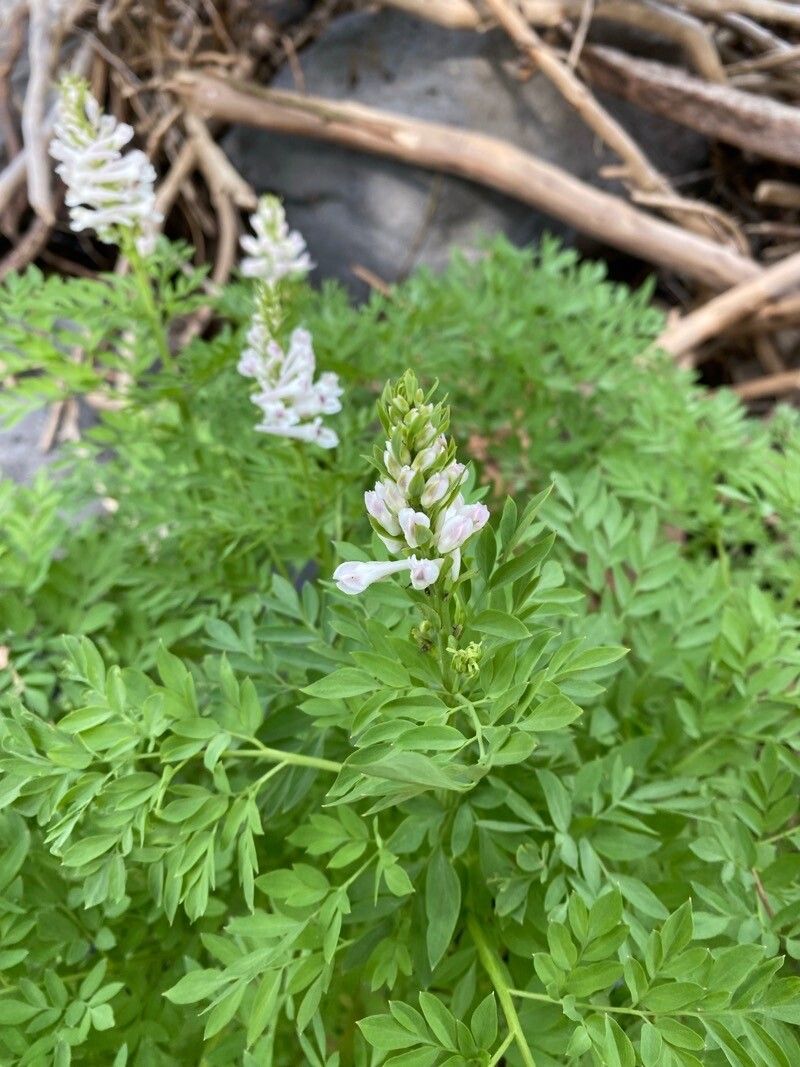
Oh, hello there! Pull up a chair and let’s chat about Corydalis caseana. I find this little gem absolutely captivating with its delicate, often blue-tinged foliage and lovely little flowers. If you’re looking to add more of this beauty to your garden, or even share it with friends, propagating it is a wonderfully rewarding endeavor. Now, is it a walk in the park for total novices? Honestly, it can be a bit finicky, but with a little care and patience, you’ll be celebrating new plant babies in no time.
The Best Time to Start
For Corydalis caseana, I’ve found the spring, just as new growth is really kicking off, is your absolute best bet. Think of it as when the plant is brimming with youthful energy. Late spring or early summer, before the heat of the season really sets in, is also a good window. Avoid trying to propagate when the plant is stressed, like during a scorching dry spell or when it’s putting all its energy into blooming.
Supplies You’ll Need
To get your propagation station ready, gather these essentials:
- Sharp, clean pruning shears or a razor blade: For making precise cuts.
- A well-draining potting mix: I like a blend of equal parts seed starting mix, perlite, and a touch of compost. This ensures good aeration and prevents waterlogging.
- Small pots or seed trays: With drainage holes, of course!
- Rooting hormone (optional but helpful): Especially for encouraging cuttings.
- A plastic bag or humidity dome: To create a mini-greenhouse effect.
- Spray bottle filled with water: For misting.
- Labels and a marker: So you don’t forget what you’ve planted where!
Propagation Methods
Corydalis caseana can be propagated quite successfully through a couple of methods.
1. Stem Cuttings: My Go-To
This is usually my preferred method for Corydalis caseana.
- Select Your Cuttings: Look for healthy, non-flowering stems that are about 3-4 inches long. Gently snap or cut them just below a leaf node (where a leaf attaches to the stem).
- Prepare the Cuttings: Remove the lower leaves, leaving just a couple at the top. This prevents them from rotting when buried.
- Apply Rooting Hormone (Optional): If you’re using rooting hormone, dip the cut end of the stem into it, tapping off any excess.
- Plant the Cuttings: Make a small hole in your prepared potting mix with a pencil or your finger. Gently insert the cutting, ensuring the node where you removed the leaves is below the soil surface. Firm the soil around the stem.
- Water and Cover: Water gently to settle the soil. Then, cover the pot or tray with a plastic bag or humidity dome. This is crucial for keeping the cuttings from drying out.
2. Division: When the Plant is Mature
If you have a well-established clump of Corydalis caseana, you can also divide it.
- Timing is Key: Again, spring is the ideal time for this, as the plant is actively growing.
- Gently Excavate: Carefully dig up the entire plant clump.
- Separate the Roots: Gently tease apart the roots, looking for natural divisions that have at least a few stems and a healthy root system. You can use your hands or a clean trowel to help.
- Replant: Immediately replant the divisions into their new homes, either in pots or directly into the garden, making sure they are planted at the same depth they were previously growing. Water thoroughly.
The “Secret Sauce” (Pro Tips)
Here are a few things I’ve learned over the years that really make a difference:
- Don’t Overwater: This is probably the biggest culprit for failure. Cuttings need moisture, but soggy soil is the enemy. Let the surface of the soil dry out slightly between waterings. Misting the foliage periodically is often enough humidity, especially when covered.
- Location, Location, Location: Place your cuttings or divisions in a spot with bright, indirect light. Direct sun will scorch young, vulnerable new growth. A gently warmed windowsill or a shaded corner of a greenhouse is perfect.
- Embrace Gentle Heat: If you have the option, a gentle bottom heat (around 70-75°F or 21-24°C) can really speed up root development for cuttings. A propagation mat works wonders!
Aftercare & Troubleshooting
Once your cuttings have developed a good root system – you might see new leaves emerging or feel a gentle resistance when you tug ever so slightly on a cutting – it’s time for some TLC!
- Acclimatize Gradually: Slowly begin to remove the plastic bag or dome for increasing periods each day. This helps the new plants adjust to normal humidity levels.
- Potting Up: Once they are strong enough, gently pot them into individual containers with their own well-draining potting mix. Continue to keep them in bright, indirect light.
- Keep an Eye Out for Rot: The most common sign of trouble is blackening or mushy stems, which indicate rot. This almost always comes back to overwatering. If you see this, remove the affected cutting immediately. Another sign of failure is when the cutting simply shrivels up and dries out, usually meaning it didn’t get enough humidity or was planted in too dry a medium.
A Encouraging Closing
Propagating Corydalis caseana is a journey, and like all good gardening, it requires a bit of patience. Don’t be discouraged if not every single cutting takes. Learn from each attempt, adjust your approach, and most importantly, enjoy the process of learning and growing new plants. Happy gardening!
Resource:
https://identify.plantnet.org/k-world-flora/species/Corydalis%20caseana%20A.Gray/data