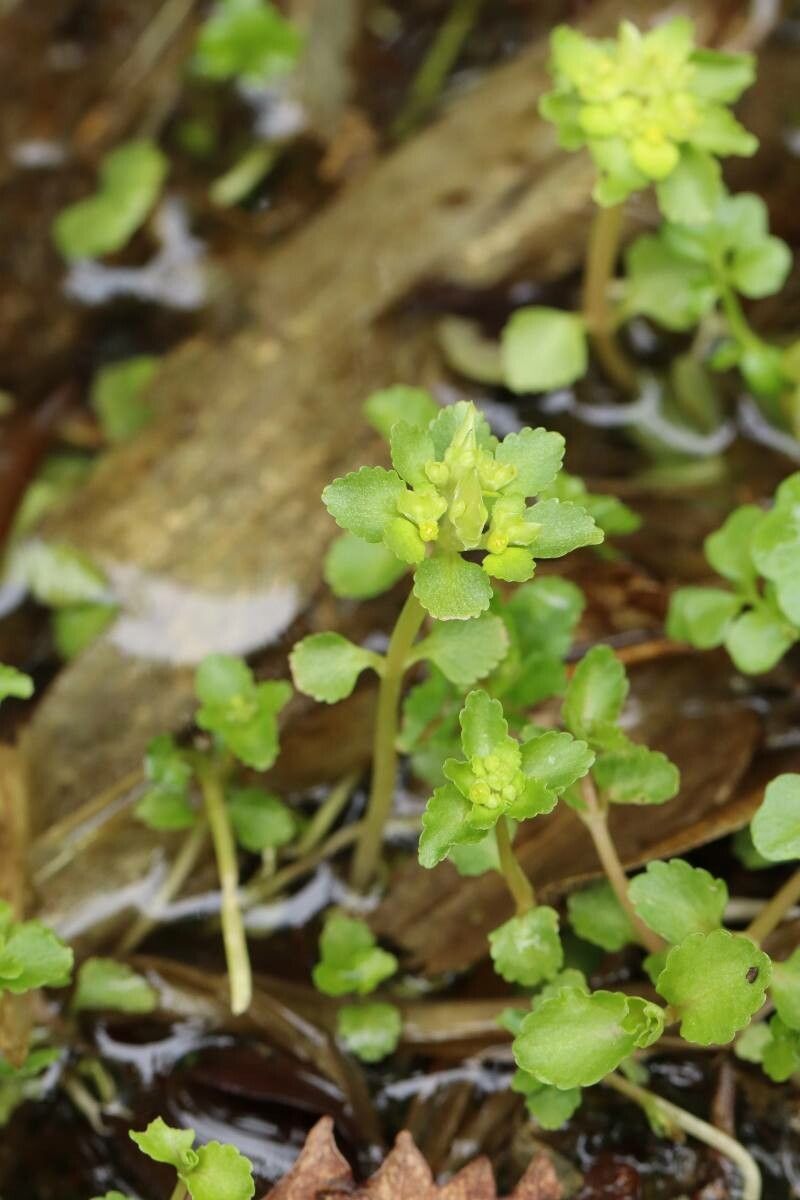
Hello fellow plant enthusiasts! Today, we’re diving into the delightful world of Chrysosplenium grayanum, a charming little plant that often goes by the less formal, but still beautiful, name of “Small-Leaved Golden Saxifrage.” If you appreciate delicate foliage and subtle charm in your garden or indoor plant collection, you’re going to love this one. Its small, often rounded leaves, sometimes with a lovely bronze tint, form a delightful groundcover or accent for shady, moist spots. And guess what? Propagating it is a wonderfully rewarding experience, giving you more of these beauties to share or simply to fill out your displays.
Is it a beginner-friendly plant to propagate? Absolutely! Most methods are quite straightforward, and Chrysosplenium grayanum is generally quite generous with its willingness to root. You’ll find yourself with new plants in no time.
The Best Time to Start
My favorite time to get started with propagating Chrysosplenium grayanum is in spring, as new growth begins to emerge. The plant is waking up, full of vigor, and those fresh stems and leaves readily adapt to new conditions. Late spring into early summer is also a good window as the plant becomes more established. You want to catch it when it’s actively growing, not when it’s stressed or dormant.
Supplies You’ll Need
Gathering your supplies beforehand makes the whole process smoother. Here’s what I typically have on hand:
- Sharp, clean pruning shears or a craft knife: For making clean cuts.
- Small pots or containers: Clean ones are crucial to prevent disease.
- Well-draining potting mix: I often use a blend of peat moss, perlite, and a bit of compost. For Chrysosplenium, a mix that retains some moisture is good, but it must drain well. A standard potting mix with added perlite works too.
- Rooting hormone (optional but recommended): A powdered or liquid rooting hormone can give cuttings a helpful boost.
- Watering can or spray bottle: For gentle hydration.
- Labels and a marker: To keep track of what you’ve planted.
Propagation Methods
Chrysosplenium grayanum is wonderfully versatile, and a couple of methods work exceptionally well.
1. Stem Cuttings: My Go-To Technique
This is, hands down, my favorite way to propagate many small, vining or creeping plants.
- Step 1: Take Cuttings. Choose healthy, non-flowering stems. Using your clean shears or knife, take cuttings that are about 3-4 inches long. Make your cut just below a leaf node (where a leaf attaches to the stem).
- Step 2: Prepare the Cuttings. Gently remove the lower leaves, leaving just a couple at the very top. This prevents them from rotting in the soil and encourages the cutting to focus its energy on rooting.
- Step 3: Apply Rooting Hormone (Optional). If you’re using rooting hormone, dip the cut end of the stem into the powder or liquid, tapping off any excess.
- Step 4: Plant Your Cuttings. Fill your small pots with your prepared potting mix. Make a small hole with your finger or a pencil and insert the cut end of the stem. Gently firm the soil around the base to ensure good contact.
- Step 5: Water Gently. Water the soil thoroughly but gently, making sure it’s moist but not waterlogged. A spray bottle can be great for starting if you’re worried about disturbing the cuttings.
2. Division: For Established Plants
If you have a mature, well-established clump of Chrysosplenium grayanum, division is a simple and effective way to get more plants.
- Step 1: Gently Excavate. Carefully dig up the entire plant. You want to be as gentle as possible to avoid damaging the roots.
- Step 2: Separate the Divisions. You’ll see where the plant has naturally grown into sections. Using your fingers or a trowel, gently pull or cut the root ball apart into smaller clumps. Each division should have a healthy root system and some top growth.
- Step 3: Replant Immediately. Pot up each division into its own container with fresh, well-draining soil, or replant them directly into your garden. Water them in well.
The “Secret Sauce” (Pro Tips)
Here are a couple of things I’ve learned over the years that make propagation even more successful:
- Humidity is Key, but Avoid Soggy Bottoms: When you’ve planted your cuttings, I like to put them in a clear plastic bag or a mini greenhouse to create a humid environment. This prevents them from drying out before they can root. Just make sure the leaves aren’t constantly touching the surface of the bag, as this can encourage mold. A quick peek each day and a gentle misting if the soil surface looks dry is usually enough.
- Warm Feet Help: For impatient gardeners (like me!), placing your pots on a gentle heat mat can significantly speed up root development. It mimics the warmth of spring soil and really encourages those roots to get going. Just ensure the heat is gentle, not hot!
Aftercare & Troubleshooting
Once your cuttings have rooted (you can check by giving them a very gentle tug; if there’s resistance, they’ve rooted!), it’s time to treat them like the tiny, precious plants they are.
- Gradually Acclimate: If you’ve used a humidity dome, slowly start to introduce them to lower humidity by opening the vents or removing the bag for progressively longer periods over a week or so.
- Water Wisely: Continue to keep the soil consistently moist but not soggy. As they grow, you can water them more thoroughly when the top inch of soil feels dry.
- Light: Place your new plants in bright, indirect light. Direct sun will likely scorch their delicate leaves.
- Troubleshooting: The most common issue you’ll encounter is rot. This usually happens if the soil stays too wet. You’ll see stems turn mushy and black. If you spot this, remove the affected cutting immediately to prevent it from spreading. Sometimes, too much direct sun can cause wilting and browning, so move them to a shadier spot. If a cutting just seems to be sulking and not doing anything, give it time! Some plants are just slower to get going.
A Little Patience Goes a Long Way
Propagating plants is a beautiful way to connect with nature and learn patience. Not every cutting will make it, and that’s perfectly okay. Celebrate the successes, learn from the challenges, and most importantly, enjoy the process. Soon enough, you’ll have a lovely collection of Chrysosplenium grayanum to brighten your shady corners. Happy gardening!
Resource:
https://identify.plantnet.org/k-world-flora/species/Chrysosplenium%20grayanum%20Maxim./data