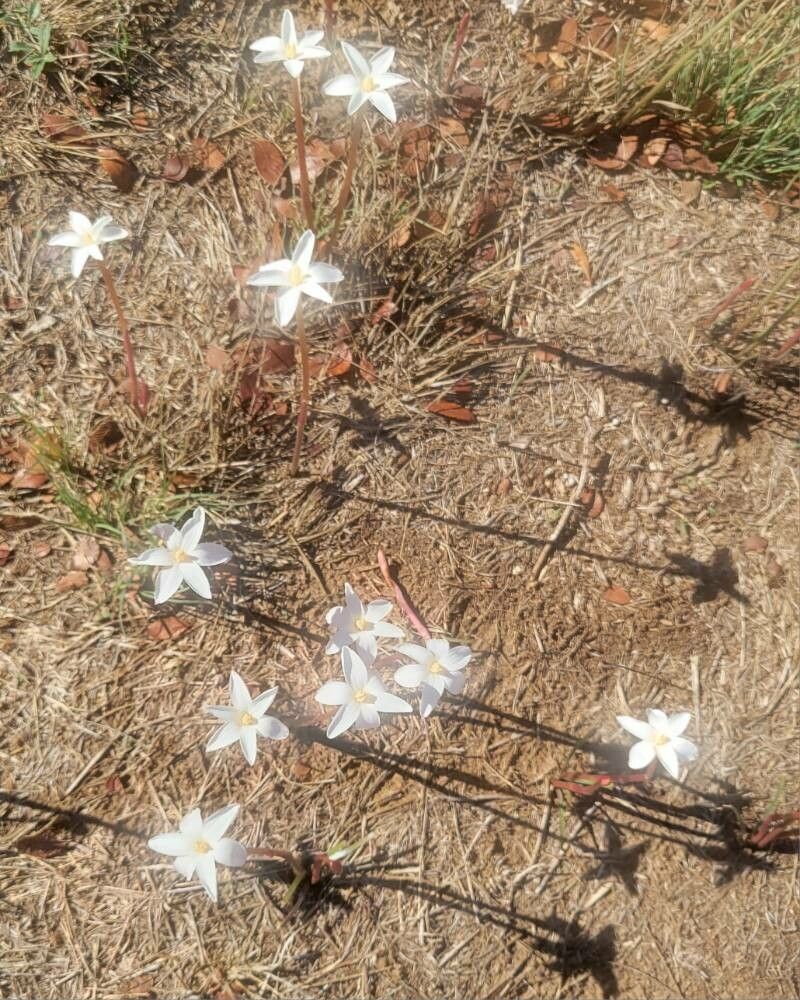
Oh, hello there! I’m so glad you’ve come by. Today, we’re going to talk about one of my absolute favorites: Zephyranthes chlorosolen, or as many of us affectionately call them, Rain Lilies. Their dainty, trumpet-shaped blooms that pop up seemingly out of nowhere after a good rain are just magical, aren’t they? They bring such unexpected bursts of joy to the garden, and the best part? Propagating them is a truly rewarding experience. It’s an easy win for beginners and incredibly satisfying for seasoned gardeners alike.
When the Time is Right for Rain Lily Babies
For Zephyranthes chlorosolen, the absolute sweet spot for propagation is right after they finish flowering, which usually happens in late summer or early fall. You’ll notice the foliage starting to die back a bit then. This is when the plant is naturally storing energy in its bulbs, making them robust and ready to sprout new little ones. Trying to divide them when they’re actively growing and blooming can stress them out too much.
What You’ll Want in Your Propagation Toolkit
Getting your hands dirty is half the fun, right? Here’s a little list of what you’ll need to get started:
- Sharp pruning shears or a clean knife: For making nice, clean cuts.
- A well-draining potting mix: I love a blend of equal parts peat moss, perlite, and compost. This is crucial for preventing rot.
- Small pots or trays: Yogurt containers with drainage holes work in a pinch!
- Optional: Rooting hormone powder: While not strictly necessary for Zephyranthes, it can give an extra boost.
- Watering can with a fine rose: For a gentle shower.
- Gloves: If you have sensitive skin.
Bringing New Rain Lilies to Life: The Methods
Zephyranthes chlorosolen are most commonly propagated through division, which is wonderfully straightforward.
- Gently excavate: Carefully dig around the base of your established Rain Lily clump. You want to lift the entire plant and its root ball out of the soil. Be patient; don’t yank!
- Inspect and separate: Gently tease apart the soil from the roots. You’ll see the main bulb surrounded by smaller offsets, or bulblets. These are your new plants! Using your fingers or a clean knife, carefully separate these bulblets from the mother bulb. Make sure each bulblet has at least a few roots attached. If a bulblet has no roots, don’t worry too much; it can still grow, it just might take a bit longer.
- Pot them up: Fill your small pots with your well-draining potting mix. Make a little hole in the center and place your bulblet inside, burying it so the top of the bulb is just at or slightly below the soil surface.
- Water gently: Give them a good but gentle watering to settle the soil around the bulbs.
My Little “Secret Sauce” for Success
After years of coaxing plants to grow, I’ve picked up a few tricks. Here are a couple that really make a difference with Zephyranthes:
- Don’t overwater, even after planting: This is probably the most important tip. Rain Lilies are bulbs, and they abhor soggy feet. Water them well immediately after potting, and then only water when the top inch of soil feels dry to the touch. It’s better for them to be a little dry than a little wet.
- Give them a cozy spot: Place your newly potted bulblets in a spot that gets bright, indirect light. Avoid harsh, direct sun for the first few weeks as they establish. Think of it like giving them a warm, sunny windowsill.
Nurturing Your New Arrivals and What to Watch For
Once your Zephyranthes chlorosolen bulblets are potted, the real magic begins. Keep the soil consistently slightly moist but never soggy. You should start to see new green shoots emerge within a few weeks. That’s your sign they’re happy!
The biggest thing to watch out for is rot. If you see your bulblet turning mushy or developing black spots, it’s a clear sign of too much moisture. If this happens, gently pull it from the soil, trim away any rotted parts, and repot in fresh, dry soil. Sometimes, a little bit of rot means the plant isn’t salvageable, and that’s okay. It’s a natural part of the learning curve!
Go Forth and Grow!
Propagating Zephyranthes chlorosolen is such a joy. It’s a quiet way to fill your garden with more of those delightful blooms. Be patient with your new little bulbs; they have their own rhythm. Enjoy the process, and soon you’ll be delighted by even more of these little miracles appearing after the next rainfall. Happy growing!
Resource: