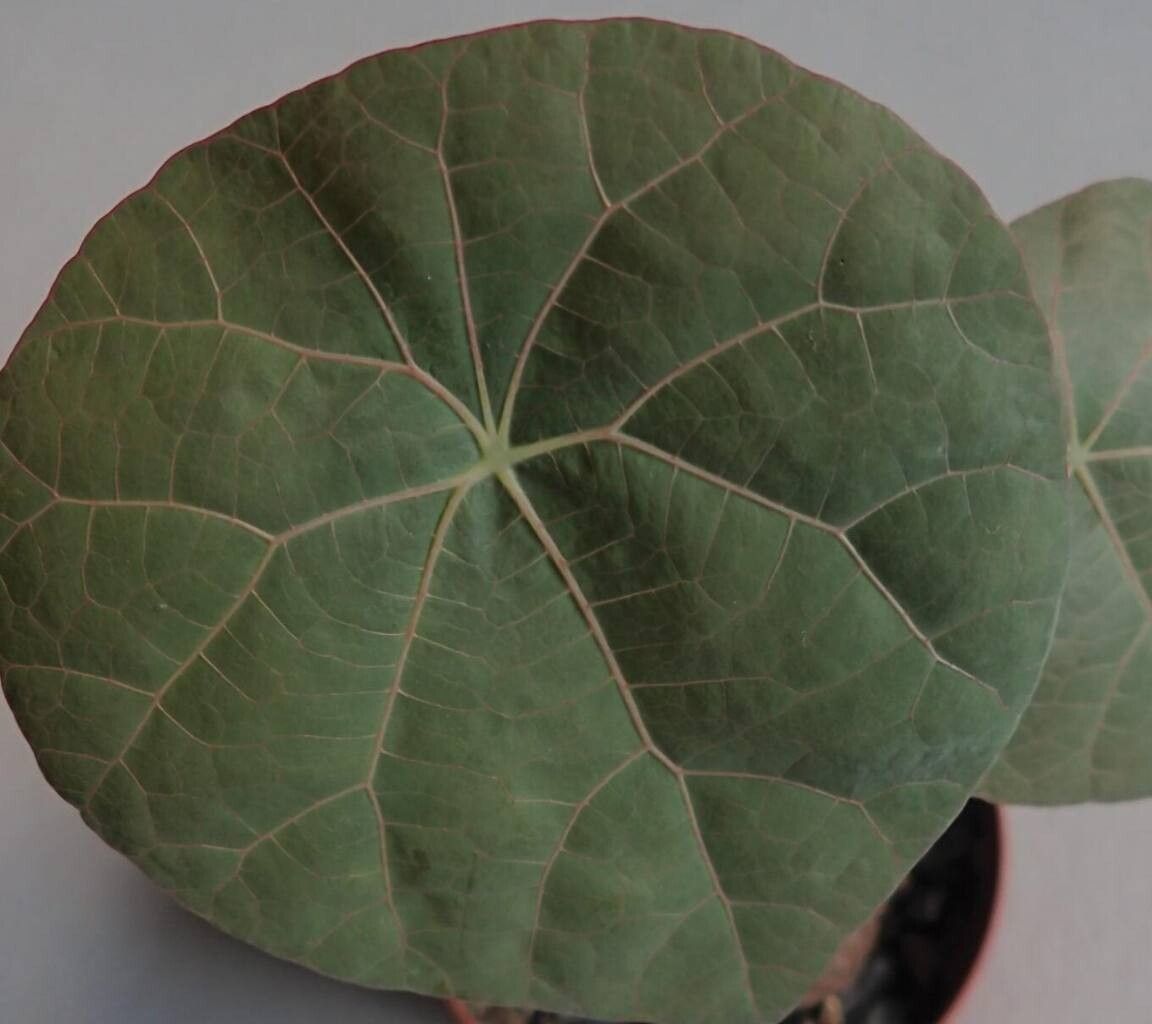
Hey there, fellow plant enthusiasts! Today, we’re diving into the delightful world of propagating Stephania kaweesakii. You know, those gorgeous plants with the round, succulent-like caudex (that’s the swollen base, for those new to the term!) and delicate, trailing vines. They’re just stunning, aren’t they? There’s something incredibly satisfying about taking a piece of your beloved Stephania and coaxing it into a brand new life. It’s a little bit of magic, and I’m thrilled to share how you can experience it. Now, is this a beginner-friendly plant to propagate? Honestly, it can be a tad more challenging than a simple pothos, but with a little patience and a few key tricks, I guarantee you can have success!
The Best Time to Start
For Stephania kaweesakii, the late spring or early summer is your golden window. This is when the plant is actively growing and has plenty of energy to put into rooting. You want to propagate when the plant is healthy and showing vigorous new growth. Avoid trying to propagate when the plant is dormant or stressed. Think of it like giving your new little plant the best possible head start!
Supplies You’ll Need
Before we get our hands dirty, let’s gather our goodies:
- Sterilized pruning shears or a sharp knife: Clean tools are absolutely crucial to prevent any nasty infections.
- Rooting hormone powder (optional but recommended): This really gives your cuttings a boost. Look for one formulated for leafy cuttings.
- A well-draining potting mix: I like a mix of perlite, coarse sand, and peat moss. Think airy and fast-draining! You can also use a succulent/cactus mix with a bit of added perlite.
- Small pots or propagation trays: Make sure they have drainage holes!
- Clear plastic bags or a propagation dome: This will create a humid environment for your cuttings.
- Water: For watering and, if you choose that route, for rooting.
- A clear jar or glass: If you’re trying water propagation.
Propagation Methods
There are a couple of tried-and-true ways to get new Stephania kaweesakii plants. I find stem cuttings to be most reliable, but water propagation can be a fun visual.
Stem Cuttings: My Go-To Method
- Take a Cutting: Select a healthy stem with at least two to three nodes. A node is where a leaf attaches to the stem. Make your cut just below a node. You want healthy, green growth, not anything woody.
- Prepare the Cutting: Gently remove the leaves from the bottom node. You can leave one or two leaves at the top to help with photosynthesis. If the remaining leaves are very large, you can slice them in half to reduce water loss.
- Apply Rooting Hormone: Dip the cut end of the stem into your rooting hormone powder, tapping off any excess. This step is like giving your cutting a little nudge towards root development.
- Plant the Cutting: Fill your small pot with your well-draining potting mix. Make a small hole with your finger or a pencil, and gently insert the cutting into the mix, ensuring the nodes are buried.
- Water and Cover: Water the soil thoroughly but gently. Then, cover the pot with a clear plastic bag or place it under a propagation dome to maintain high humidity. You can use a skewer or two to keep the bag from touching the leaves.
- Find the Right Spot: Place the pot in a warm spot with bright, indirect light. Avoid direct sun, which can scorch your delicate cutting.
Water Propagation: A Visual Treat
- Take Your Cutting: Follow steps 1 and 2 from the stem cutting method.
- Place in Water: Fill a clean jar or glass with room-temperature water. Place the cutting in the water, making sure that at least one node that had its leaves removed is submerged. Crucially, do not let any leaves sit in the water! They will rot.
- Change the Water Regularly: Refresh the water every few days to keep it clean and oxygenated.
- Find the Right Spot: Just like with soil cuttings, place your jar in a spot with bright, indirect light and warmth.
The “Secret Sauce” (Pro Tips)
Here are a few things I’ve learned over the years that can make a big difference:
- Bottom Heat is Your Friend: Stephania kaweesakii roots love warmth. If you can, place your propagating pots on a seedling heat mat. Consistent, gentle bottom warmth can significantly speed up root formation.
- Don’t Overwater the Soil Cuttings: It’s a common mistake! While they need humidity, waterlogged soil will lead to rot. Let the top inch of soil dry out slightly between waterings. The goal is consistently moist, not soggy.
- Patience with the Caudex: If you’re propagating from a piece with a bit of caudex attached, don’t be alarmed if it looks like nothing is happening for a while. That caudex is a powerhouse, but it can take its sweet time sending out roots. Trust the process!
Aftercare & Troubleshooting
Once you start to see roots emerging from the drainage holes (for soil cuttings) or noticeable root growth in the water, you’re almost there!
- For Soil Cuttings: Slowly acclimate your new plant to normal room humidity by gradually opening the plastic bag or propagation dome over a week. Continue to care for it as you would a mature Stephania – bright indirect light, well-draining soil, and careful watering.
- For Water Cuttings: Once you have a good network of roots (at least an inch or two long), you can carefully transplant your cutting into its own well-draining potting mix. Treat it gently and water it in well.
What to watch out for:
- Rot is the Enemy: The most common problem is rot, which shows up as mushy, dark stems or leaves. This usually happens from overwatering or poor drainage. If you see this, it’s sadly usually a goner. Prevention is key!
- No Growth: If you don’t see any signs of life after several weeks, it might just need more time and warmth. Don’t give up too soon!
A Encouraging Closing
Propagating Stephania kaweesakii is a rewarding journey. It teaches you to observe, to be patient, and to appreciate the resilience of plant life. Don’t be discouraged if your first attempt isn’t a resounding success. Every ‘failure’ is a learning opportunity that will make you a better gardener. So, grab your shears, get your supplies ready, and enjoy the process. You’ve got this! Happy propagating!
Resource: