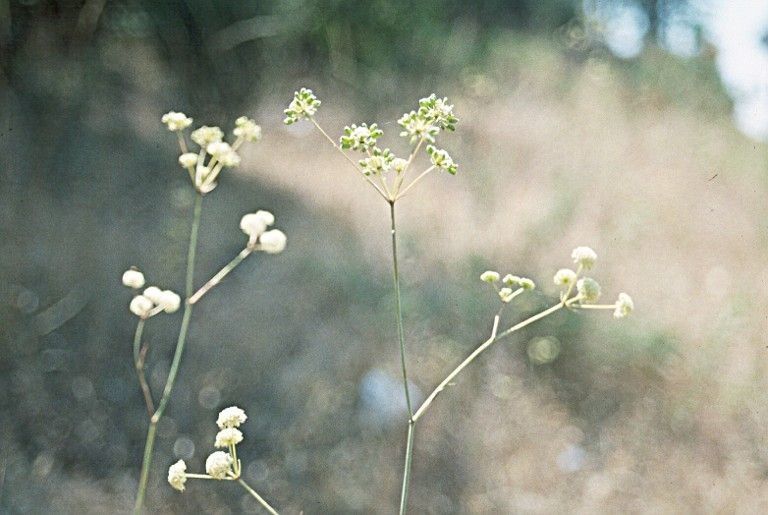
Hey there, fellow garden enthusiasts! Today, we’re diving into the wonderful world of propagating Perideridia bacigalupii, affectionately known as Bacigalupi’s yampah. This native wildflower is just a delight to have in the garden. Its delicate, airy flower clusters bring a touch of wild beauty, and truthfully, it’s quite a rewarding plant to grow from seed or division. If you’re a beginner looking to dip your toes into propagation, this one might be a tad more challenging than your average succulent cutting, but don’t let that deter you! With a little patience and this guide, you’ll be well on your way.
The Best Time to Start
For the highest success rate with Perideridia bacigalupii, late fall or early winter is your sweet spot. This is when the plant naturally goes dormant, and its energy is stored in its roots. Starting propagation around this time mimics its natural life cycle, giving your efforts the best chance to take hold. If you’re working with seeds, sowing them in the fall and letting them experience a natural period of cold stratification is ideal.
Supplies You’ll Need
Gathering your tools before you start makes the whole process much smoother. Here’s what I recommend:
- Well-draining potting mix: A good blend for natives often includes compost, coarse sand, and perlite.
- Sharp pruning shears or a clean knife: For making clean cuts.
- Small pots or seed trays: Depending on your chosen method. Make sure they have drainage holes!
- Watering can with a fine rose or spray bottle: Gentle watering is key.
- Labels: To keep track of what you’ve planted and when.
- Optional: Rooting hormone: While not always strictly necessary for Perideridia bacigalupii, it can give your cuttings a helpful boost.
Propagation Methods
Perideridia bacigalupii is primarily propagated through division and occasionally from seeds. Stem cuttings aren’t really a viable method for this particular plant due to its growth habit.
Division
This is my go-to method for propagating Perideridia bacigalupii. It’s best done when the plant is dormant, as mentioned earlier.
- Gently excavate: Carefully dig up the entire plant, being mindful of its root system. I like to use a garden fork to loosen the soil around the clump.
- Inspect the roots: You’ll usually find multiple crowns or distinct root masses. Look for natural separations where you can divide the plant.
- Make clean cuts: Using your sharp pruning shears or knife, carefully separate the clump into smaller sections. Each division should have at least one healthy root system and a few viable buds (where new shoots will emerge).
- Replant immediately: Pot each division into its own container filled with your well-draining mix, or replant them directly into your garden beds. Ensure the top of the root ball is at or just below soil level.
- Water thoroughly: Give your newly divided plants a good watering to settle the soil.
Seeds
Collecting seeds from established plants is also a fantastic way to increase your Perideridia bacigalupii population.
- Collect seeds: Let the flower stalks go to seed in late summer or fall. Harvest the seed heads when they turn brown and begin to dry.
- Dry and extract: Spread the seed heads on a screen or paper towel in a dry, airy location to fully dry for a week or two. Gently rub them to release the tiny seeds.
- Stratify (if sowing in spring): If you plan to sow seeds in spring, they’ll need a period of cold, moist stratification. Mix the seeds with a bit of damp (but not wet) peat moss or vermiculite in a sealed plastic bag. Store this in the refrigerator for 6-8 weeks.
- Sow: After stratification (or directly in fall), sow the seeds shallowly in pots or trays filled with your well-draining mix. You can sow them directly outdoors in fall too, allowing nature to do the stratifying.
- Keep moist and cool: For indoor sowing, keep the soil consistently moist and store the pots in a cool location (like a cold frame or unheated greenhouse) until germination, which can be slow and erratic. Germination often occurs in spring.
The “Secret Sauce” (Pro Tips)
Here are a few little tricks I’ve learned over the years that can make a big difference:
- Don’t overwater newly divided plants: While they need moisture, soggy soil is the enemy of roots. Err on the side of slightly too dry rather than too wet, especially in the initial stages.
- Patience with seeds is paramount: Perideridia bacigalupii seeds can be notoriously slow to germinate. Don’t get discouraged if nothing happens for weeks, or even months. Sometimes they have a mind of their own!
- Consider a light mulch: Once your divided plants or sown seeds are in place, a very light layer of mulch can help retain moisture and suppress weeds, but make sure it doesn’t smother delicate seedlings.
Aftercare & Troubleshooting
Once your divisions are established or seeds have sprouted, continued gentle care is important.
- Watering: Water regularly, allowing the soil to dry slightly between waterings. Aim to mimic natural rainfall patterns for this native.
- Light: Provide bright, indirect light for potted plants. If planted outdoors, they’ll appreciate a sunny spot.
- Fertilizing: Usually, Perideridia bacigalupii doesn’t require heavy fertilization. A light application of a balanced, slow-release organic fertilizer in spring can be beneficial if growth seems sluggish.
The most common sign of failure is rot, which is almost always due to overwatering and poor drainage. If you see wilting leaves that are yellowing or mushy at the base, it’s a bad sign. Similarly, if seeds or tiny seedlings develop a black, slimy appearance, rot has likely set in. Remove any affected material immediately and reassess your watering habits and soil.
A Encouraging Closing
Growing Perideridia bacigalupii from division or seed is a truly satisfying experience. It’s a chance to connect with this beautiful native in a deeper way. Remember to be patient with the process, and don’t be afraid to experiment a little. Every garden is different, and what works perfectly for me might need a slight tweak for you. Enjoy the journey, and happy gardening!
Resource: