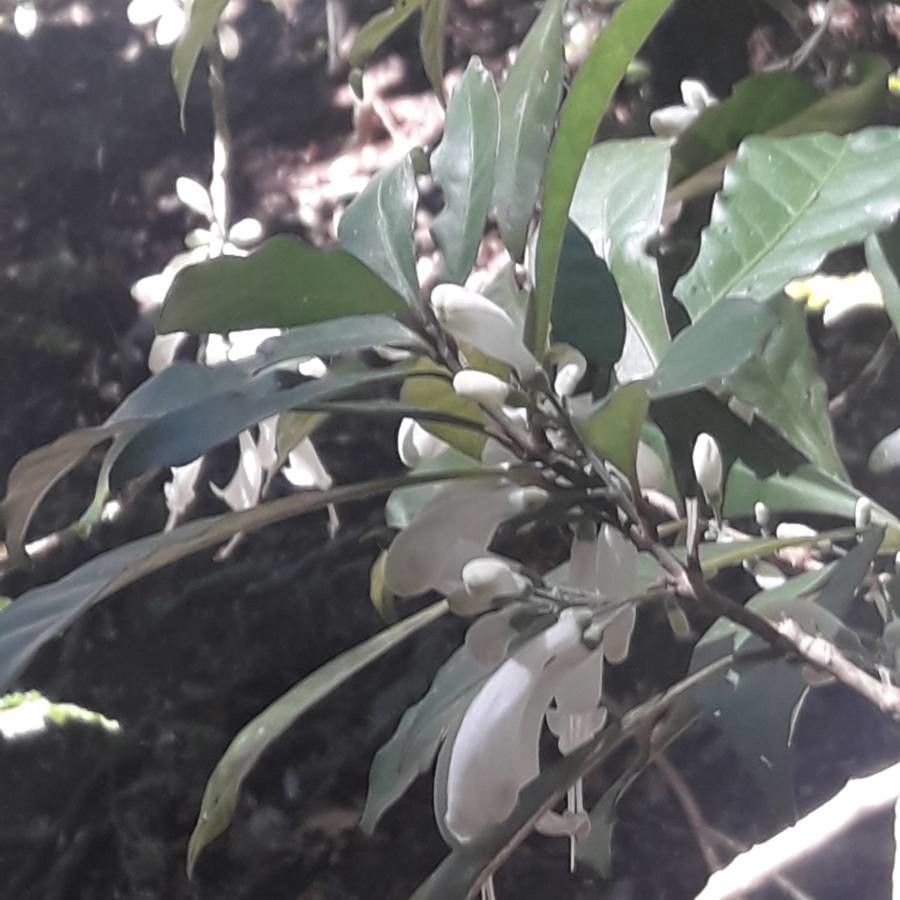
Hello fellow plant lovers! You know how I’m always on the lookout for those unique gems to add a little extra magic to our gardens? Well, let me tell you about Oxera microcalyx. This little beauty, with its delicate, bell-shaped flowers (often in shades of soft pink or white), brings such an elegant charm. If you’ve ever admired its understated beauty, you’re in for a treat because propagating it is a truly rewarding experience. It’s not quite a “throw it in the ground and forget it” kind of plant when it comes to starting new ones, but with a little care and practice, you’ll be a pro in no time.
The Best Time to Start
For Oxera microcalyx, the sweet spot for propagating is late spring to early summer. This is when the plant is actively growing, and you’ll find the most vibrant, healthy stems that are more likely to root successfully. Look for stems that are semi-hardwood – they’re not brand new and soft, but not old and woody either. You know, that perfect stage where they have a bit of give but are firm enough to hold their shape.
Supplies You’ll Need
To set yourself up for success, gather these bits and bobs:
- Sharp Pruning Shears or a Clean Knife: Essential for making clean cuts to avoid crushing the stems.
- Rooting Hormone: While not always strictly necessary, it can give your cuttings a significant boost! I prefer a powder or gel myself.
- Well-Draining Potting Mix: A mix of equal parts peat moss or coco coir and perlite or coarse sand is usually ideal. You want good aeration around those developing roots.
- Small Pots or Seed Trays: Clean, shallow containers are perfect.
- Plastic Bags or a propagator lid: To create a humid environment for your cuttings.
- Watering Can with a Fine Rose: For gentle watering.
- Labels and a Pen: So you don’t forget what you’ve planted where!
Propagation Methods
I’ve found the most reliable way to propagate Oxera microcalyx is through stem cuttings. Here’s how I go about it:
- Take Your Cuttings: On a warm, sunny morning, select healthy stems. Aim for cuttings about 4-6 inches long. Using your clean shears or knife, make a clean cut just below a leaf node. A leaf node is where a leaf attaches to the stem – this is where the magic happens for root development.
- Prepare the Cuttings: Gently remove the lower leaves from your cuttings, leaving just two to four leaves at the top. If the remaining leaves are very large, you can even cut them in half horizontally. This reduces water loss while the cutting is still trying to establish roots.
- Dip in Rooting Hormone (if using): Lightly moisten the cut end of the stem with water, then dip it into your rooting hormone. Tap off any excess.
- Plant Your Cuttings: Fill your small pots or trays with your well-draining mix. Make a small hole in the center with your finger or a pencil. Insert the cut end of the stem into the hole, ensuring the leaf nodes are buried in the soil. Gently firm the mix around the base of the cutting.
- Create a Humid Environment: Water gently to settle the soil. Then, cover the pots with a clear plastic bag, making sure the leaves don’t touch the plastic. If you have a propagator lid, that works beautifully too. This creates a mini greenhouse for your cuttings.
The “Secret Sauce” (Pro Tips)
Here are a couple of things that I’ve learned over the years that really seem to make a difference with trickier plants like this:
- Bottom Heat is Your Friend: If you have a heated propagator mat, use it! Consistent gentle warmth from below really encourages root development. It’s like giving your little cuttings a warm hug to get them going.
- Don’t Drench, Just Damp: It’s tempting to water heavily, but overwatering is the quickest way to rot your cuttings. Aim for the soil to be consistently damp, not waterlogged. You can tell if it’s too dry if the soil starts pulling away from the sides of the pot.
Aftercare & Troubleshooting
Once your cuttings are potted up, place them in a spot with bright, indirect light. Avoid direct sun, which can scorch those delicate new leaves. Keep an eye on the moisture levels, and resist the urge to peek too often!
The exciting part is spotting new leaf growth or a gentle tug revealing resistance – these are signs that roots have formed! Once you see this, you can gradually acclimatize them to normal humidity by opening the plastic bag a little more each day.
What if things go wrong? The most common issue is rot. If your cutting turns mushy and black, it’s probably gone too far. This is usually a sign of overwatering or poor air circulation. If you see a bit of mold, try increasing ventilation. If they simply fail to root after several weeks and look shriveled, it might be the conditions weren’t quite right, or the cutting wasn’t vigorous enough to start with. Don’t let it discourage you!
A Encouraging Closing
Propagating plants is a journey, and Oxera microcalyx is a lovely one to embark on. Be patient, be observant, and don’t be afraid to try again if your first attempt isn’t a roaring success. The joy of nurturing a new plant from a tiny cutting is truly one of gardening’s greatest pleasures. Happy propagating!
Resource:
https://identify.plantnet.org/k-world-flora/species/Oxera%20microcalyx%20Guillaumin/data