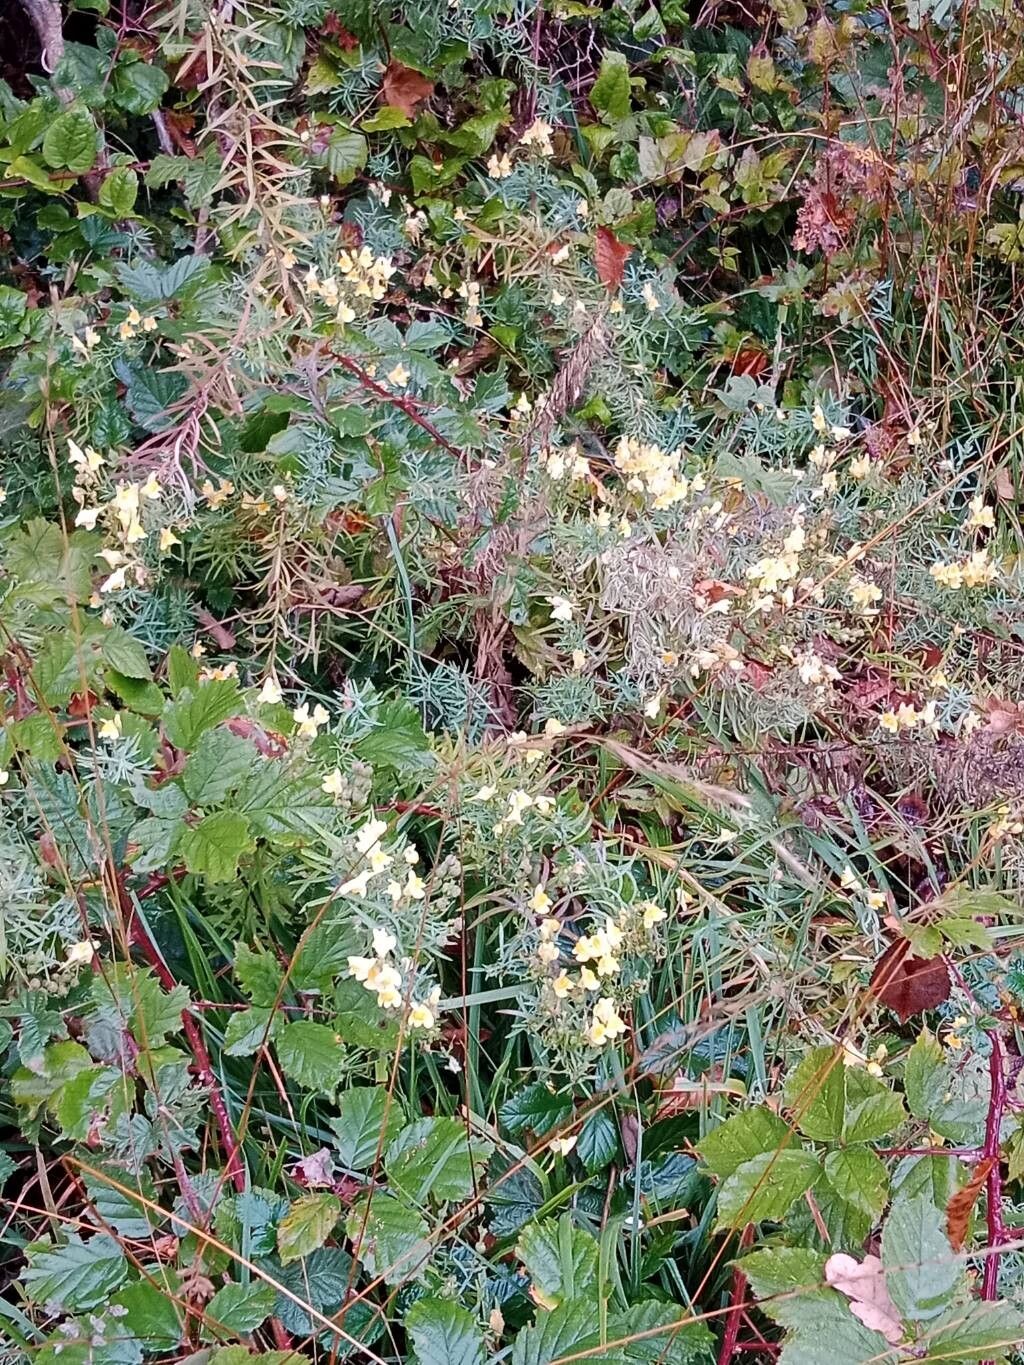
Hello, fellow garden enthusiasts! Today, I want to chat about one of my absolute favorite little gems: Linaria supina, often called creeping toadflax. If you haven’t met it yet, picture delicate, snapdragon-like flowers in shades of soft yellow, often with a charming orange lip, all nestled on trailing stems that love to weave their way through pots and along borders. It’s just a delight to watch it spill over the edges.
Propagating Linaria supina isn’t just a great way to get more of these cheerful plants for free; it’s also incredibly rewarding. Seeing a little stem you took from your favorite plant burst into life with new roots and leaves is such a satisfying feeling. For beginners, I’d say Linaria supina is delightfully easy to propagate. You really can’t go wrong with it!
The Best Time to Start
Generally, the late spring to early summer is your absolute sweet spot for starting new Linaria supina plants from cuttings. This is when the plant is actively growing and has plenty of energy to put into developing roots. You’re looking for stems that are flexible but not too soft and floppy – the kind that snap cleanly when bent.
Supplies You’ll Need
Here’s what I always have on hand when I’m propagating:
- Sharp pruning shears or a clean craft knife: For taking neat cuttings.
- A good quality potting mix: I like a blend that’s light and airy. A mix of peat moss, perlite, and a little bit of regular potting soil works wonders. For Linaria, I often add a bit more perlite for excellent drainage.
- Small pots or seed trays: Clean ones are a must!
- Plant labels: So you don’t forget what you planted where.
- Rooting hormone (optional but recommended): A liquid or powder can give your cuttings a little extra boost.
- A watering can with a fine rose: To water gently without disturbing the cuttings.
- A plastic bag or propagator lid: To create a humid environment.
Propagation Methods
For Linaria supina, I find stem cuttings to be the most effective and straightforward method.
- Take Your Cuttings: Head out with your clean shears and snip off stems that are about 3-4 inches long. Make the cut just below a leaf node, which is a point where leaves emerge from the stem. This is where the magic of root formation really happens.
- Prepare the Cuttings: Gently remove the lower leaves from each cutting, leaving only the top two or three sets of leaves. This prevents rot in the rooting medium and directs the plant’s energy into root development.
- Apply Rooting Hormone (Optional): If you’re using rooting hormone, dip the cut end of each stem into it, tapping off any excess.
- Plant Your Cuttings: Fill your small pots or seed tray with your prepared potting mix. Make a small hole in the center of the soil with your finger or a pencil. Gently insert the cutting into the hole, making sure the leaf nodes are below the soil surface. Firm the soil gently around the stem.
- Water and Cover: Water the soil thoroughly but gently. You want it moist, not waterlogged. Then, cover the pots with a plastic bag or propagator lid to create a humid microclimate. This helps prevent the cuttings from drying out before they can form roots.
The “Secret Sauce” (Pro Tips)
Here are a couple of things I’ve learned over the years that really make a difference:
- Don’t let the leaves touch the water if you use water propagation (though I primarily use soil cuttings for Linaria). Moisture trapped beneath leaves invites rot. Make sure any lower leaves are entirely removed.
- Consider giving your little cuttings a bit of bottom heat. A heated propagator mat or even placing your pots on top of a warm appliance (like a router!) can significantly speed up root formation. It mimics the warmth of spring soil beautifully.
- When taking cuttings, don’t be afraid to take plenty. Not every single one will take, but by having a good number, you greatly increase your chances of success.
Aftercare & Troubleshooting
Once your cuttings are planted in their moist, humid environment, the waiting game begins! Keep them in a bright spot, but out of direct, harsh sunlight. Check the soil moisture regularly – it should feel like a wrung-out sponge.
After a few weeks, you should start to see signs of new growth. You can gently tug on a cutting; if there’s resistance, roots are forming! Once they look well-rooted and you’re seeing new leaves emerge, it’s time to gradually acclimatize them to normal conditions. Remove the plastic cover for increasing periods each day over a week. Then, you can transplant them into their own individual pots.
The most common issue you might encounter is rot. If you see stems turning mushy and black, that’s usually a sign of too much moisture and not enough air circulation. In this case, unfortunately, it’s best to discard affected cuttings to prevent it from spreading. Ensure your soil drains well from the start, and don’t overwater.
Happy propagating, my friends! Be patient with your little cuttings. Gardening is all about the journey, and soon you’ll have a whole collection of these charming Linaria supina to enjoy. Happy growing!
Resource:
https://identify.plantnet.org/k-world-flora/species/Linaria%20supina%20(L.)%20Chaz./data