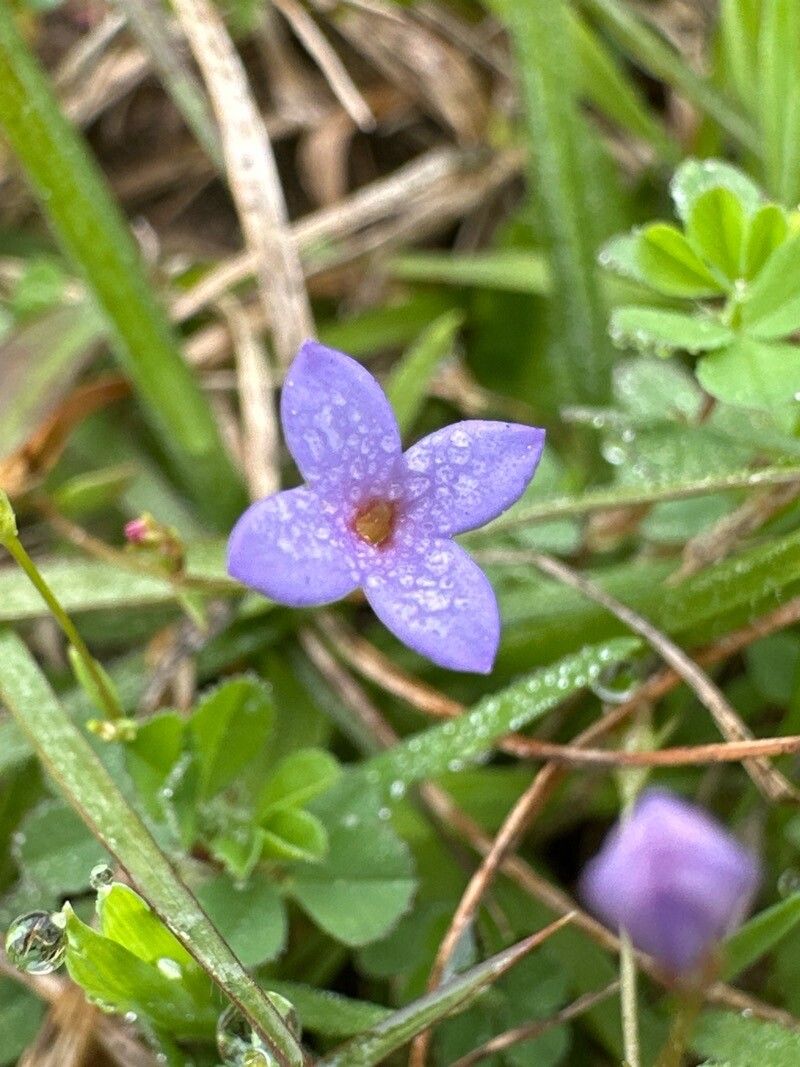
Oh, hello there, fellow garden enthusiast! So, you’ve fallen in love with the charming Houstonia pusilla, haven’t you? It’s those delicate little star-shaped flowers that just steal your heart, aren’t they? Tiny little bursts of white and pink, carpeting the ground in the most delightful way. Propagating these beauties is truly a joy, and I’m delighted you’re looking to expand your patch. And the good news? For those of us who love a bit of garden magic, Houstonia pusilla is surprisingly easy to propagate, even for beginners. It’s a wonderfully rewarding process, letting you enjoy more of that humble charm.
The Best Time to Start
When it comes to getting the best results with Houstonia, spring or early summer is your sweet spot. This is when the plant is actively growing and has a good reserve of energy. You want to catch it just as it’s starting to put on a strong growth spurt, before the heat of summer really kicks in. Look for nice, healthy stems that aren’t flowering yet – those are usually packed with vitality.
Supplies You’ll Need
Here’s what you’ll want to have on hand before you get started:
- Sharp, clean pruning shears or a sharp knife: For clean cuts, which are crucial.
- Seed-starting mix or a well-draining potting mix: Something that won’t hold too much moisture. A good mix of peat moss, perlite, and a little compost works wonders.
- Small pots or trays: Clean ones are best to avoid disease.
- Rooting hormone (optional): While not strictly necessary for Houstonia, it can give cuttings an extra boost.
- A watering can with a fine rose: For gentle watering.
- Plastic wrap or a clear plastic dome: To create a humid environment.
- Labels: To keep track of what you’ve propagated and when!
Propagation Methods
Houstonia pusilla is amenable to a few different methods, but for ease and reliability, let’s focus on two of my favorites: stem cuttings and division.
1. Stem Cuttings: The Speedy Route
This is my go-to for a quick boost.
- Select your cuttings: Find healthy, non-flowering stems that are about 2-4 inches long.
- Make the cut: Using your clean shears, make a clean cut just below a leaf node (where a leaf attaches to the stem). This is where the magic happens, where roots will emerge.
- Prepare the cutting: Gently remove the lower leaves from the stem, leaving just a couple of leaves at the top. This prevents them from rotting in the soil.
- Dip in rooting hormone (if using): I like to lightly dip the cut end into rooting hormone. Just a quick dip is all you need.
- Plant your cuttings: Stick about half an inch of the cutting into your prepared potting mix. Firm the soil gently around it.
- Create humidity: Lightly water the soil and then cover the pot with plastic wrap or your dome. This creates a mini-greenhouse effect, which is vital for cuttings to root.
- Placement: Place the pots in a bright spot, but out of direct sunlight. Too much sun will scorch those delicate new cuttings.
2. Division: The Patient Gardener’s Treat
If you have a mature clump, division is a fantastic way to get more plants and also rejuvenate the parent plant.
- Timing is key: Again, spring or early summer is best.
- Dig carefully: Gently dig up your Houstonia clump. Try to keep as much of the root ball intact as possible.
- Separate the divisions: Once it’s out of the ground, you can usually gently pull the clump apart with your hands. If it’s a bit stubborn, a trowel or even your fingers between the crowns can help. Aim for divisions with at least a few stems and some healthy roots.
- Replant immediately: Plant the divisions in their new homes, whether that’s back in the garden or in pots. Make sure the crown (where the stems meet the roots) is at soil level.
- Water them in: Water thoroughly to settle the soil and help the roots establish.
The “Secret Sauce” (Pro Tips)
Here are a couple of things I’ve learned over the years that make a real difference:
- Mist, don’t flood: When you’re misting your cuttings under the dome, don’t let the leaves sit in pooled water. A fine mist is enough to keep the humidity high without encouraging rot. If you see water accumulating on the leaves, gently dab it off with a paper towel.
- Bottom heat is your friend: For stem cuttings, placing your pots on a gentle heat mat can dramatically speed up root formation. It mimics the warmth of spring soil and really gives those roots a nudge. You can find these specifically for seedlings.
Aftercare & Troubleshooting
Once your cuttings show signs of rooting – perhaps new leaf growth or you feel a gentle resistance when you tug – you can start to acclimate them.
- Gradually increase ventilation: If you have them covered, slowly remove the plastic wrap or dome over a few days to get them used to the ambient humidity.
- Continue gentle watering: Keep the soil consistently moist, but not waterlogged. Don’t let them dry out completely.
- Troubleshooting: The most common issue you might face is rot. If you see your cuttings turning mushy or black, it’s usually a sign of too much moisture and not enough air circulation. Ensure your soil is well-draining and don’t overwater. If a cutting does rot, remove it immediately to prevent it from affecting others.
A Little Patience Goes a Long Way
So there you have it! Propagating Houstonia pusilla is a delightful way to fill your garden with these little wonders. Remember to be patient, celebrate every little success, and most importantly, enjoy the process of nurturing new life. Happy gardening!
Resource:
https://identify.plantnet.org/k-world-flora/species/Houstonia%20pusilla%20Schoepf/data