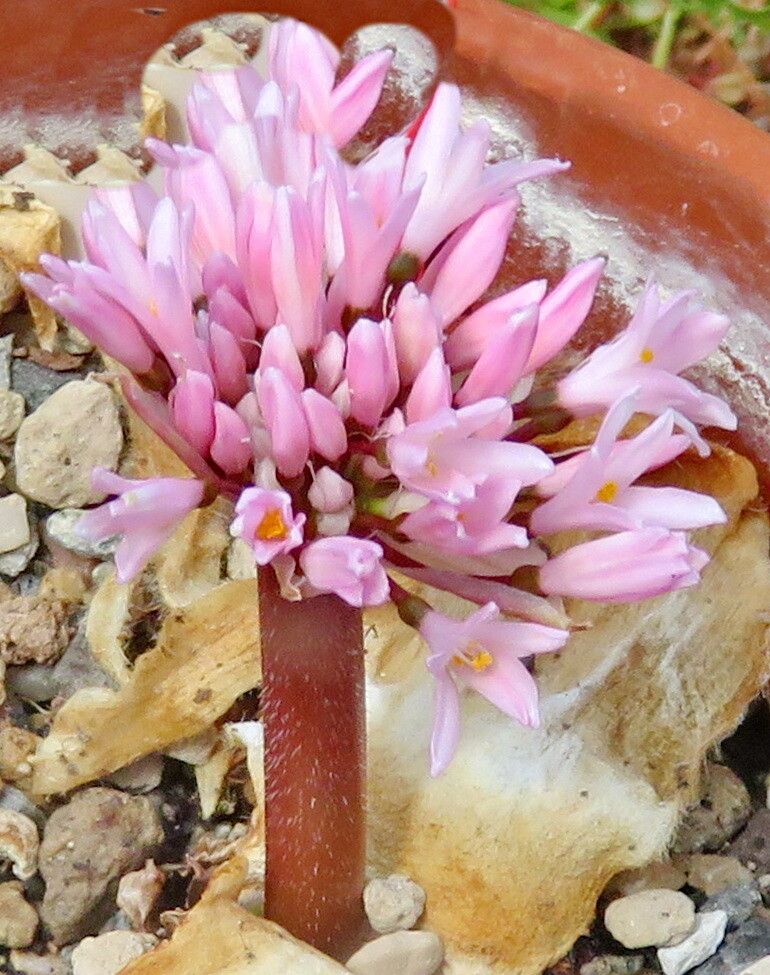
Hello, fellow plant lovers! Today, I want to share a little bit about a bulb that has absolutely captured my heart: Haemanthus carneus. You might know it as the “Blood Lily” or “Pincushion Flower,” and honestly, its charm is undeniable. Those vibrant, brush-like flower heads, often in shades of rosy pink and coral, are a real showstopper.
Propagating these beauties might sound a little daunting at first, but I promise you, it’s an incredibly rewarding journey. Seeing a tiny new plant emerge from a piece of its parent is like magic, and with a little know-how, you can multiply your own little patch of H. carneus. For beginners, I’d say it’s moderately easy, leaning towards the easier side if you follow these steps carefully.
The Best Time to Start
The stars align for propagating Haemanthus carneus in late spring to early summer. This is when the plant is typically finishing its flowering cycle and entering a period of active growth. You’ll want to wait until after the blooms have faded and the seed pods (if any) have started to dry or fall. This ensures the bulb has stored up plenty of energy to put into new roots and shoots.
Supplies You’ll Need
- Sharp, sterile pruning shears or a clean knife: For making clean cuts.
- Well-draining potting mix: A good blend for bulbs is crucial. I often use a mix of equal parts peat moss, perlite, and coarse sand. Some people add a bit of compost, which is fine too, as long as drainage isn’t sacrificed.
- Small pots or trays: Terracotta pots are great because they allow the soil to breathe.
- Rooting hormone (optional but recommended): A powder or gel can give your cuttings a nice boost.
- Watering can with a fine rose: For gentle watering.
- Labels and a permanent marker: To keep track of your projects!
Propagation Methods
The most successful way I’ve found to propagate Haemanthus carneus is through division, and sometimes, by carefully harvesting offshoots.
Division Method (The Most Reliable):
- Gentle Excavation: When your H. carneus is dormant or just finishing flowering, carefully dig up the entire clump. You might need to gently loosen the soil around it with a trowel.
- Cleaning the Bulbs: Gently brush away excess soil from the bulbs. You want to see where the natural divisions are.
- Separating the Offshoots: Look for smaller bulbs or offsets attached to the main bulb. With a sharp, sterile knife or your fingers, carefully separate these offsets. Make sure each offset has at least a small section of the bulb and ideally, a tiny bit of root or a small basal plate where roots will form.
- Allowing to Dry (Optional): Some gardeners like to let their separated offsets air dry for a day or two in a warm, dry spot. This helps any cut surfaces callus over, reducing the risk of rot. I usually do this, especially if the cuts are more significant.
- Potting Up: Plant each offset in its own small pot filled with your well-draining mix. Bury the bulb so that the top third is visible above the soil surface. Don’t pack the soil too tightly.
- Initial Watering: Water gently to settle the soil.
Offsetting from the Bulb:
Sometimes, large, established bulbs will produce small bulblets around the base.
- Locate the Offsets: When you repot your H. carneus, you might notice these little guys.
- Careful Separation: Using a sharp knife, carefully cut away any offsets that have started to form their own basal plate. It’s better to take a slightly larger piece of the main bulb with the offset than to try and force a tiny bit off.
- Proceed with Potting: Follow steps 4-6 from the division method.
The “Secret Sauce” (Pro Tips)
- Patience is Key with Callusing: Don’t rush the air-drying step, especially if you’ve made larger divisions. A well-callused surface is your best defense against rot, which is the number one enemy of bulb propagation.
- Bottom Heat Works Wonders: If you have access to a propagator or a heat mat, placing your potted divisions on it can significantly speed up root development. We’re talking about a consistent temperature around 70-75°F (21-24°C). This warmth signals to the bulb that it’s time to get to work.
- Water Sparingly, but Thoroughly: Once potted, I usually wait a few days before the first good watering. After that, water only when the top inch of soil feels dry. Overwatering is far more detrimental than underwatering at this stage.
Aftercare & Troubleshooting
Once you’ve potted your divisions, place them in a bright spot, but out of direct, harsh sunlight. Keep the soil consistently moist but not soggy.
You’ll know you’re on the right track when you start to see new leaf growth or feel resistance when gently tugging on the bulb. This usually takes a few weeks, but can sometimes take a couple of months, especially if you didn’t use bottom heat.
The most common sign of failure is rot. If your bulb turns mushy, smells foul, or looks dark and black, it’s likely succumbing to rot. This is usually a sign of too much moisture and not enough air circulation. Sadly, if rot sets in, it’s very difficult to save the bulb.
A Encouraging Closing
Propagating Haemanthus carneus is a journey of patience and observation. Don’t get discouraged if your first attempt isn’t a spectacular success. Each bulb is an individual, and sometimes they just need a little extra time to get going. Enjoy the process of nurturing these tiny new life forms. Before you know it, you’ll have a collection of these stunning blooms to share! Happy gardening!
Resource:
https://identify.plantnet.org/k-world-flora/species/Haemanthus%20carneus%20Ker%20Gawl./data