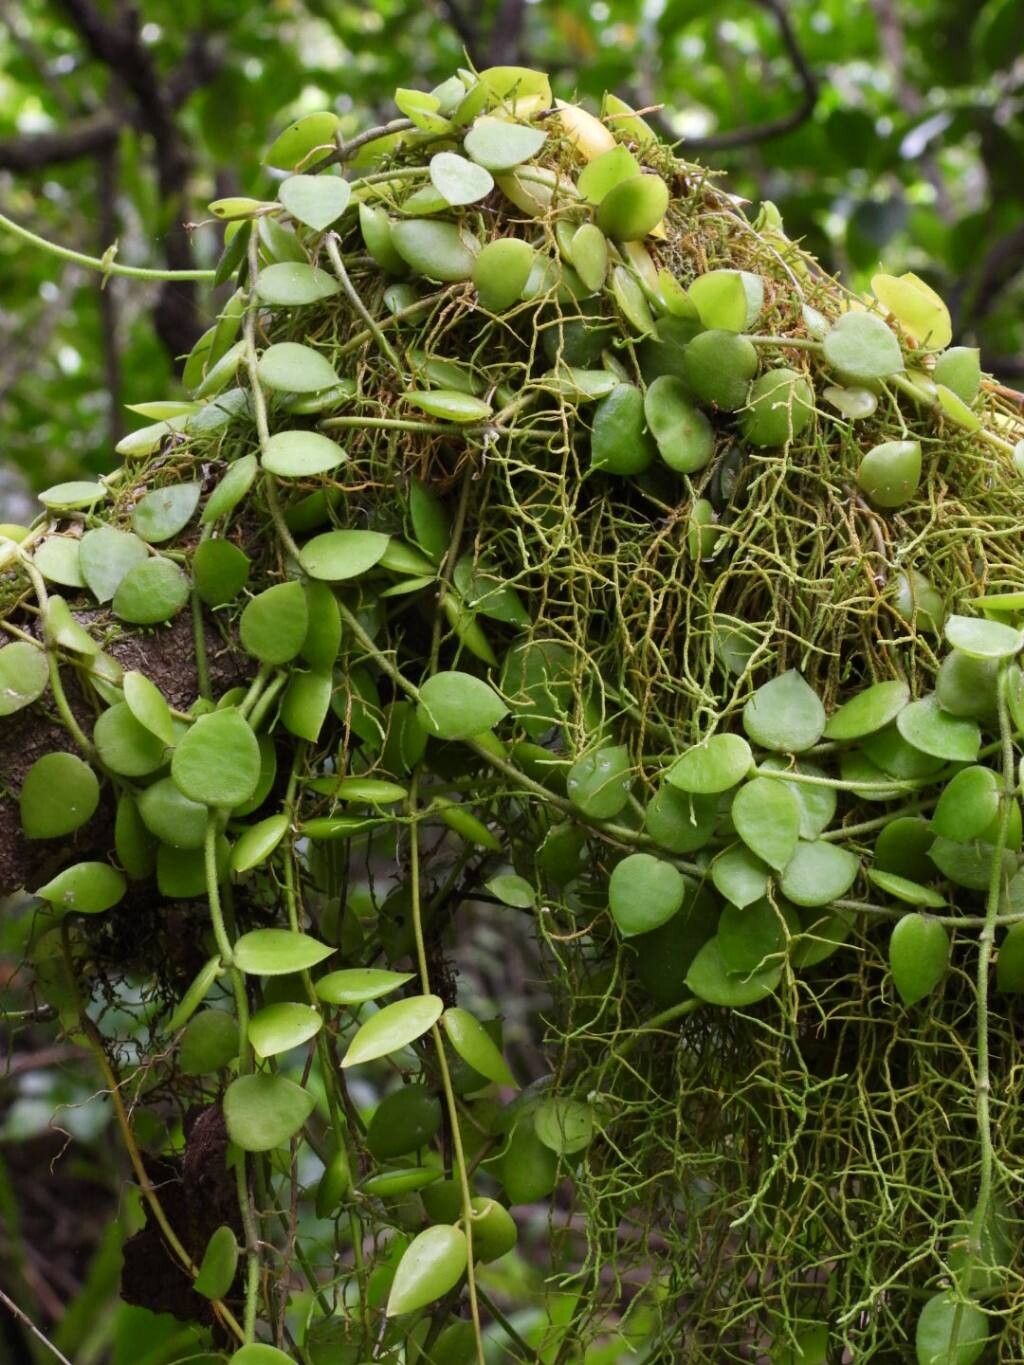
Hello fellow plant lovers! Today, we’re diving into the delightful world of Dischidia immortalis. If you’re drawn to plants that seem to defy the odds, this one’s for you. With its unique, somewhat succulent leaves that have a gorgeous, almost waxy sheen, Dischidia immortalis adds a touch of the exotic to any hanging basket or terrarium. And the best part? Propagating it is incredibly rewarding. You get to watch these little beauties multiply, making it a fantastic plant to share with friends or to simply expand your own collection. For beginners, I’d say this plant falls into the “moderately easy” category. With a little patience and the right approach, you’ll be a pro in no time.
The Best Time to Start
When it comes to Dischidia immortalis, spring and early summer are your golden ticket. This is when the plant is actively growing and has the most energy to put into developing new roots. You’ll also have longer daylight hours, which helps fuel that growth. Trying to propagate during a plant’s dormant period is like asking it to run a marathon on an empty stomach – it’s just not going to go well. So, wait for those warmer months when your plant is feeling its most robust.
Supplies You’ll Need
Gathering your supplies beforehand can make the whole process much smoother. Here’s what you’ll want on hand:
- Sharp pruning shears or scissors: Clean cuts are crucial!
- Potting mix: A well-draining mix is essential. I like to use a blend of good quality potting soil with perlite or orchid bark to ensure excellent aeration. For Dischidia, I often add extra perlite to my standard mix.
- Small pots or shallow trays: Whatever you choose, make sure they have drainage holes.
- Rooting hormone (optional but recommended): This can give your cuttings a significant boost.
- Spray bottle: For keeping things lightly misted.
- Clear plastic bag or dome: To create a humid environment.
Propagation Methods
Dischidia immortalis is a trooper and readily propagates from stem cuttings. This is my go-to method, and it’s by far the most reliable.
Stem Cuttings: The Tried and True Way
- Take Your Cuttings: Using your clean shears, select a healthy stem on your mother plant. Look for a stem that has at least two or three sets of leaves. Make a clean cut just below a leaf node. A leaf node is where a leaf attaches to the stem – this is where roots will emerge from.
- Prepare the Cuttings: Gently remove the leaves from the bottom node(s) of your cutting. You want to expose at least one or two bare nodes. If the leaves are very large, you can even cut them in half to reduce moisture loss, but for Dischidia, this is usually not necessary.
- Apply Rooting Hormone (Optional): If you’re using rooting hormone, dip the cut end of the stem into the powder or gel, tapping off any excess. This step really helps things along.
- Plant Your Cuttings: Fill your small pots or trays with your well-draining potting mix. Make a small hole in the soil with your finger or a pencil. Insert the barer nodes of your cutting into the soil, ensuring they are nestled in. You can plant multiple cuttings in the same pot, giving them a little space.
- Water Gently: Water the soil lightly, just enough to settle it around the cutting. You don’t want to saturate it.
- Create Humidity: This is key for Dischidia. Cover the pot with a clear plastic bag or a propagation dome. This traps moisture and creates a mini-greenhouse effect. You can secure the bag with a rubber band around the pot.
- Find a Warm Spot: Place your pots in a warm location with bright, indirect light. Avoid direct sun, as this can scorch the delicate cuttings.
The “Secret Sauce” (Pro Tips)
My years of propagating have taught me a few things that make a real difference.
- Don’t Drown Your Cuttings: While humidity is good, sitting in soggy soil is the quickest way to rot out your cuttings. Ensure your potting mix is airy and allow the very top layer to dry slightly between waterings. If you see condensation dripping all over the inside of your plastic bag, it’s too wet.
- Bottom Heat Works Wonders: If you have a propagation mat or can place your pots on a warm surface (like on top of a gently humming refrigerator), this can significantly speed up root development. The warmth encourages the plant to send out those vital roots.
Aftercare & Troubleshooting
Once your cuttings have been in their humid environment for a few weeks, you’ll start to see signs of new growth. This is a great indicator that roots are forming!
- Acclimatize Slowly: Once you see new leaves emerging, you can gradually begin to introduce your new plants to lower humidity. This means opening the plastic bag a little each day over the course of a week or so. Eventually, you’ll remove the bag entirely.
- Watering New Plants: Continue to water sparingly. Let the top inch of soil dry out before watering again. Your young plants will be more sensitive to overwatering.
- Troubleshooting Rot: The most common problem is rot. If you notice a stem turning black or mushy, it’s usually a sign of too much moisture. Remove the affected cutting immediately to prevent it from spreading to others. If the soil is too wet, try to gently wick away excess moisture with a paper towel.
A Warm Farewell
Propagating Dischidia immortalis is a lovely way to connect with your plants and expand your green haven. Be patient, my friends. Nature has its own timeline, and with a little care and attention, you’ll be rewarded with new life. Enjoy the process, savor the small victories, and happy growing!
Resource:
https://identify.plantnet.org/k-world-flora/species/Dischidia%20immortalis%20Guillaumin/data