Bringing More Beauty: Propagating Crocus sieberi
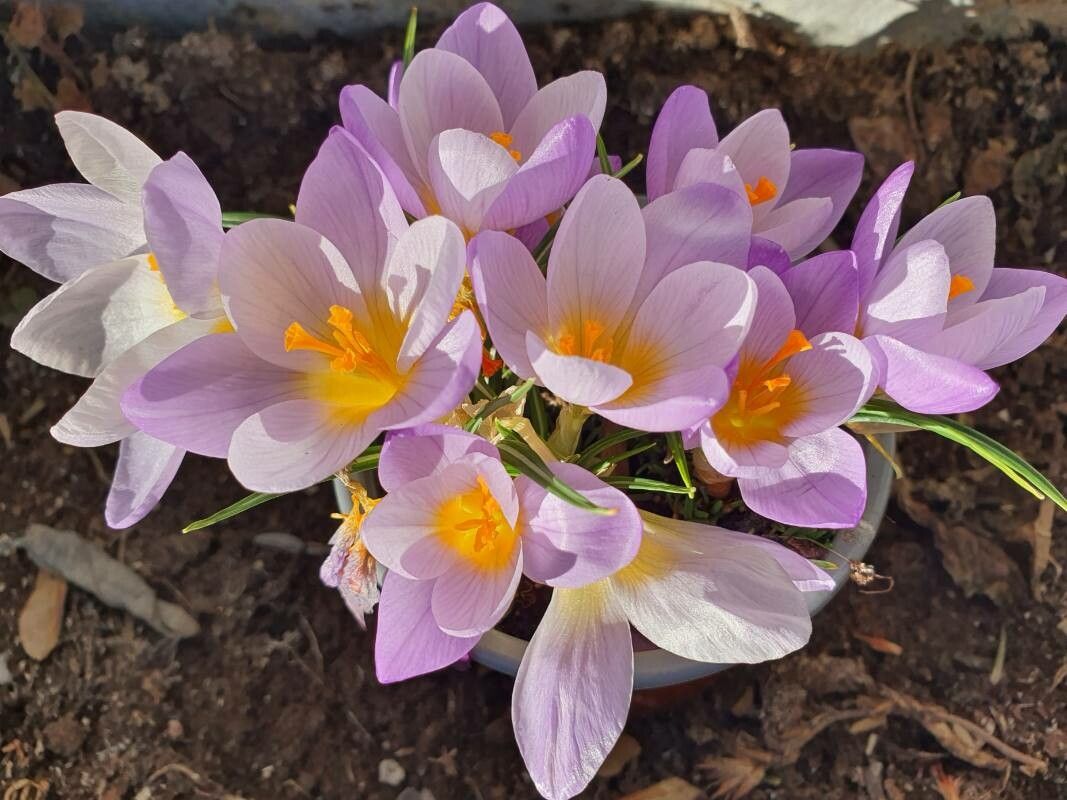
Oh, Crocus sieberi! There’s just something so magical about seeing those little cups of color push through the still-chilly earth each spring. I’ve been gardening for two decades now, and every year, the first glimpse of these cheerful blooms brightens my world. And you know what’s even more rewarding? Growing them yourself! If you’ve fallen in love with a particular variety of Crocus sieberi and want more, the good news is, it’s quite achievable. For beginners, I’d say it’s moderately easy – a little patience and a few key steps, and you’ll be well on your way to a garden full of these beauties.
When to Get Your Hands Dirty
The absolute best time to propagate these little gems is after they’ve finished flowering and their foliage has started to die back. This typically happens in late spring or early summer for most garden settings. You’ll see the green leaves turn yellow and then brown. This is the cue that the plant is entering its dormant phase, and it’s the perfect moment to divide or transplant to get the most vigorous results. Trying to propagate when they’re actively growing or in full bloom will just stress them out, and nobody wants that!
Your Propagation Toolkit
Gathering your supplies beforehand makes the whole process so much smoother. Here’s what I usually have on hand:
- A sharp, clean knife or small trowel: For gently separating the corms.
- Well-draining potting mix: Something like a mix of peat moss, perlite, and compost works wonderfully. You want to avoid soggy soil at all costs.
- Small pots or seedling trays: Enough to house your new divisions.
- Optional: A rooting hormone powder: While not strictly necessary for Crocus sieberi, it can give an extra boost.
- Labels and a permanent marker: So you don’t forget what you planted where!
Letting New Life Take Root: Division is Key
For Crocus sieberi, division is by far the easiest and most successful method of propagation. These plants grow from corms, which are basically modified stems that store food. Over time, these corms multiply underground, forming little clusters.
Here’s how I tackle it:
- Dig Carefully: Gently dig up the clump of corms when their foliage has completely withered. Try to get as much of the root system as possible. I usually start by loosening the soil around the edges with my trowel and then carefully lifting the whole thing.
- Inspect and Separate: You’ll see the main corm, and usually, smaller cormels attached to it or nearby. Carefully break apart or cut the cormels from the parent corm. If you use a knife, make sure it’s clean to prevent any disease transmission.Discard any corms that look mushy, diseased, or damaged.
- Allow to Dry (Optional but Recommended): I like to let the separated corms sit in a dry, shady spot for a day or two. This helps them callous over any cuts and reduces the risk of rot when planted.
- Plant Them Up: Fill your pots or trays with your well-draining potting mix. Plant each corm about 2-3 inches deep, with the pointy end up. Give them a little space – about 3-4 inches between them if planting in a tray.
- Water Lightly: Give them a gentle watering to settle the soil.
My Little “Secret Sauce” Tips
Over the years, I’ve learned a few tricks that seem to make all the difference.
- Don’t Overcrowd: This is crucial for crocuses. When you divide, really separate them. If they are too close, they’ll compete for resources, and you’ll end up with weaker plants, or none at all. Give each little corm its own space to shine.
- Think About Dormancy: Remember, these guys are going to sleep for a while after you plant them. Don’t panic if you don’t see anything happening for weeks or even months. They need that time to establish their roots underground before sending up new growth. Resist the urge to poke around and check on them constantly!
Nurturing Your New Sprouts
Once your corms are planted, your primary job is to keep the soil just barely moist, not wet. Overwatering is the quickest way to lose a propagated corm to rot. Think of it like giving them a sip, not a soak. You can keep them in their pots in a cool, dry, and dark place until you see signs of new growth.
If you’re not seeing growth after a couple of months, don’t despair. They might just be taking their sweet time. However, if you suspect rot, you might notice a foul smell or the corms turning to mush. If you dig one up and it’s all soft and brown, it’s likely gone. Discard it and check the others to make sure they’re still firm.
The Joy of Watching Them Grow
Propagating Crocus sieberi is a wonderful way to expand your collection of these early bloomers. It’s a patient process, for sure, but trust me, the reward of seeing those first colorful shoots emerge from the soil, knowing you helped them get there, is absolutely worth it. So, go ahead, get your hands a little dirty, and enjoy the journey! You’ll be bringing more splashes of spring joy to your garden in no time.
Resource:
https://identify.plantnet.org/k-world-flora/species/Crocus%20sieberi%20J.Gay/data