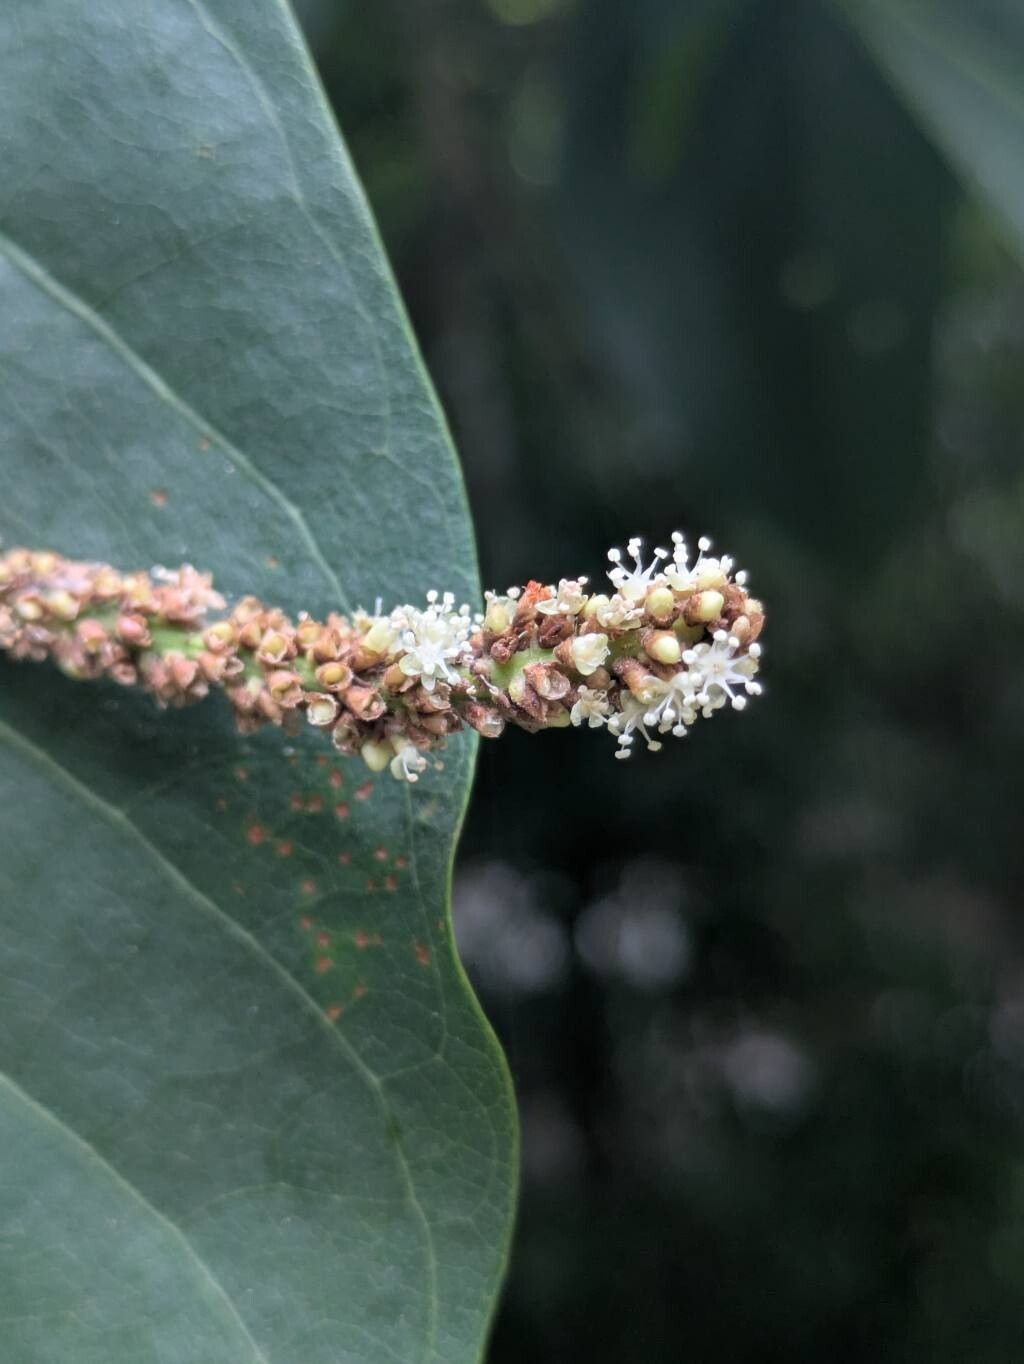
Oh, hello there! It’s so lovely to have you join me. Today, we’re going to talk about a plant that truly captures my heart with its beautiful, glossy leaves and the charming clusters of fruit it sometimes offers: Coccoloba obtusifolia. Also known as Pigeon Plum, it’s a real stunner, especially if you’re looking for something that brings a touch of the tropics to your space. Propagating it myself has always felt like a special kind of magic, and I’m thrilled you’re curious about it!
While it’s not the absolute easiest plant for a complete beginner, Coccoloba obtusifolia is definitely achievable with a little patience and understanding. Don’t let that deter you! With these steps, I’m confident you’ll feel prepared to give it a try.
The Best Time to Start
My best advice? Aim for late spring or early summer. This is when the plant is in full swing, actively growing, and bursting with energy. New growth is usually softer and more adaptable, making it more receptive to rooting. Trying during its dormant period is just asking for a harder time.
Supplies You’ll Need
Gathering your tools beforehand makes the whole process so much smoother. Here’s what I always have on hand:
- Sharp, clean pruning shears or a knife: Essential for making clean cuts.
- Rooting hormone powder: This is a real game-changer for encouraging root development.
- Well-draining potting mix: A blend of perlite, vermiculite, and peat moss works wonders. You can also use a mix specifically designed for cuttings.
- Small pots or trays: Clean containers are a must to prevent disease.
- Plastic bags or a propagator: To create a humid environment.
- Watering can or spray bottle: For gentle watering.
- Labels: To keep track of your precious cuttings!
Propagation Methods
For Coccoloba obtusifolia, I’ve found stem cuttings to be the most reliable method. Here’s how I do it:
- Select Your Cuttings: Look for healthy, semi-hardwood stems. These are stems that are no longer brand new and green but haven’t fully hardened into woody branches yet. They’ll have a bit of flexibility. Aim for cuttings about 4-6 inches long.
- Make the Cut: Using your sterilized pruning shears, make a clean cut just below a leaf node (where a leaf attaches to the stem). This is where the magic happens for rooting.
- Prepare the Cutting: Gently remove the lower leaves from the stem, leaving just a few at the top. This prevents them from rotting in the soil and directs the plant’s energy towards root formation.
- Apply Rooting Hormone: Dip the cut end of the stem into a small amount of rooting hormone powder. Tap off any excess. This is like giving your cutting a little boost of encouragement to grow roots.
- Plant Your Cuttings: Moisten your well-draining potting mix and fill your pots or trays. Make a small hole in the center with your finger or a pencil and carefully insert the cutting, ensuring the root hormone stays on the cut end. Gently firm the soil around the stem.
- Create Humidity: Water the soil gently. Then, cover the pot with a plastic bag or place it inside a propagator. Ensure the leaves don’t touch the plastic. This creates a mini greenhouse, keeping humidity high, which is crucial for cuttings to root.
The “Secret Sauce” (Pro Tips)
Now for a couple of little secrets that have made all the difference for me:
- Bottom Heat is Your Friend: If you have an old heating mat that you use for seedlings, now’s the time to break it out! Placing your pots on a gentle heat source can significantly speed up root formation. It mimics the warmth of summer soil.
- Don’t Overwater, but Keep it Consistent: This is a fine line! You want the soil to be consistently moist, but never soggy. Soggy soil is a one-way ticket to rot. I like to check the moisture level by gently poking my finger into the soil. If it feels dry an inch down, it’s time for a light watering.
- Air Circulation Matters: While you want humidity, stagnant air can encourage fungal diseases. Open the plastic bag or propagator for a short period each day, maybe 15-30 minutes, to allow for some air exchange.
Aftercare & Troubleshooting
Once you start seeing new leaf growth emerging from your cutting, that’s a fantastic sign that roots are forming! At this point, you can gradually acclimate your new plant by slowly opening the plastic bag or propagator over a few days. Continue to keep the soil consistently moist and provide bright, indirect light.
The main thing to watch out for is rot. If a cutting turns black and mushy, it’s a sign that it’s gotten too much moisture, or perhaps not enough air circulation. Unfortunately, rotted cuttings are usually beyond saving. Don’t get discouraged if a few don’t make it; it’s part of the learning process!
And there you have it! Propagating Coccoloba obtusifolia is such a rewarding journey. Remember to be patient with your little plant babies. It takes time for them to establish themselves. Enjoy the process, celebrate every new leaf, and soon you’ll have a whole collection of your own beautiful Pigeon Plums! Happy gardening!
Resource:
https://identify.plantnet.org/k-world-flora/species/Coccoloba%20obtusifolia%20Jacq./data