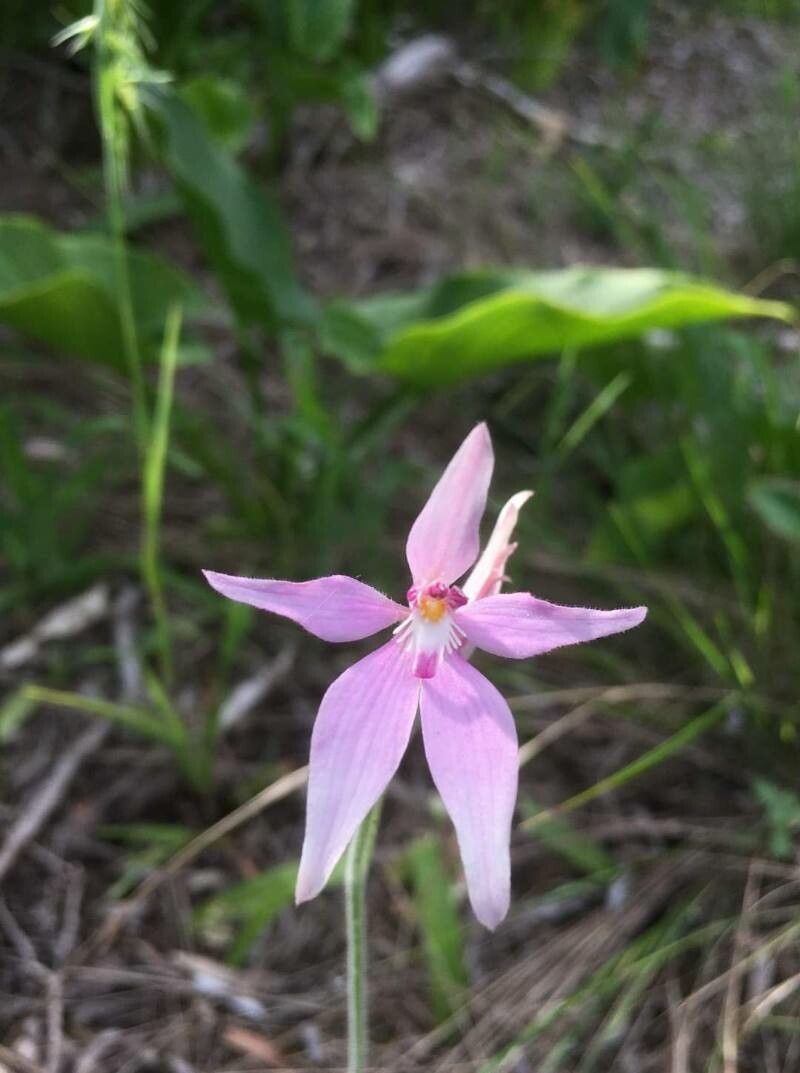
Hello, fellow garden enthusiasts! Today, we’re diving into the wonderful world of propagating Caladenia latifolia, or as many of us lovingly call them, White Spider Orchids. These delicate beauties, with their elegant white petals and subtle, sweet fragrance, are a true gem in any garden. Watching a new plant sprout from your efforts is incredibly satisfying, a little bit of gardening magic. Now, can I be honest? Caladenias are not the easiest plants for absolute beginners to propagate. They have a bit of a finicky nature, but with a little patience and the right approach, you can absolutely achieve success.
The Best Time to Start
For the highest success rate with Caladenia latifolia, the late spring or early summer is your golden window. This is when the parent plant is typically finishing its flowering cycle and entering its active growth phase. You’re looking for healthy, mature growths. Avoid trying to propagate from a plant that looks stressed or is just coming out of dormancy – give it a chance to get back on its feet!
Supplies You’ll Need
Getting your supplies ready is half the battle! Here’s what I always have on hand:
- Sharp, sterilized pruning shears or a clean razor blade: Essential for making clean cuts.
- A well-draining potting mix: I lean towards a specialized orchid mix or a blend of fine bark, perlite, and a bit of sphagnum moss. The key is excellent aeration.
- Small propagation pots or trays: Anything that’s clean and holds moisture without becoming waterlogged.
- Hormone rooting powder (optional but recommended): While some plants root readily, a little boost can help here.
- A spray bottle: For gentle misting.
- A clear plastic bag or propagator lid: To create a humid environment.
- Labels: You’ll thank me later when you have multiple projects going!
Propagation Methods
For Caladenia latifolia, the most effective method is generally by division. These orchids tend to form clumps over time, and separating these clumps is a natural way to multiply your plants.
Here’s how I do it:
- Gently excavate the parent plant: Carefully remove the clump from its pot. Be as gentle as possible with the roots. If it’s deeply established in your garden bed, you might only be able to expose a section.
- Identify natural divisions: Look for sections of the tuberous roots that have naturally separated or are showing signs of new growth. You might see distinct pseudobulbs or leafy shoots.
- Make clean cuts: Using your sterilized shears or razor blade, carefully cut through the rhizome or tuber that connects the divisions. If you’re unsure, it’s better to aim for smaller, healthy divisions than to try and split a large clump unevenly.
- Allow to air dry (crucial!): This is a step many people overlook. Let the cut surfaces on both the new divisions and the parent plant air dry for at least 24-48 hours in a shaded, well-ventilated spot. This helps to callous over the cuts, preventing fungal infections.
- Potting up your divisions:
- Prepare your pots: Fill your clean pots with your prepared well-draining mix.
- Apply rooting hormone (optional): If using, lightly dip the cut end of your division into the rooting hormone, tapping off any excess.
- Planting: Place the division in the pot, ensuring the top of the tuber is just at or slightly below the surface of the potting mix. Don’t pack the soil tightly.
- Initial watering: Lightly water to settle the mix. Avoid drenching.
The “Secret Sauce” (Pro Tips)
Here are a few things I’ve learned over the years that make a real difference with these finicky orchids:
- Don’t overwater, ever! This is probably the single biggest mistake people make. Caladenia latifolia are susceptible to rot. Think consistently damp, not soggy. I often wait until the surface of the mix just starts to dry out before watering again.
- Humidity is your friend (initially): Once potted, place your new divisions in a propagator or cover them with a clear plastic bag. This keeps the humidity high, which is vital for encouraging root development. Make sure to vent it daily for a few minutes to allow fresh air in and prevent mold.
- Think about bottom heat: If you’re propagating earlier in the season or in a cooler spot, a gentle bottom heat mat can significantly speed up root formation and increase your success rate. Keep it consistent, around 70-75°F (21-24°C).
Aftercare & Troubleshooting
Once your new divisions are potted, the waiting game begins!
- Keep them in a bright, indirect light location. Avoid direct sun, which can scorch delicate new growth and overheat the propagator.
- Continue misting as needed to maintain humidity.
- Be patient! It can take several weeks, sometimes even a couple of months, for you to see signs of new growth or feel resistance when gently tugging the pot (a sign of roots!).
- Watch out for rot: The most common sign of failure is rot. If you see the tuber turning mushy and black, or the leaves wilting rapidly and turning brown, it’s usually a sign of too much moisture. Unfortunately, if rot sets in deeply, it can be hard to save. You might be able to cut away the rotted parts and try to save a healthy section, but it’s a long shot.
- Pests? Keep an eye out for typical orchid pests like mealybugs or spider mites, though they are less common on dormant tubers.
A Little Encouragement
Propagating orchids, especially ones with a bit of personality like Caladenia latifolia, is a journey. There will be triumphs and perhaps a few learning moments. Don’t get discouraged if your first attempt isn’t a runaway success. Each plant is a unique experiment, and the process of nurturing it, watching for those first tentative roots, is incredibly rewarding. Enjoy the slow reveal, and happy growing!
Resource:
https://identify.plantnet.org/k-world-flora/species/Caladenia%20latifolia%20R.Br./data