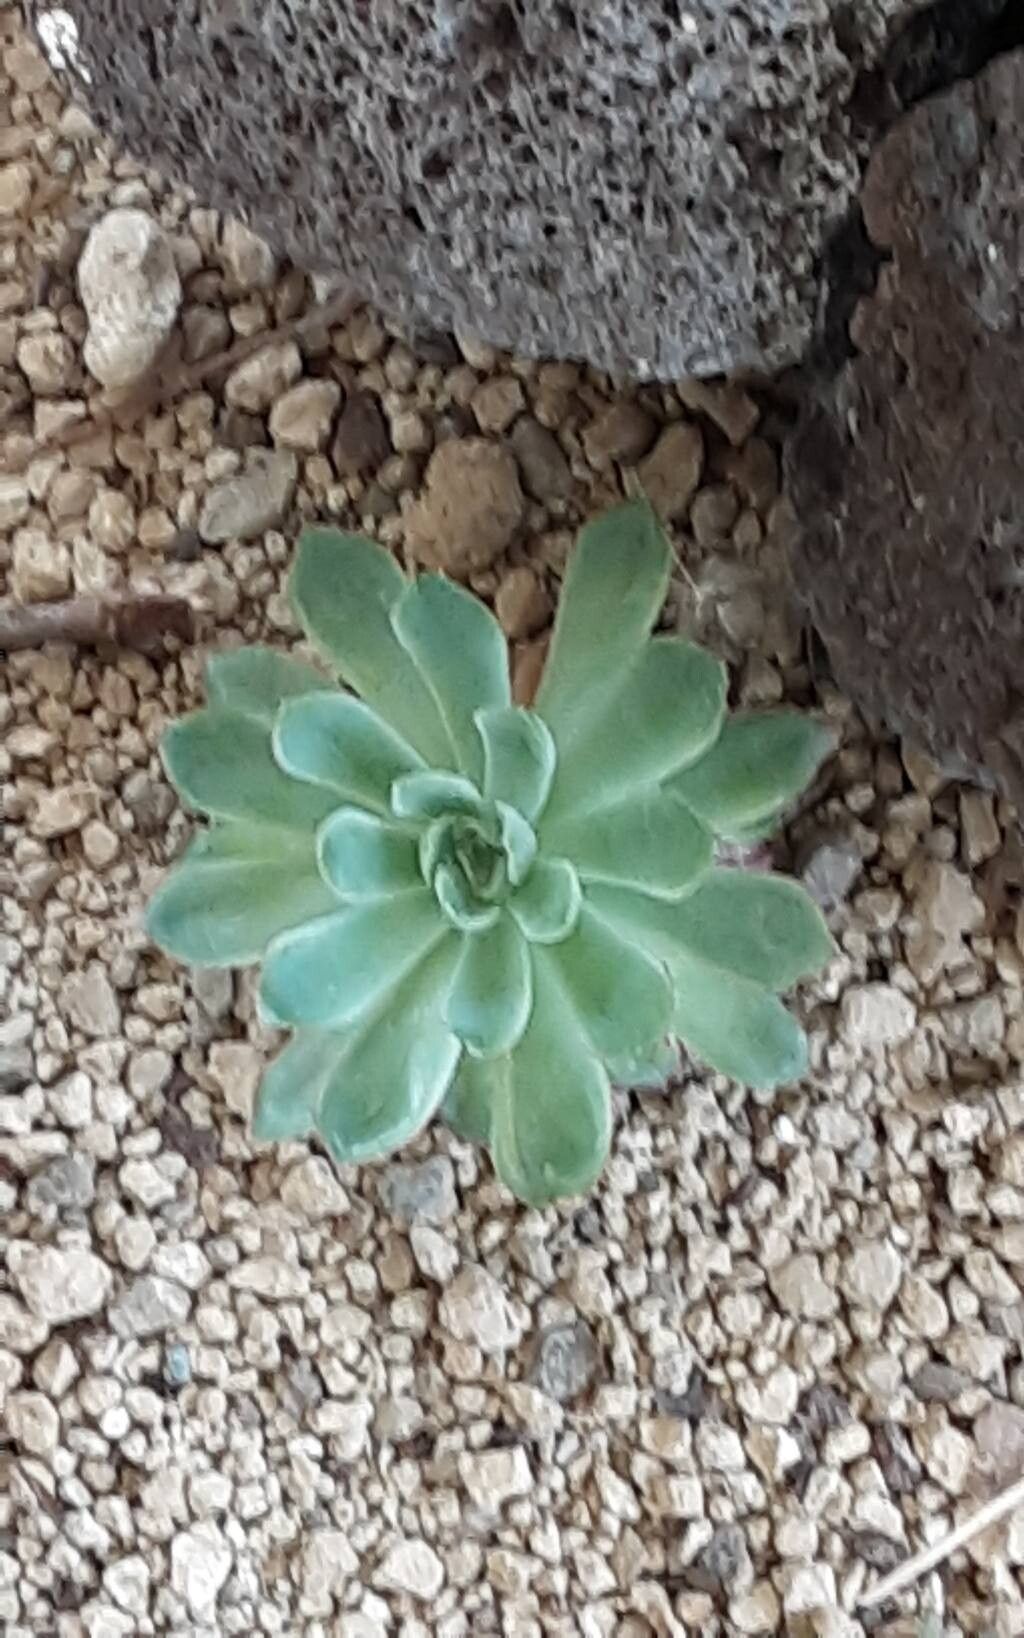
Well hello there, fellow plant enthusiasts! I’m so delighted you’ve stopped by to chat about one of my absolute favorites: Aeonium castello-paivae. If you’ve ever seen this stunner, you know why. Those beautiful rosette-shaped leaves, often with charming little flecks of color and a fuzzy texture, just have a way of capturing your heart. They look like they belong in a fairy tale!
Propagating them is a fantastic way to fill your garden or windowsill with more of these beauties, and honestly, it’s a quite rewarding process. For beginners eyeing this mission? I’d say Aeonium castello-paivae is definitely on the easier side of propagation. You’ll likely have a great deal of success!
The Best Time to Start
When’s the magic hour for getting those new Aeonium castello-paivae babies going? My personal sweet spot is late spring to early summer. This is when the plant is actively growing and has plenty of energy to put into rooting. You’re essentially working with nature’s prime time, when things are warming up and sunlight is plentiful.
Supplies You’ll Need
Before we get our hands dirty, let’s gather our tools. You won’t need anything too fancy, just the essentials:
- Sharp pruning shears or a clean knife: For taking cuttings.
- Well-draining soil mix: I like a gritty mix – think cactus/succulent soil with added perlite or pumice. This is crucial for preventing root rot!
- Small pots or trays: For your new propagations. Clean ones, of course!
- Rooting hormone (optional but recommended): This can give your cuttings a helpful boost.
- Watering can or spray bottle: For gentle watering.
- A warm, bright spot: To place your cuttings while they root.
Propagation Methods
Okay, let’s get to the fun part! There are a couple of ways to go about this, and both are quite effective.
Stem Cuttings: My Go-To Method
This is probably the easiest and most reliable way to propagate Aeonium castello-paivae.
- Take your cuttings: Using your clean shears or knife, carefully snip off a piece of stem from a healthy, mature plant. Aim for pieces that are about 3-5 inches long and have a few sets of leaves. You can take cuttings from the top of a stem, or even from the sides.
- Let them callous: This is important! Do not plant your cuttings immediately. Place them in a dry, airy spot out of direct sunlight for 2-3 days. This allows the cut end to form a protective callus, which helps prevent rot.
- Plant your cuttings: Once callused, you can plant them. You can place them directly into your succulent soil mix. Gently push the callused end about an inch into the soil, enough for it to stand up on its own. You can plant several cuttings in the same pot, giving them a little space.
- Water sparingly: After planting, give them a light watering. You only want the soil to be slightly moist, not soggy.
Water Propagation: A Visual Delight
This method is just as effective and incredibly satisfying to watch!
- Prepare your cuttings: Follow steps 1 and 2 from the stem cutting method above to take and callous your cuttings.
- Place in water: Find a clean glass or jar and fill it with fresh water.
- Submerge the stem (not the leaves!): Place the callused end of your cutting into the water. Make sure absolutely no leaves are submerged in the water. If any leaves are touching the water, they’ll rot. You can snip off the lowest leaves if needed to prevent this.
- Change the water regularly: Every few days, change out the water to keep it fresh and clean.
- Watch for roots: In a few weeks, you should start seeing tiny roots emerge from the cut end.
The “Secret Sauce” (Pro Tips)
Here are a few little tricks I’ve picked up over the years that can make a big difference:
- Don’t overwater, especially at first: This is the number one killer of succulent cuttings. The callousing step is crucial, and once planted, err on the side of too dry rather than too wet.
- A touch of bottom heat can work wonders: If you have a propagation mat or can place your pots on a warm surface (like near a gently warm router), it can really speed up root development. Just a gentle warmth, not hot!
- Give them air circulation: Good airflow around your cuttings helps them dry out a bit and discourages fungal issues. Don’t overcrowd them.
Aftercare & Troubleshooting
Once you see those lovely little roots appearing – hooray!
- For water-propagated cuttings: Once your roots are about an inch long, it’s time to carefully transplant them into your well-draining succulent soil. Treat them like newly planted cuttings.
- For soil-propagated cuttings: Keep the soil lightly moist. You can start watering a bit more regularly once you see signs of new growth, indicating the plant has established.
- What to watch out for: The most common nemesis is rot. If your cutting turns mushy and black, or smells foul, it’s likely rotted. This is usually due to too much moisture. If you catch it early, you can sometimes salvage a healthy section by taking a new cutting and starting over. Yellowing leaves can also be a sign of overwatering or not enough light.
A Encouraging Closing
Propagating plants is a beautiful dance with nature, and with Aeonium castello-paivae, you’re dancing with a particularly graceful partner. Be patient with your new cuttings. Some may take a little longer than others, and that’s perfectly okay. Enjoy the process, celebrate each tiny root, and before you know it, you’ll have a whole collection of these delightful succulents to brighten your world. Happy gardening!
Resource:
https://identify.plantnet.org/k-world-flora/species/Aeonium%20castello-paivae%20Bolle/data